Fedora 39 Linux on the Lenovo C13 Yoga Chromebook

Greetings!

Previously, I tried a project called depthboot- which has since become defunct- to get my Chromebook I grabbed for work back in 2021 running Linux. Depthboot was interesting as it enabled you to custom-build images of various Linux distros to run on a Chromebook without any real tinkering with the coreboot BIOS needed.

There seemed to have been a falling-out amongst various developers in that project, and my focus went elsewhere. Fast forward to the end of this year, and I found the amazing group of individuals behind the Chrultrabook project!

My first step was to head over to their incredibly-well-documented guide here on how to free your Chromebook from Google’s clutches.

I unscrewed the back panel of my C13 Yoga to carefully disconnect the battery and repaste the now-two-year-old CPU to give it a cool new lease on life. I ended up becoming so engrossed in getting this to work that I didn’t end up taking many pictures- sorry for that!

The full story of my adventure is here on this Chrultrabook forum post as I figured out how to get the battery unplugged properly, run through the steps to enable developer mode, and then use the supplied script from MrChromebox to flash the “UEFI Full ROM” replacement Coreboot firmware to my C13 Yoga. It was running Google’s stock coreboot fork that only allowed for ChromeOS/ChromiumOS signed images at the time, and this would be quite more freeing.

Per the recording above, I’m now on Fedora 39 with the Cinnamon DE. I used the easy Fedora Media Writer from my desktop on Nobara to create a bog-standard F39 Cinnamon installer. After creating that installer, I waited for the system to start up, and then hit Esc at the coreboot boot screen to boot from the USB and continue the installation like you would on any other machine. Soon, I’ll try testing out Ubuntu on there too, and possibly use it to get an older Pixel phone of mine running GrapheneOS.

Finishing the Steam Machine

Heyo! I finally got all the parts together, this past weekend, to finish my older-hardware living room build for TV gaming. Click here for a full breakdown of all the parts.

Humble beginnings. This process took probably around three months to get all the parts somewhat-affordably used or free from friends.

…I might eventually end up getting custom-sleeved cables though, as this spaghetti monster of power cables is quite difficult to keep neat in this tiny case, for airflow reasons. Sadly, the CPU is currently hovering around 60-80c depending on the game that’s being played, due to its Noctua cooler being right under the PSU fan.

After building it, while quite inebriated late at night, I was honestly surprised to see everything fire up without blowing up hahaha. I’m using the vizio soundbar + subwoofer for sound through the TV and have the TV connected to it via HDMI to the AMD card. The internet is over ethernet, as I don’t want to futz with wifi attenuation issues due to the solid wall between the router and it.

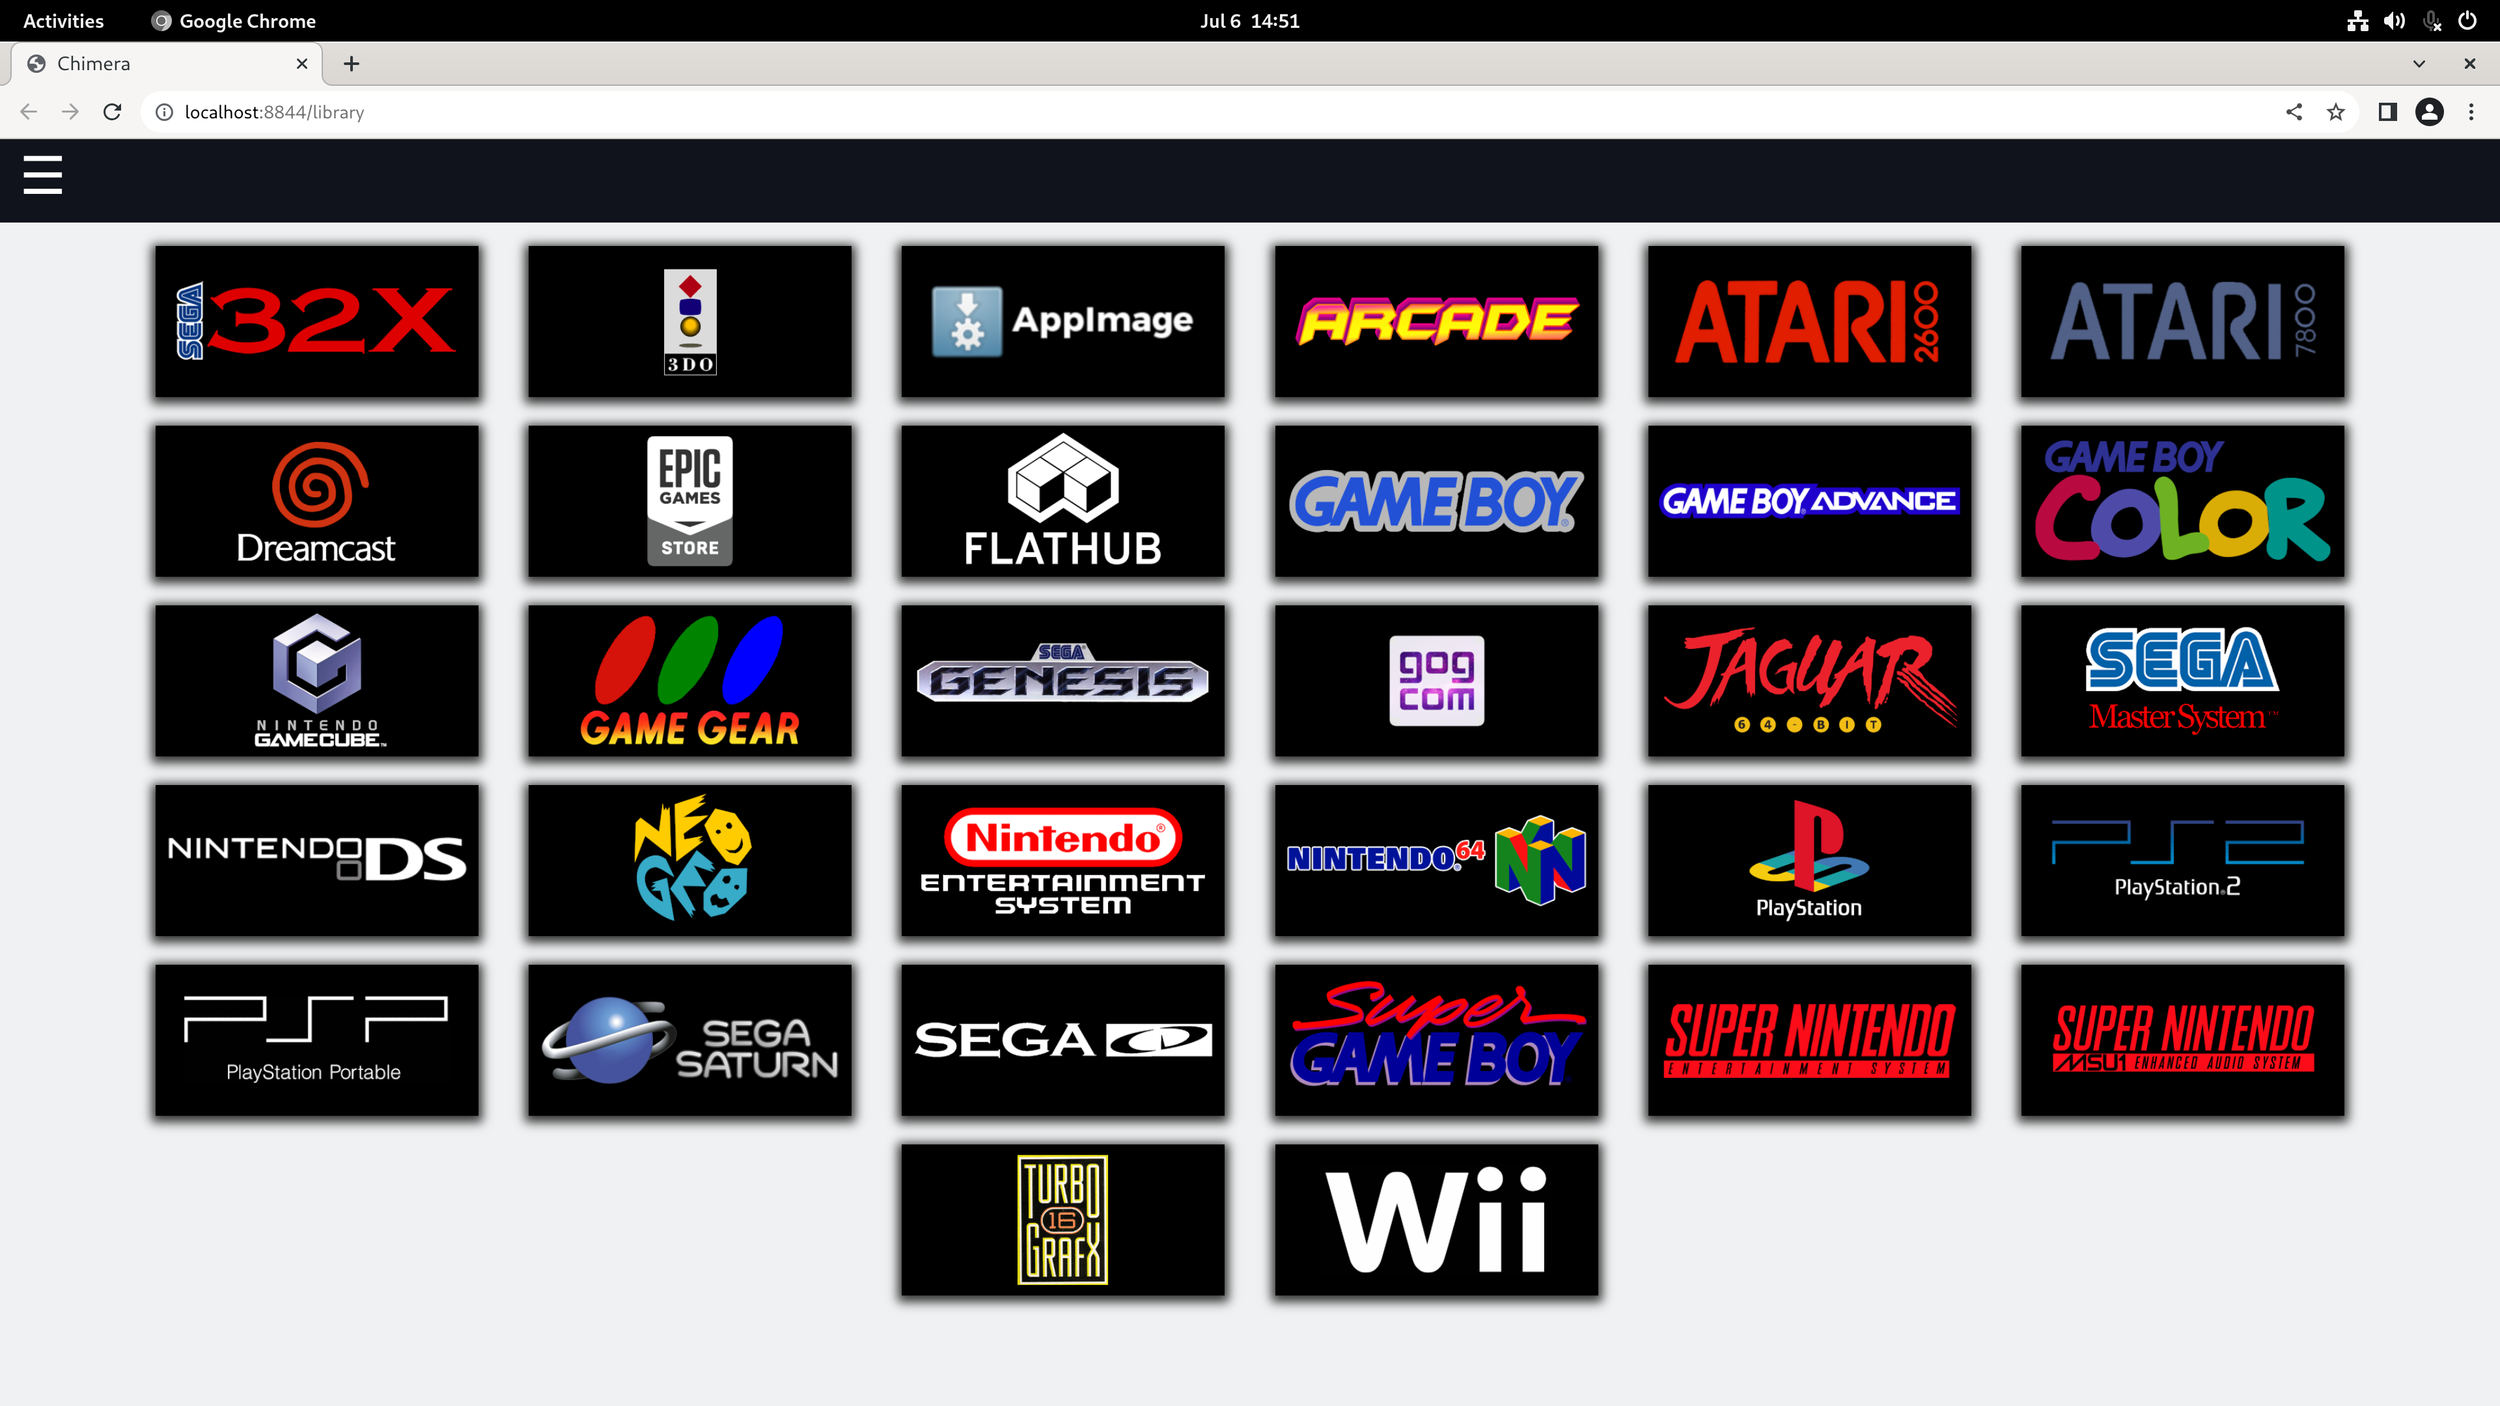
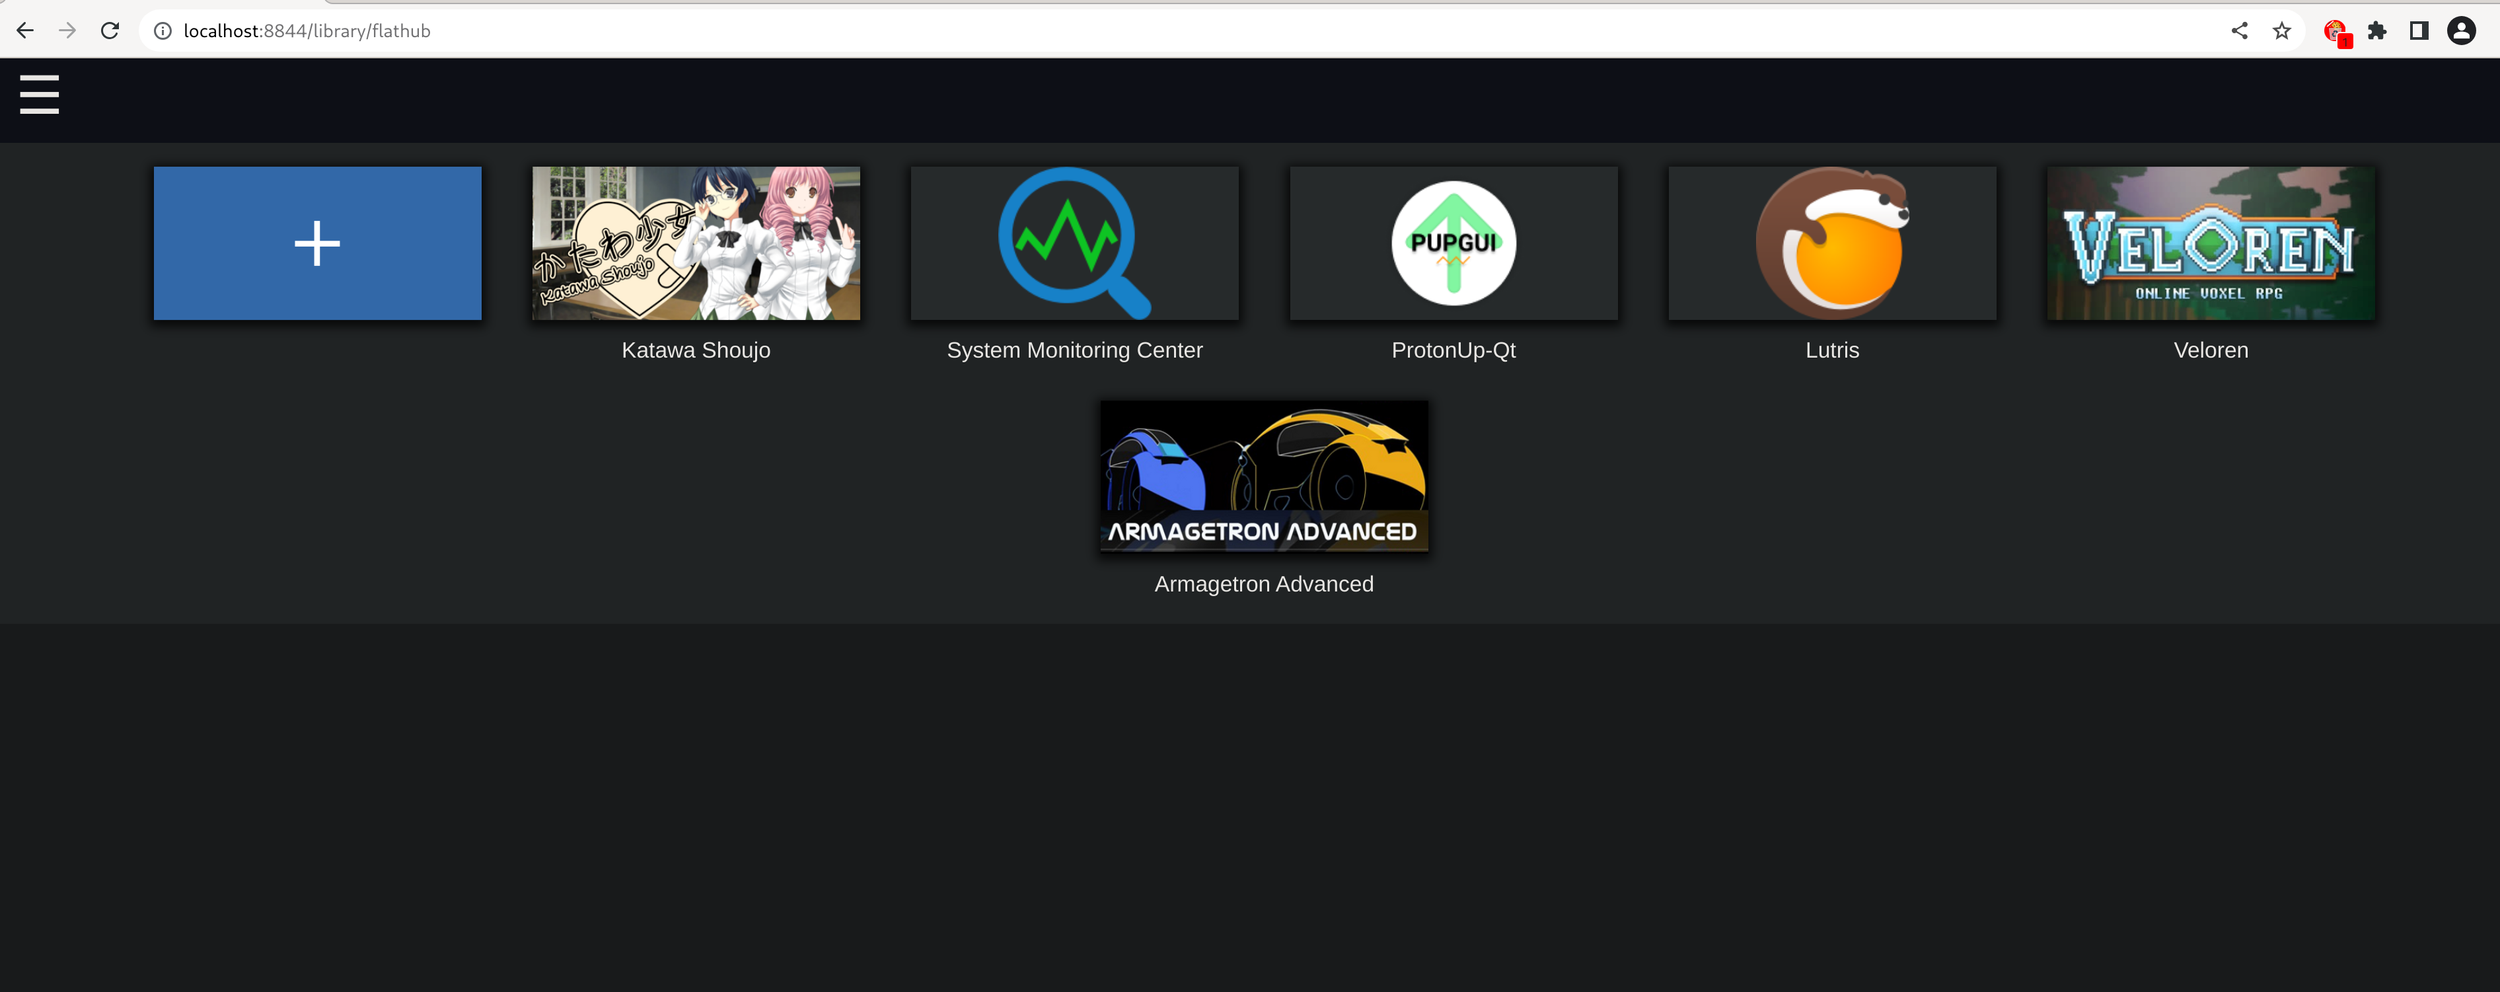
I burned ChimeraOS to a USB, chose it as the boot device, and let the automated installer do its thing. On first boot-up, I signed into Steam and started installing games! My favorite part is the webUI that you can use for easily installing other games via flatpak/GOG or retro roms. I’ll add some photos of that below.

Ubuntu on my Switch, Pastel Miyoo Mini, and the Job Hunt continues...

Greetings, fellow geeks. I’ve recently received an RCMLoader/jig combo kit for my OG Nintendo Switch. I’ll be walking through the process I went through to get Ubuntu 18.04 (the only one NVIDIA supports here) running on my Nintendo Switch on my project page over here if you’re interested.

I’ve also recently received limited edition decals and buttons from SakuraRetroModding to Kirby-ify my Miyoo Mini, so I’ve gone ahead and done that and loaded more PICO-8 cartridges on there.

Here’s a little teaser image of what I’ve been documenting over on my Nintendo Switch Linux project page. Looks like the community contributors have come an awfully far way now! There are some libraries from 20.04 or newer releases that would really help where I’m trying to get with this effort, but I suppose compiling and installing things on the older Ubuntu 18.04 release works just as well. Ubuntu 18.04 seems to be the focus of that Switchroot project due to NVIDIA having drivers for that specific release, but not for newer ones that use a similar ARM/NVIDIA setup as the Switch.

Despite the decal being slightly askew, which I can fix later, here’s an image of my Miyoo mini I’ve recently dazzled up a bit! I acquired a limited run of pastel buttons from SakuraRetroModding on Etsy for this guy, updated OnionOS and added some Kirby games to finish the feel. I’ve mainly been playing through Kirby: Nightmare in Dreamland, Megaman Battle Network Blue Moon, Cave Story (Dokutsu Monogatari) and Advance Wars on here. I was happy to learn that most of these ROMs are available if you search the lovely Archive(dot)Org website! Gosh I love the game archiving community.

Here you’ll see that I’ve added a few more PICO-8 carts to this OnionOS install. Turns out there was a newer iteration of PCraft for PICO-8 consoles (or fake8 on OnionOS) that you could actually save your game in and fight a boss in.

That’s about all I have for this last bit of February! My job hunt is ongoing and I’m open to any and all remote opportunities for Linux-friendly companies! I have built up more of a focus in customer support and hardware support in that industry as of late, and am definitely open to anyone wanting to talk or interview!

Here are a few notable things I’ve found in the past two weeks:

eOS on my Pixels and OnionOS on the Miyoo Mini

Greetings again, fellow Linux lovers and open-sorcerors!

Digging around in my storage, I found that I still have my original Pixel 2 XL and a secondhand Pixel 3 I must’ve got from a friend. I only know this due to tracking the devices in my Google account. Let’s go ahead and wipe them to throw eOS from the E foundation on there!

I’ll add a video below that Nick from The Linux Experiment youtube channel created last year on the state of eOS.

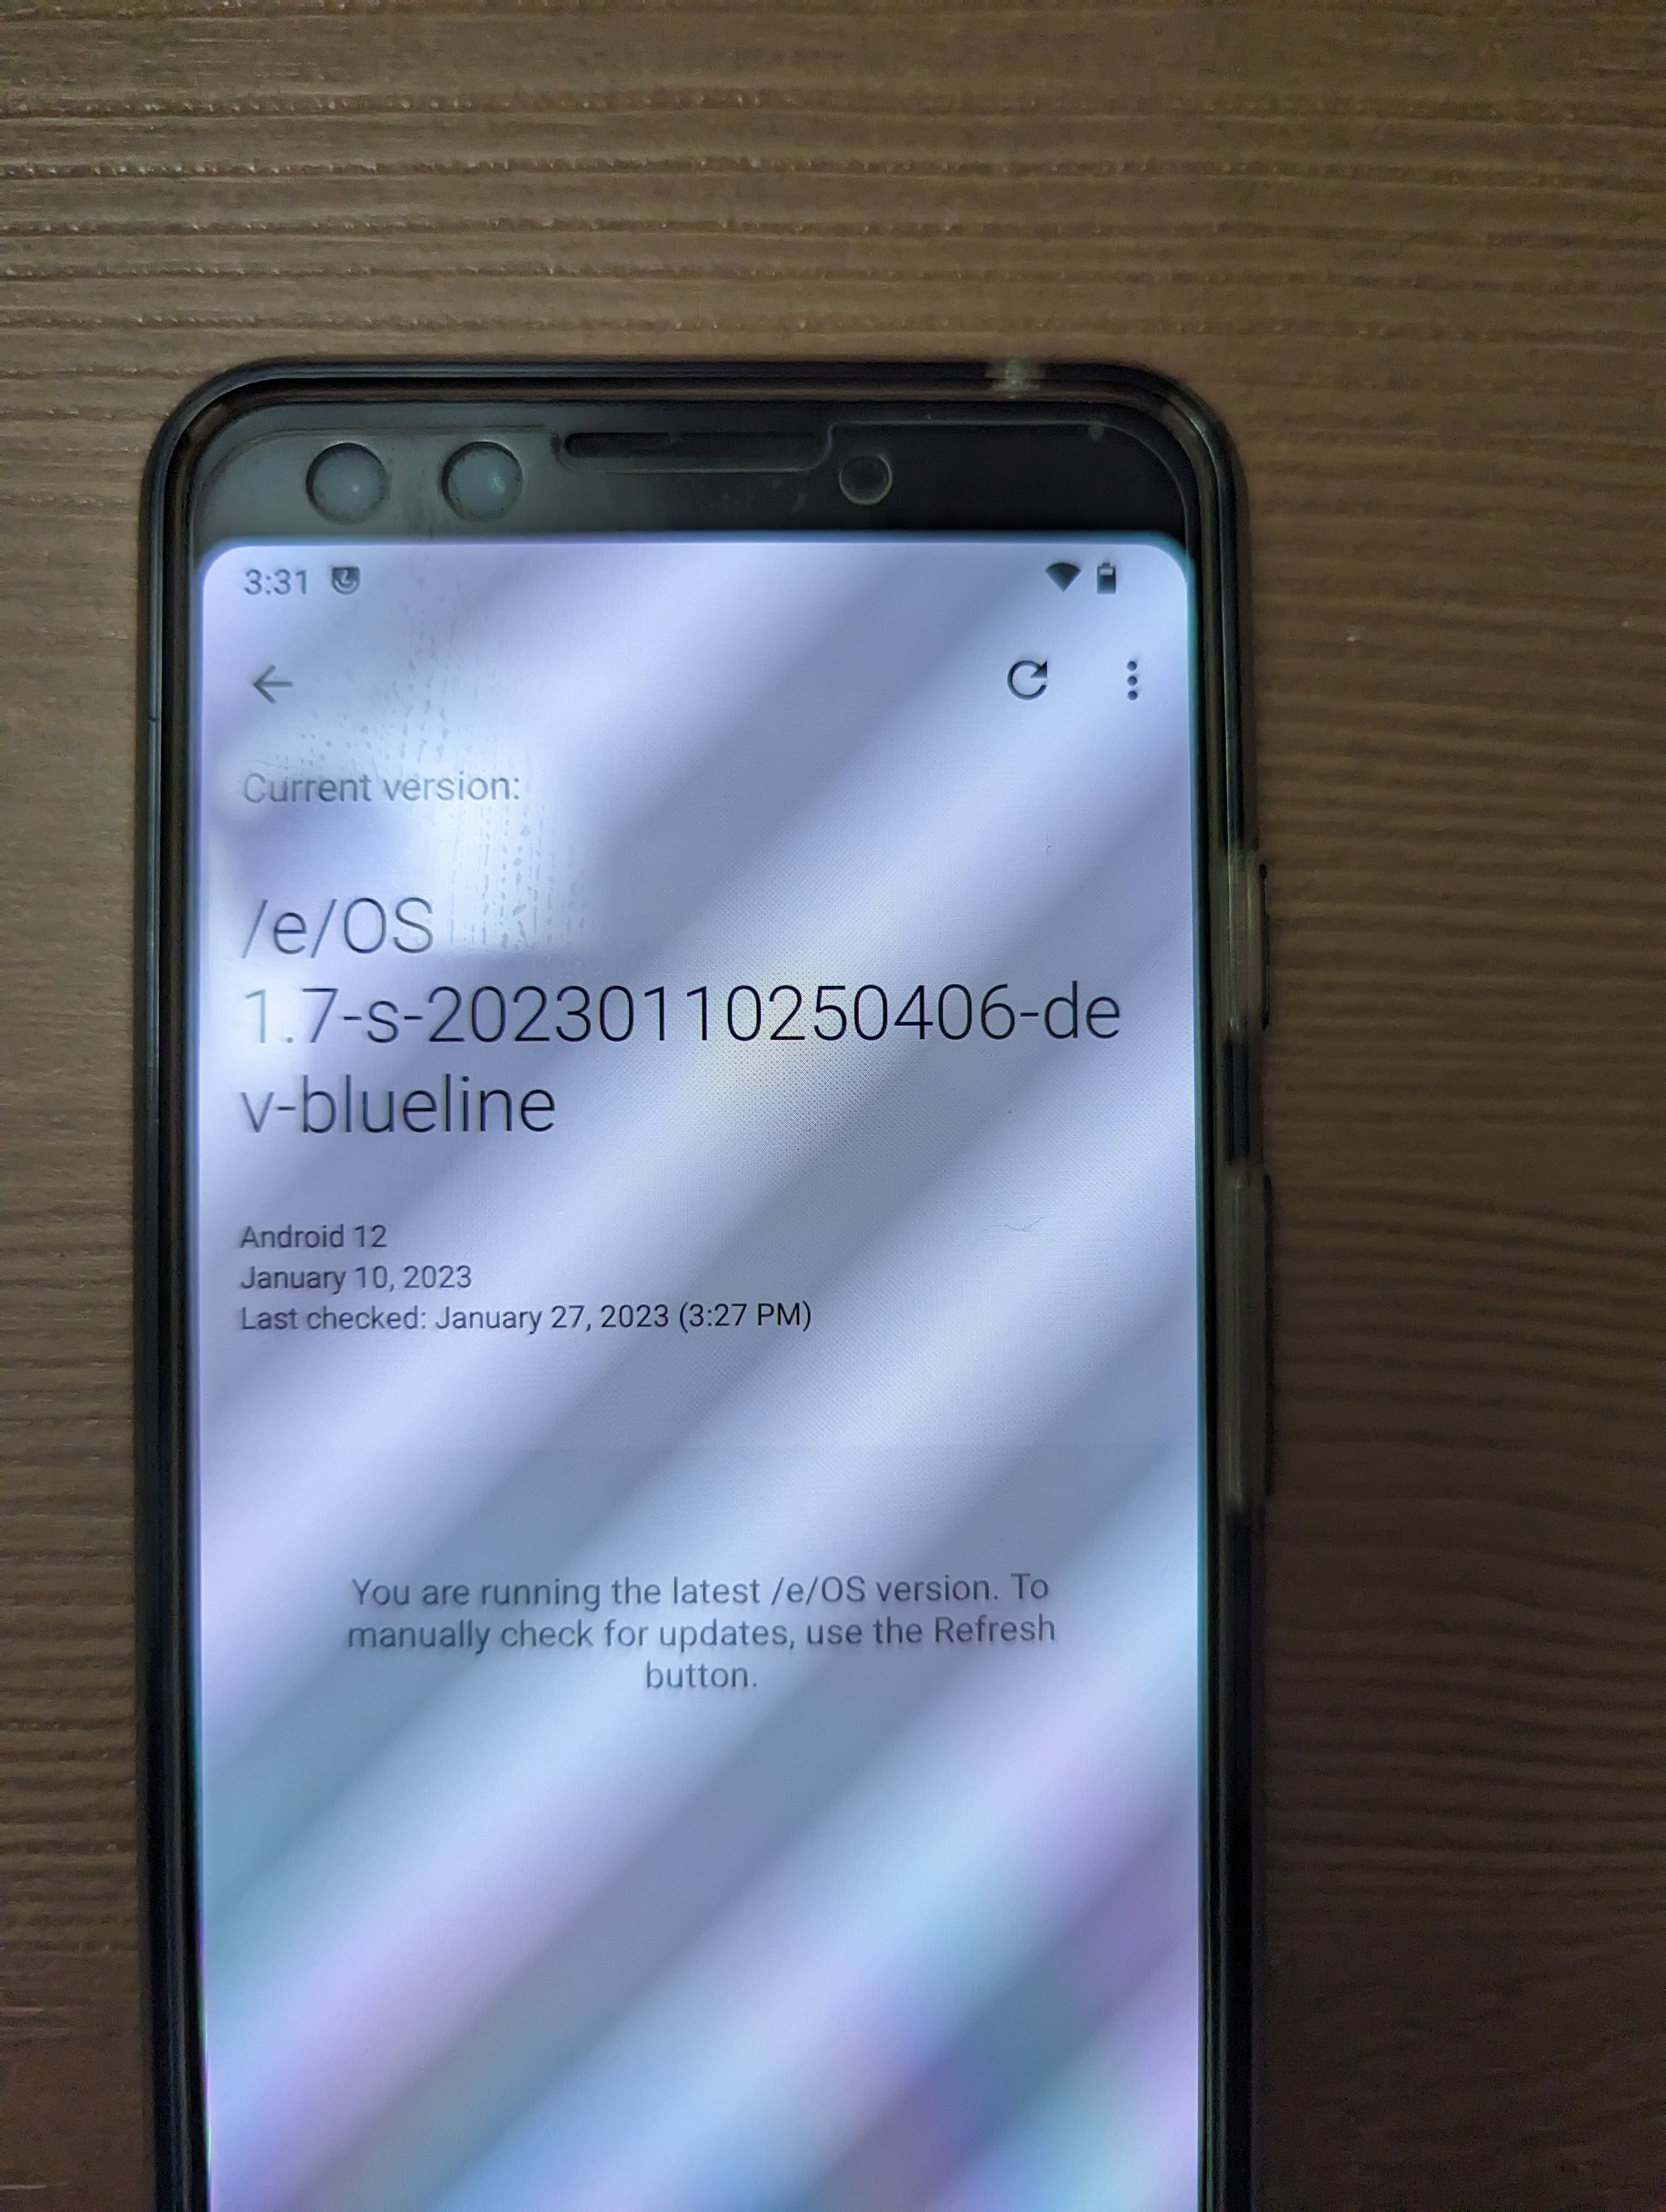
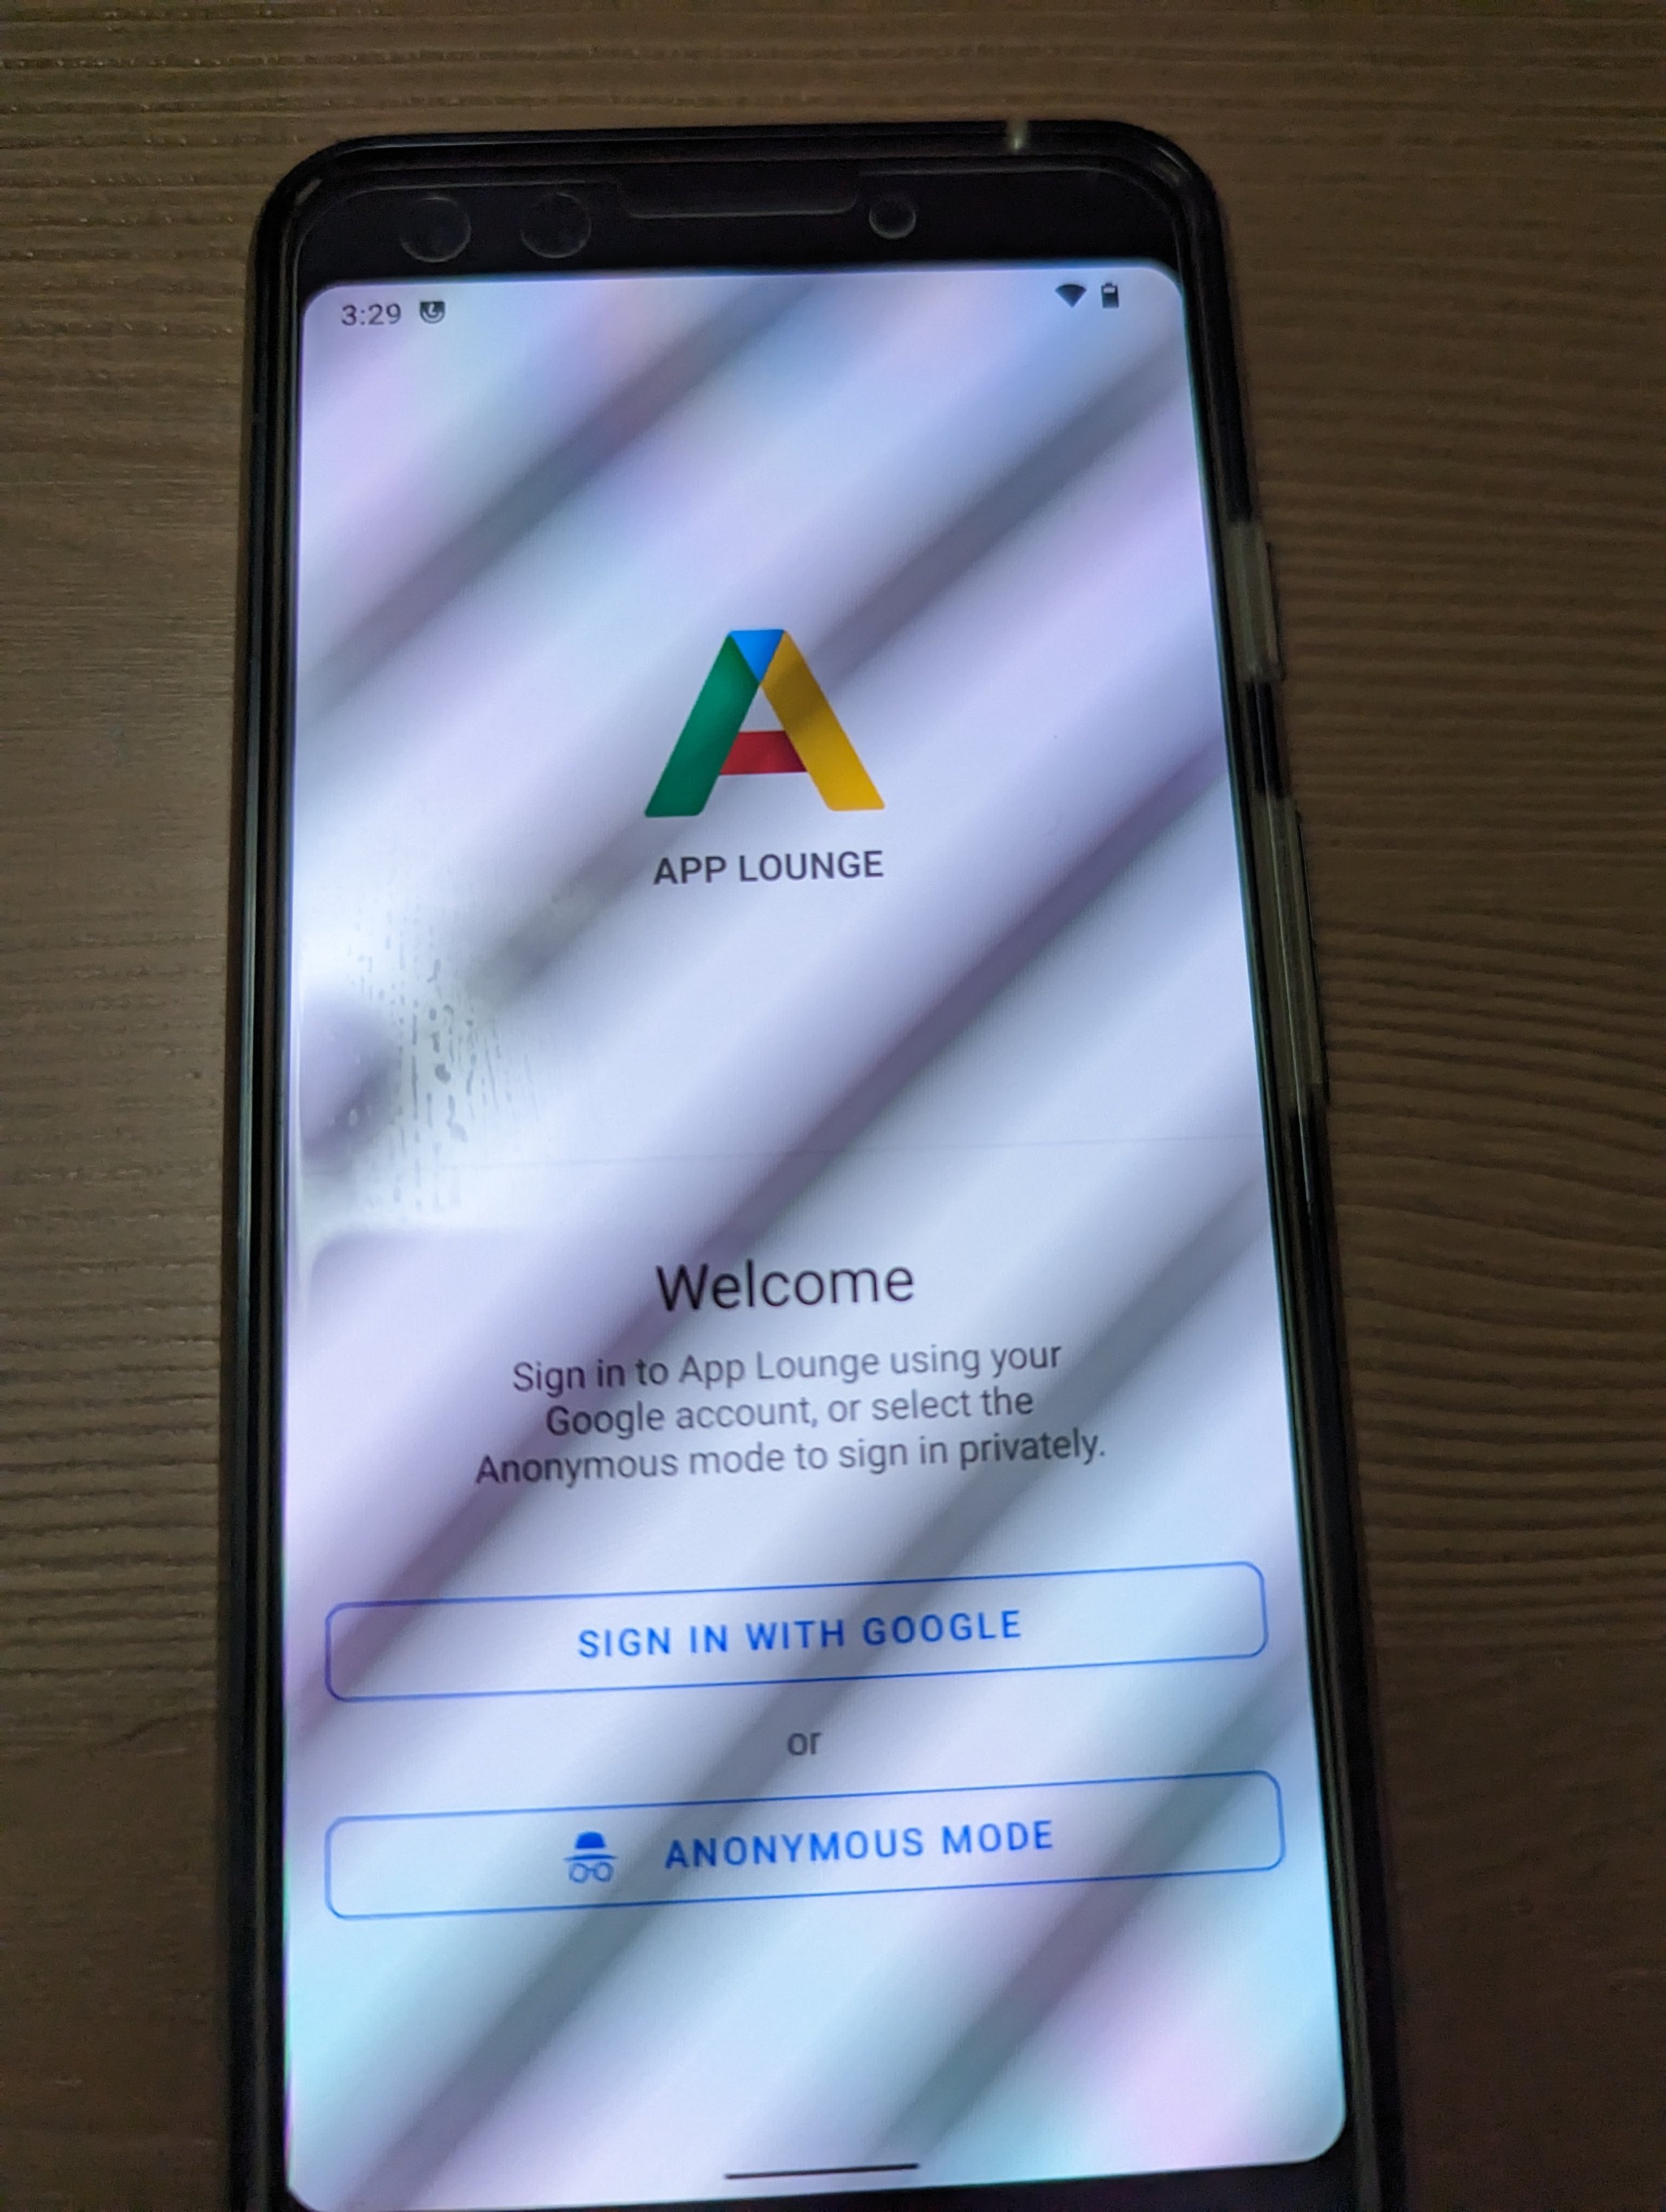
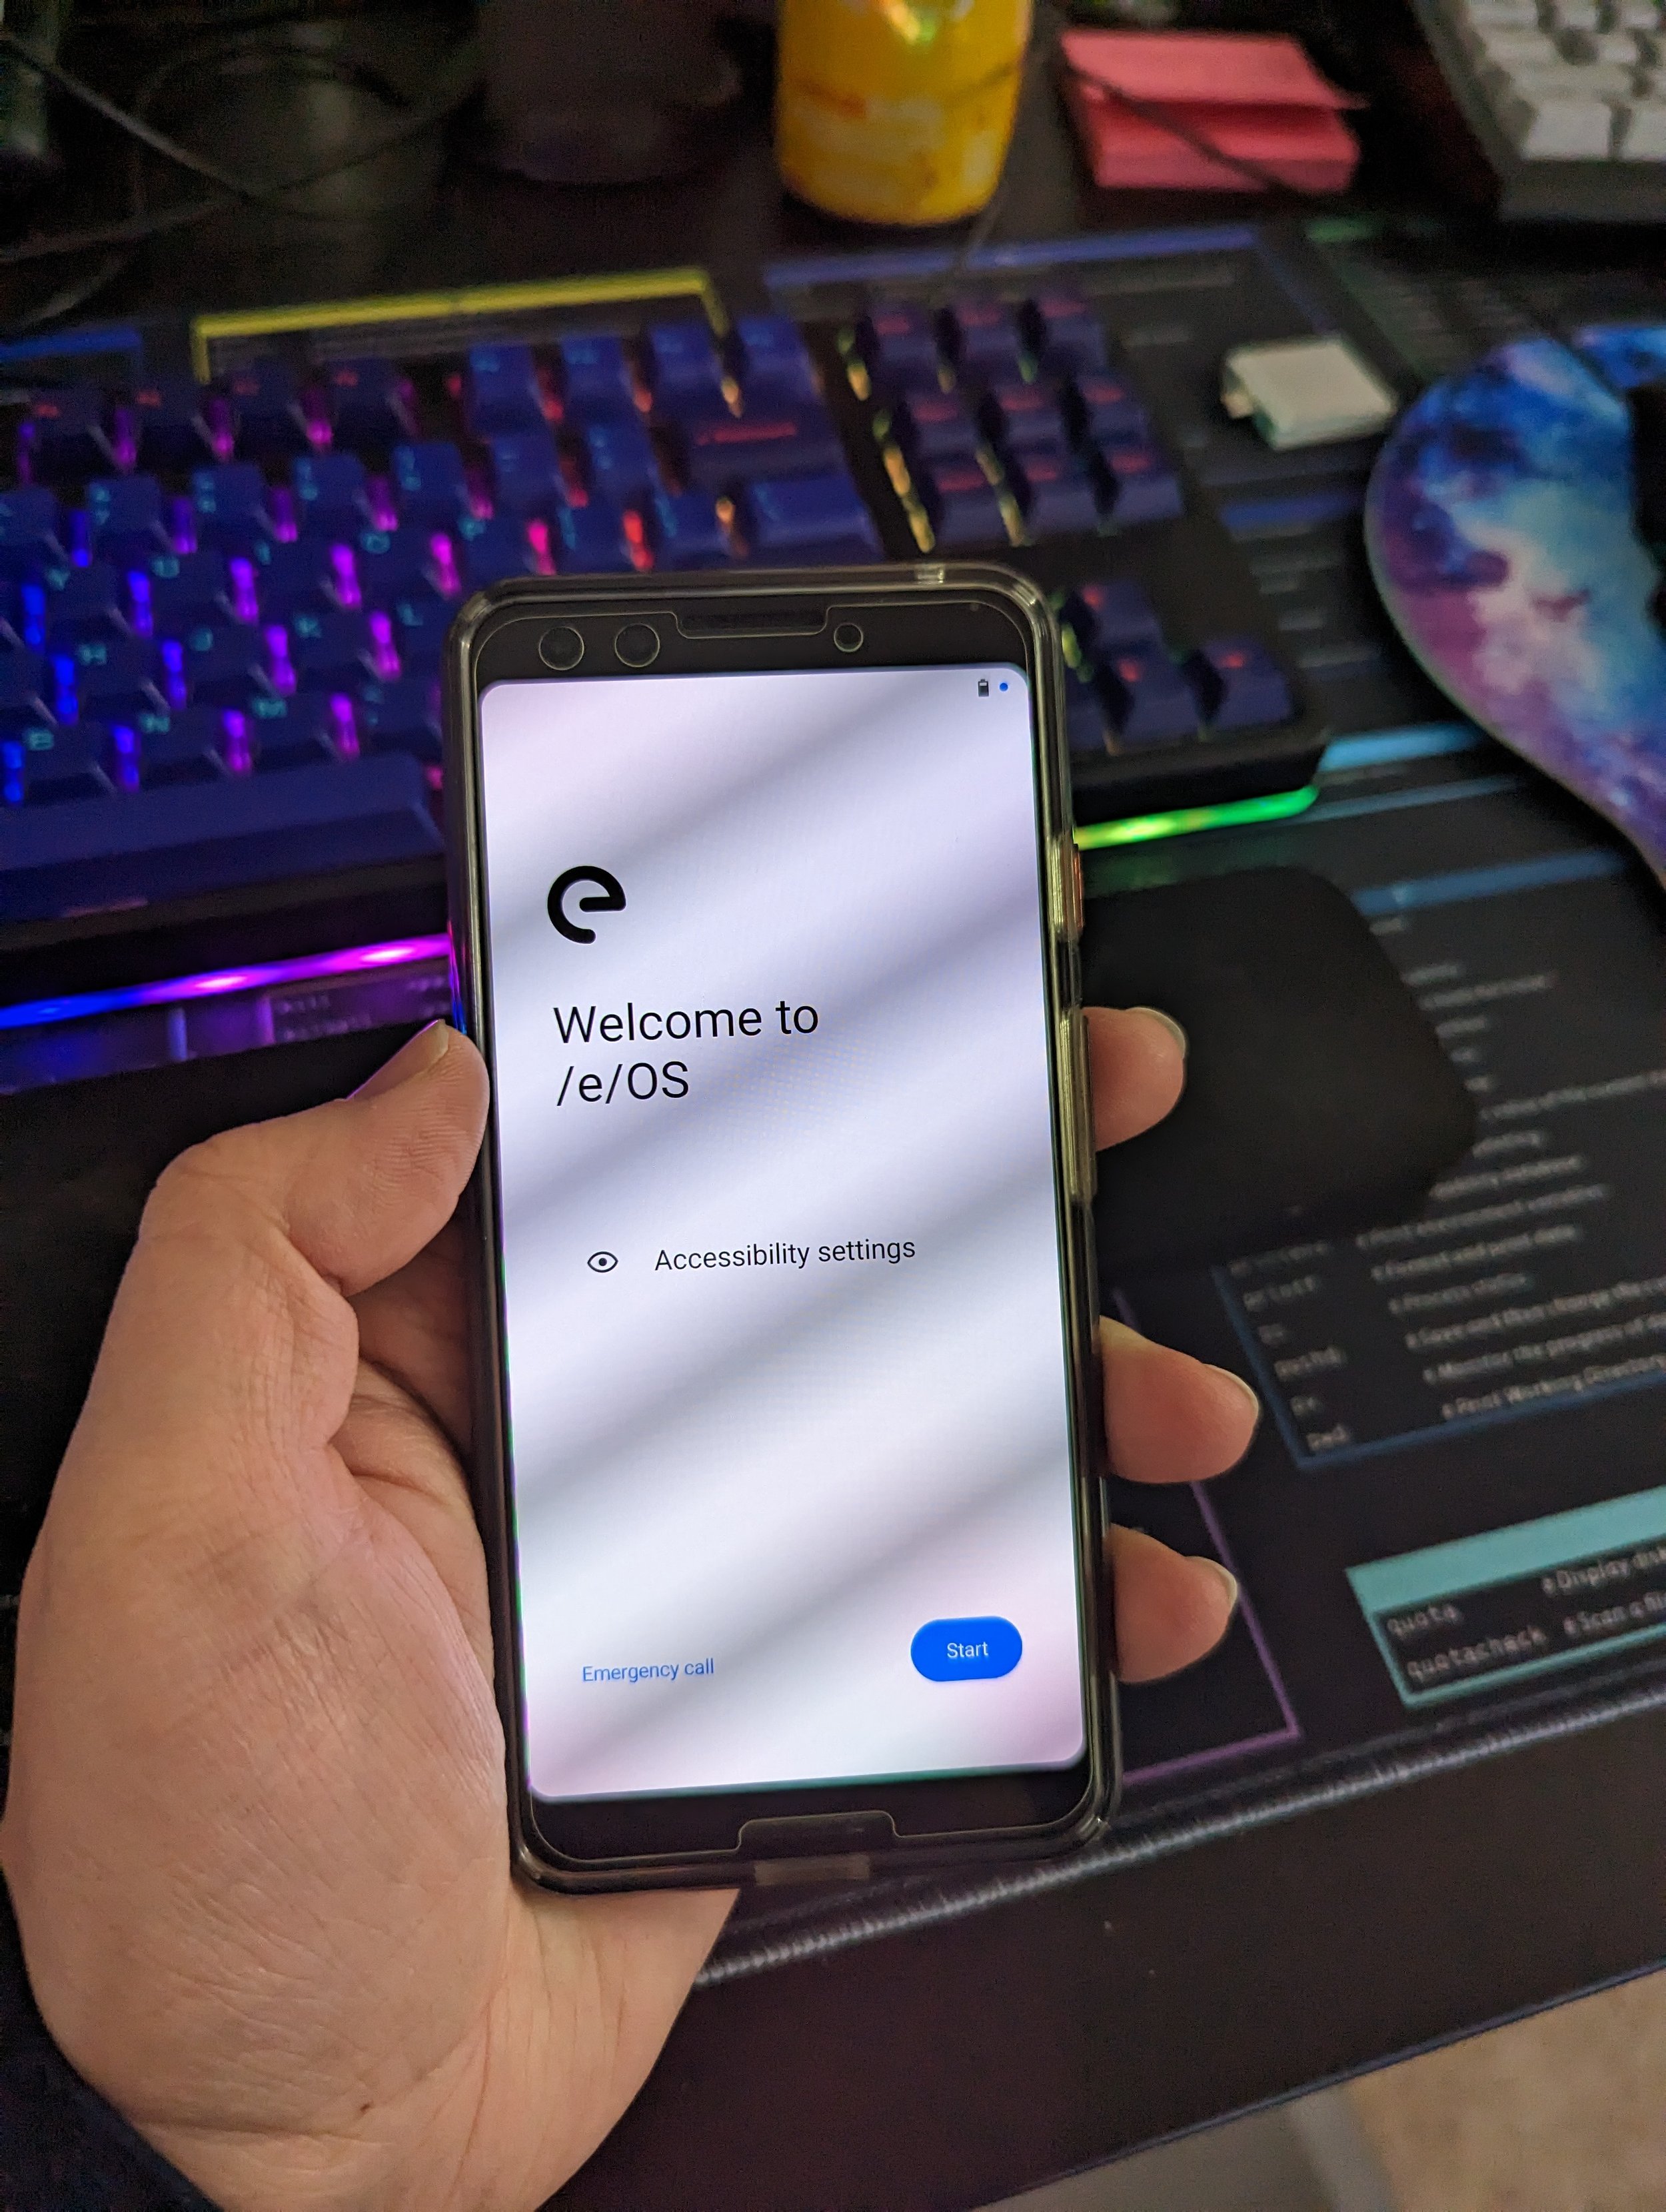
The thought came to me; why not run the most recent builds of eOS on my previous Pixel devices? Perhaps future owners could enjoy these with a privacy-friendly and open-source replacement to Google’s “pixel” vision of Android on there. For now, I’ve just installed it following their documentation here on my Pixel 3. Note that I ran Fedora 37 when following those instructions, and had to make sure I had the android-tools package installed. Note to grab the “Android S” image for your Pixel 3 if your phone has been updated to Android 12. If not, the R images will work fine, but it’s recommended to upgrade to Android 12 before moving forward, as I believe eOS may use that slightly newer kernel.

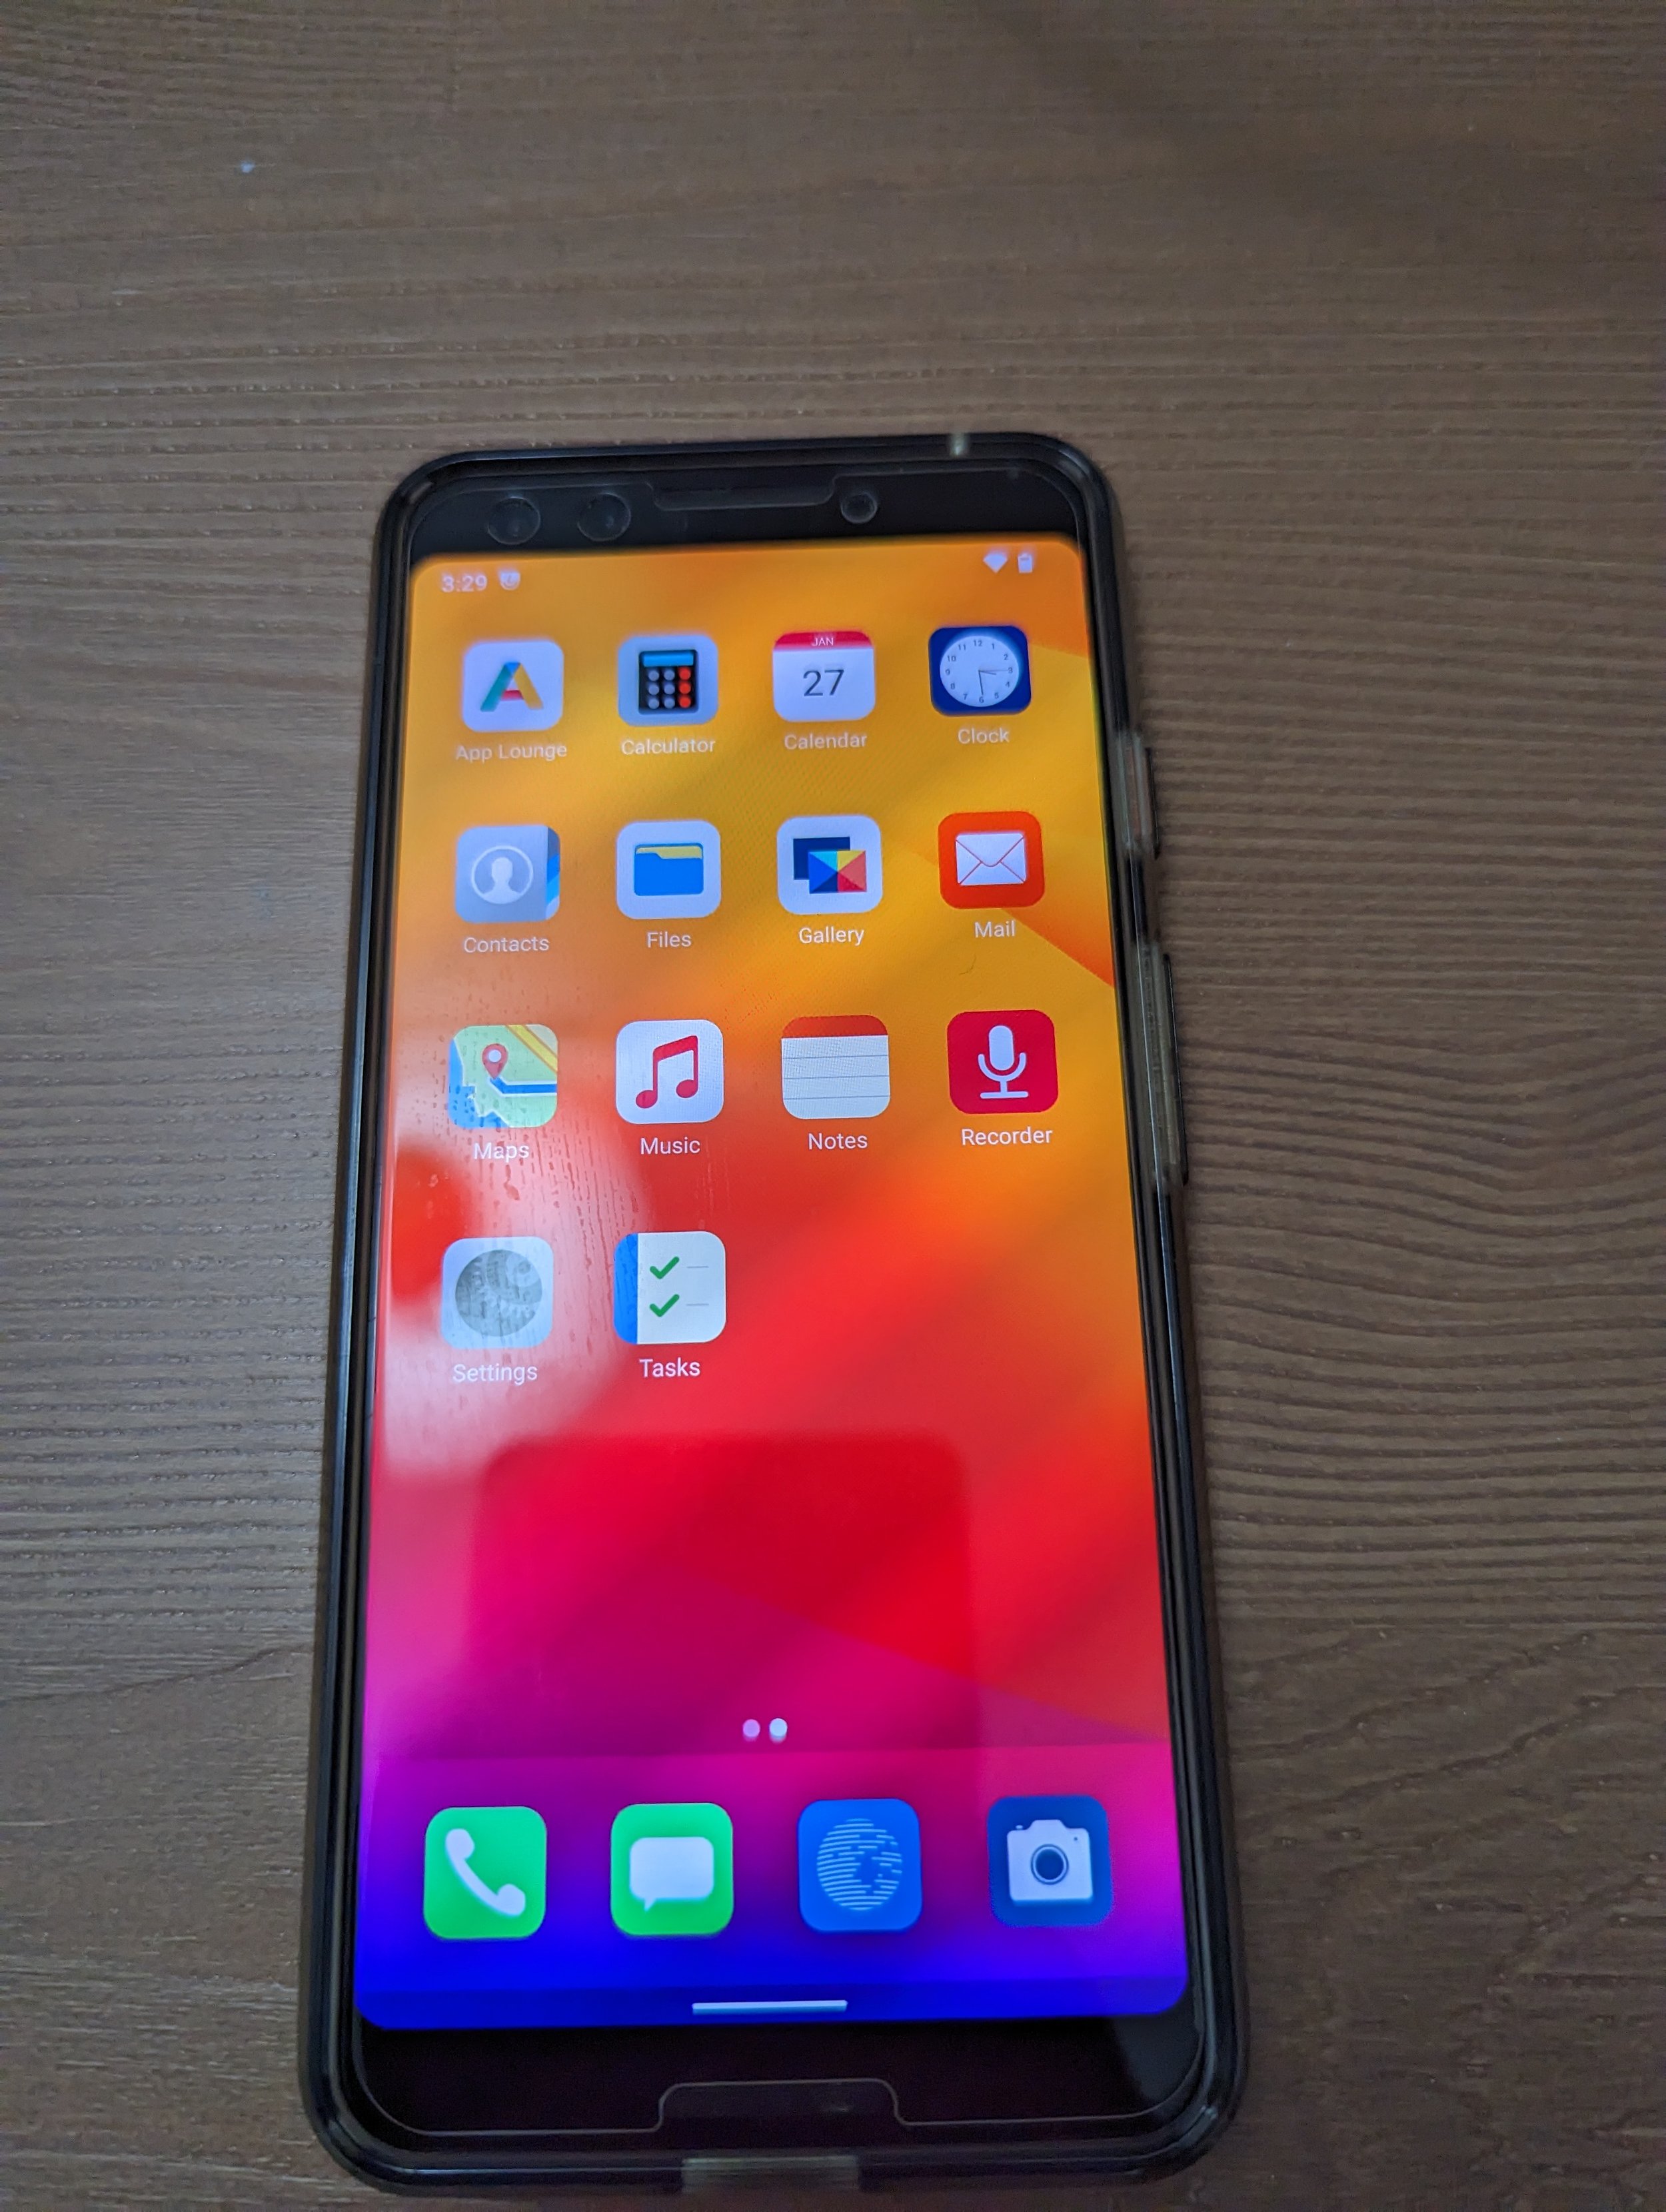
Looking at the above image, it seems my Pixel 6’s camera decided to fuzz out the background so it could focus on the Pixel 3 running eOS. Either way, this is cool to see! As part of the instructions, you use a few handy dandy terminal commands to temporarily get it booting into a different recovery as you flash eOS which was a fun little adventure. I haven’t done more than poked around the install thus far, but it seems quite lightweight! Let me know, once I wipe her down with some alcohol if anyone would be interested in buying a device with eOS from the E Foundation preinstalled.

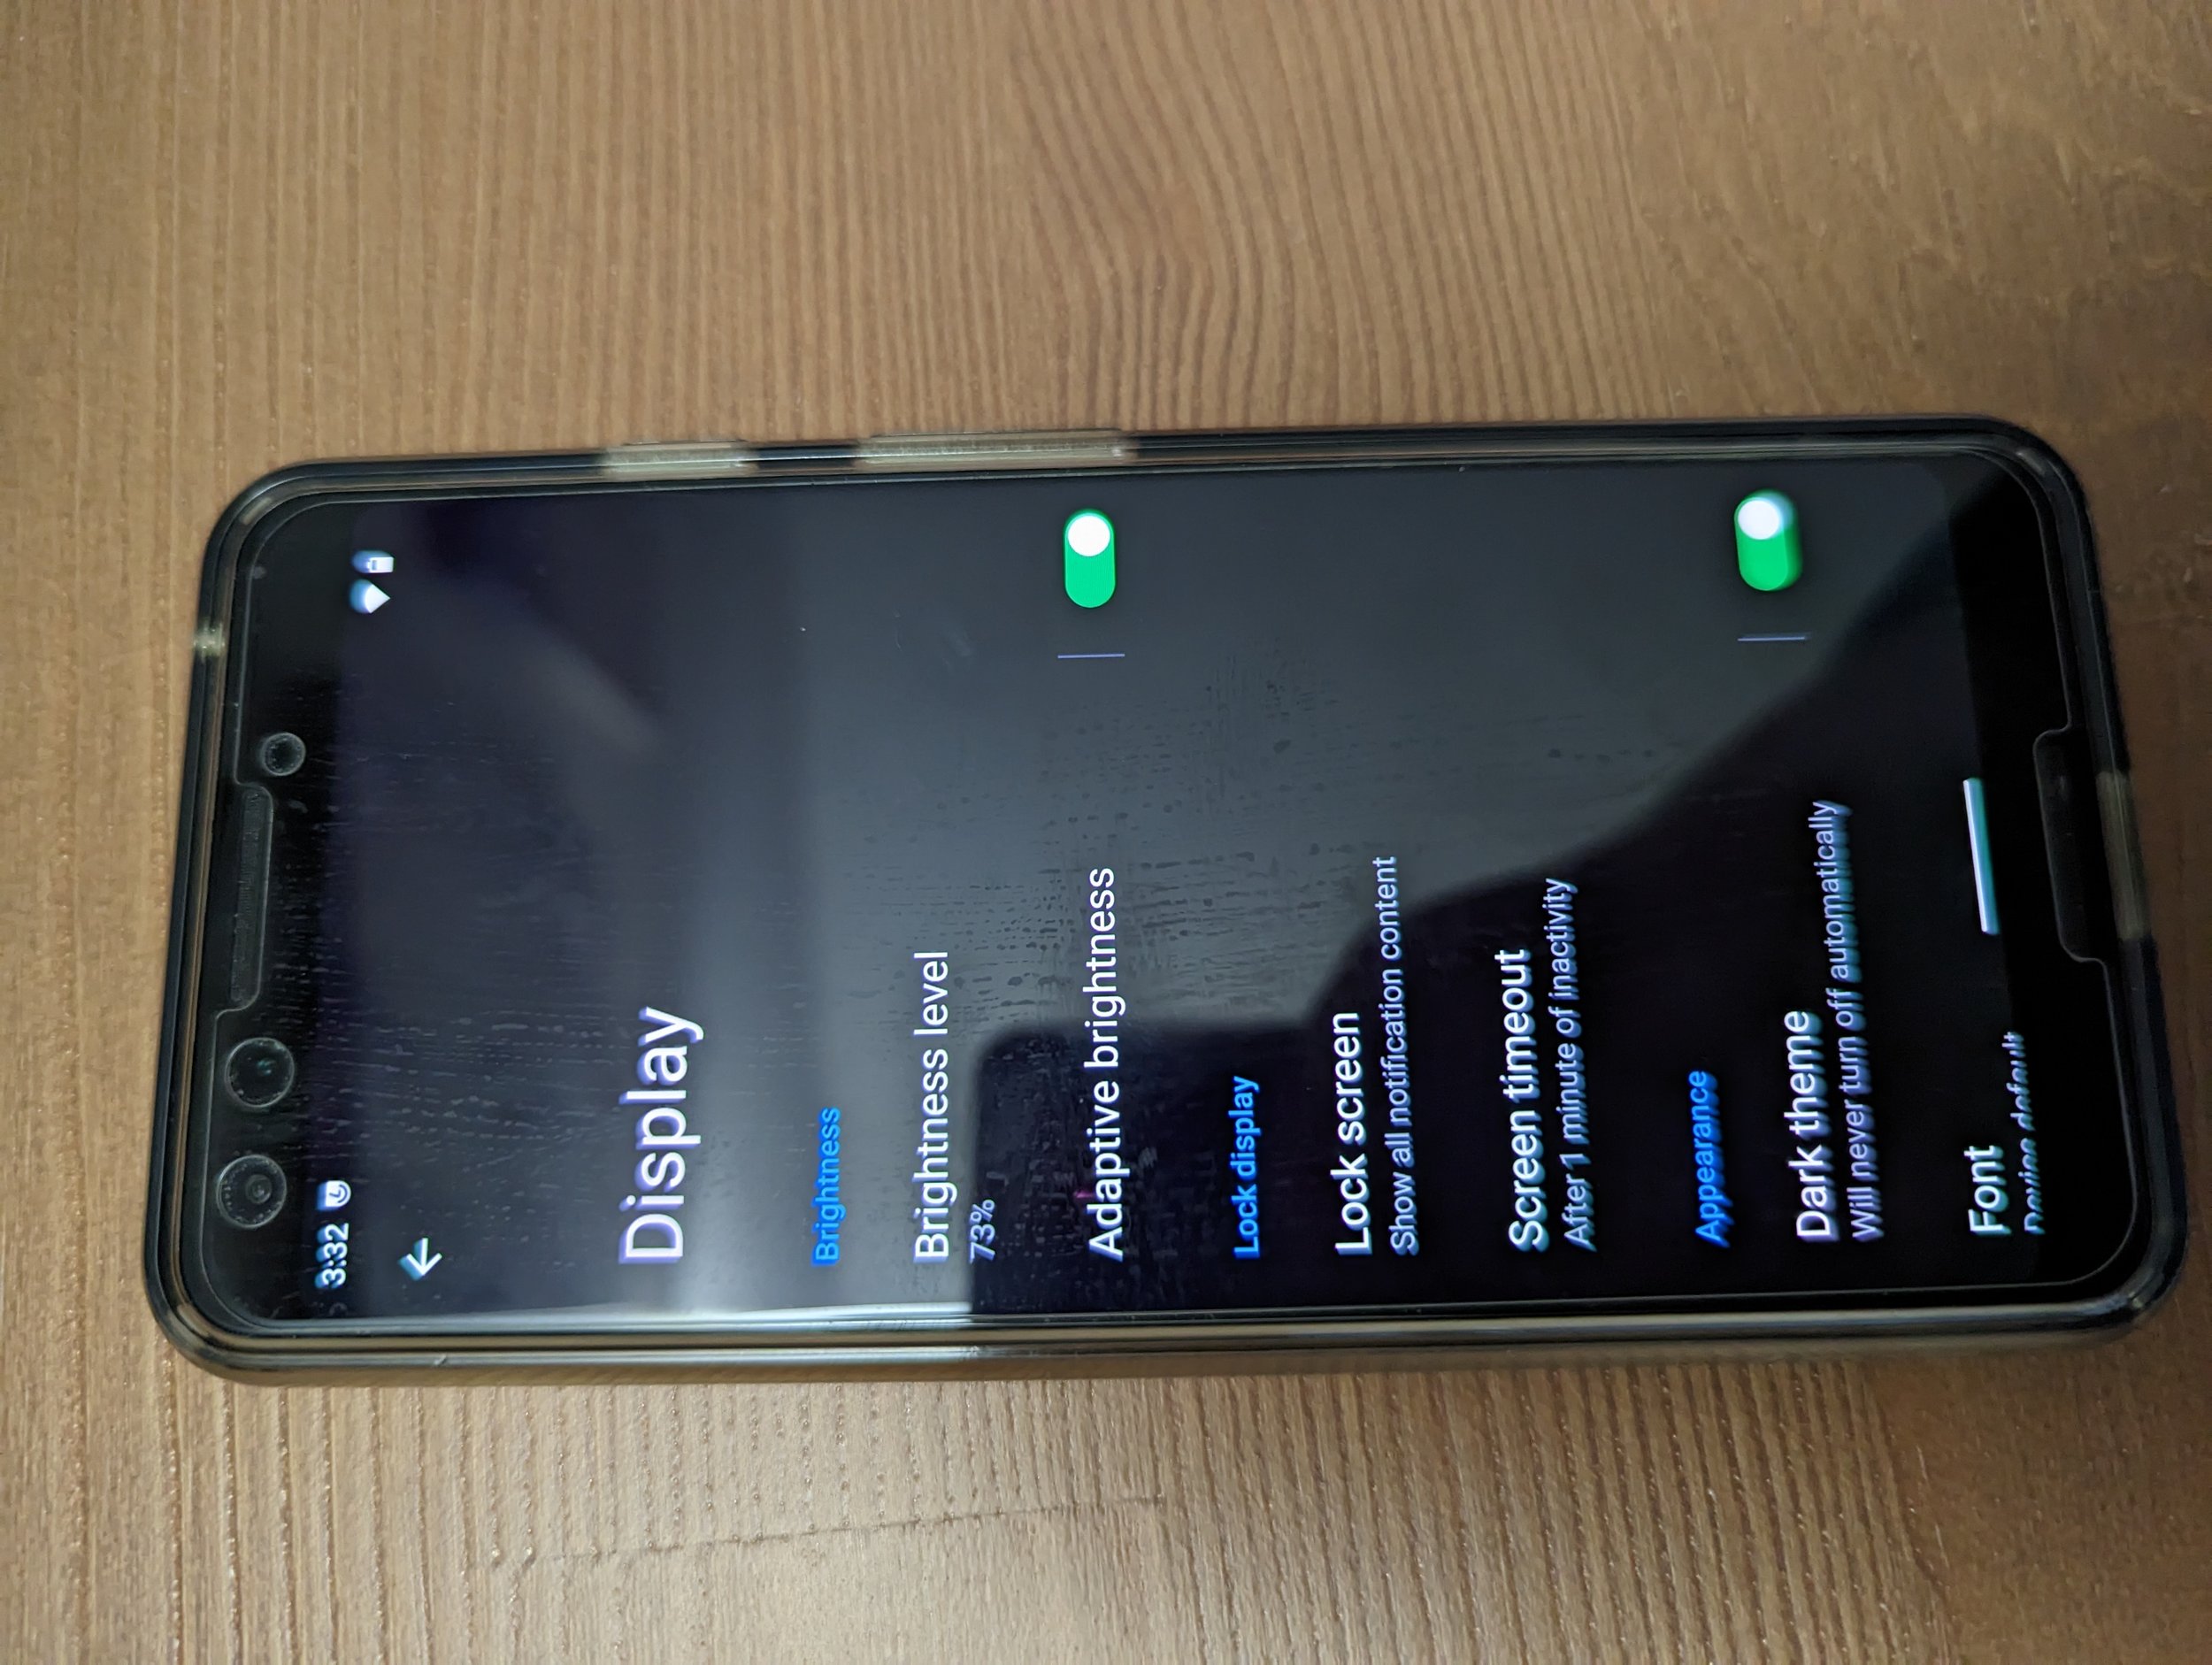
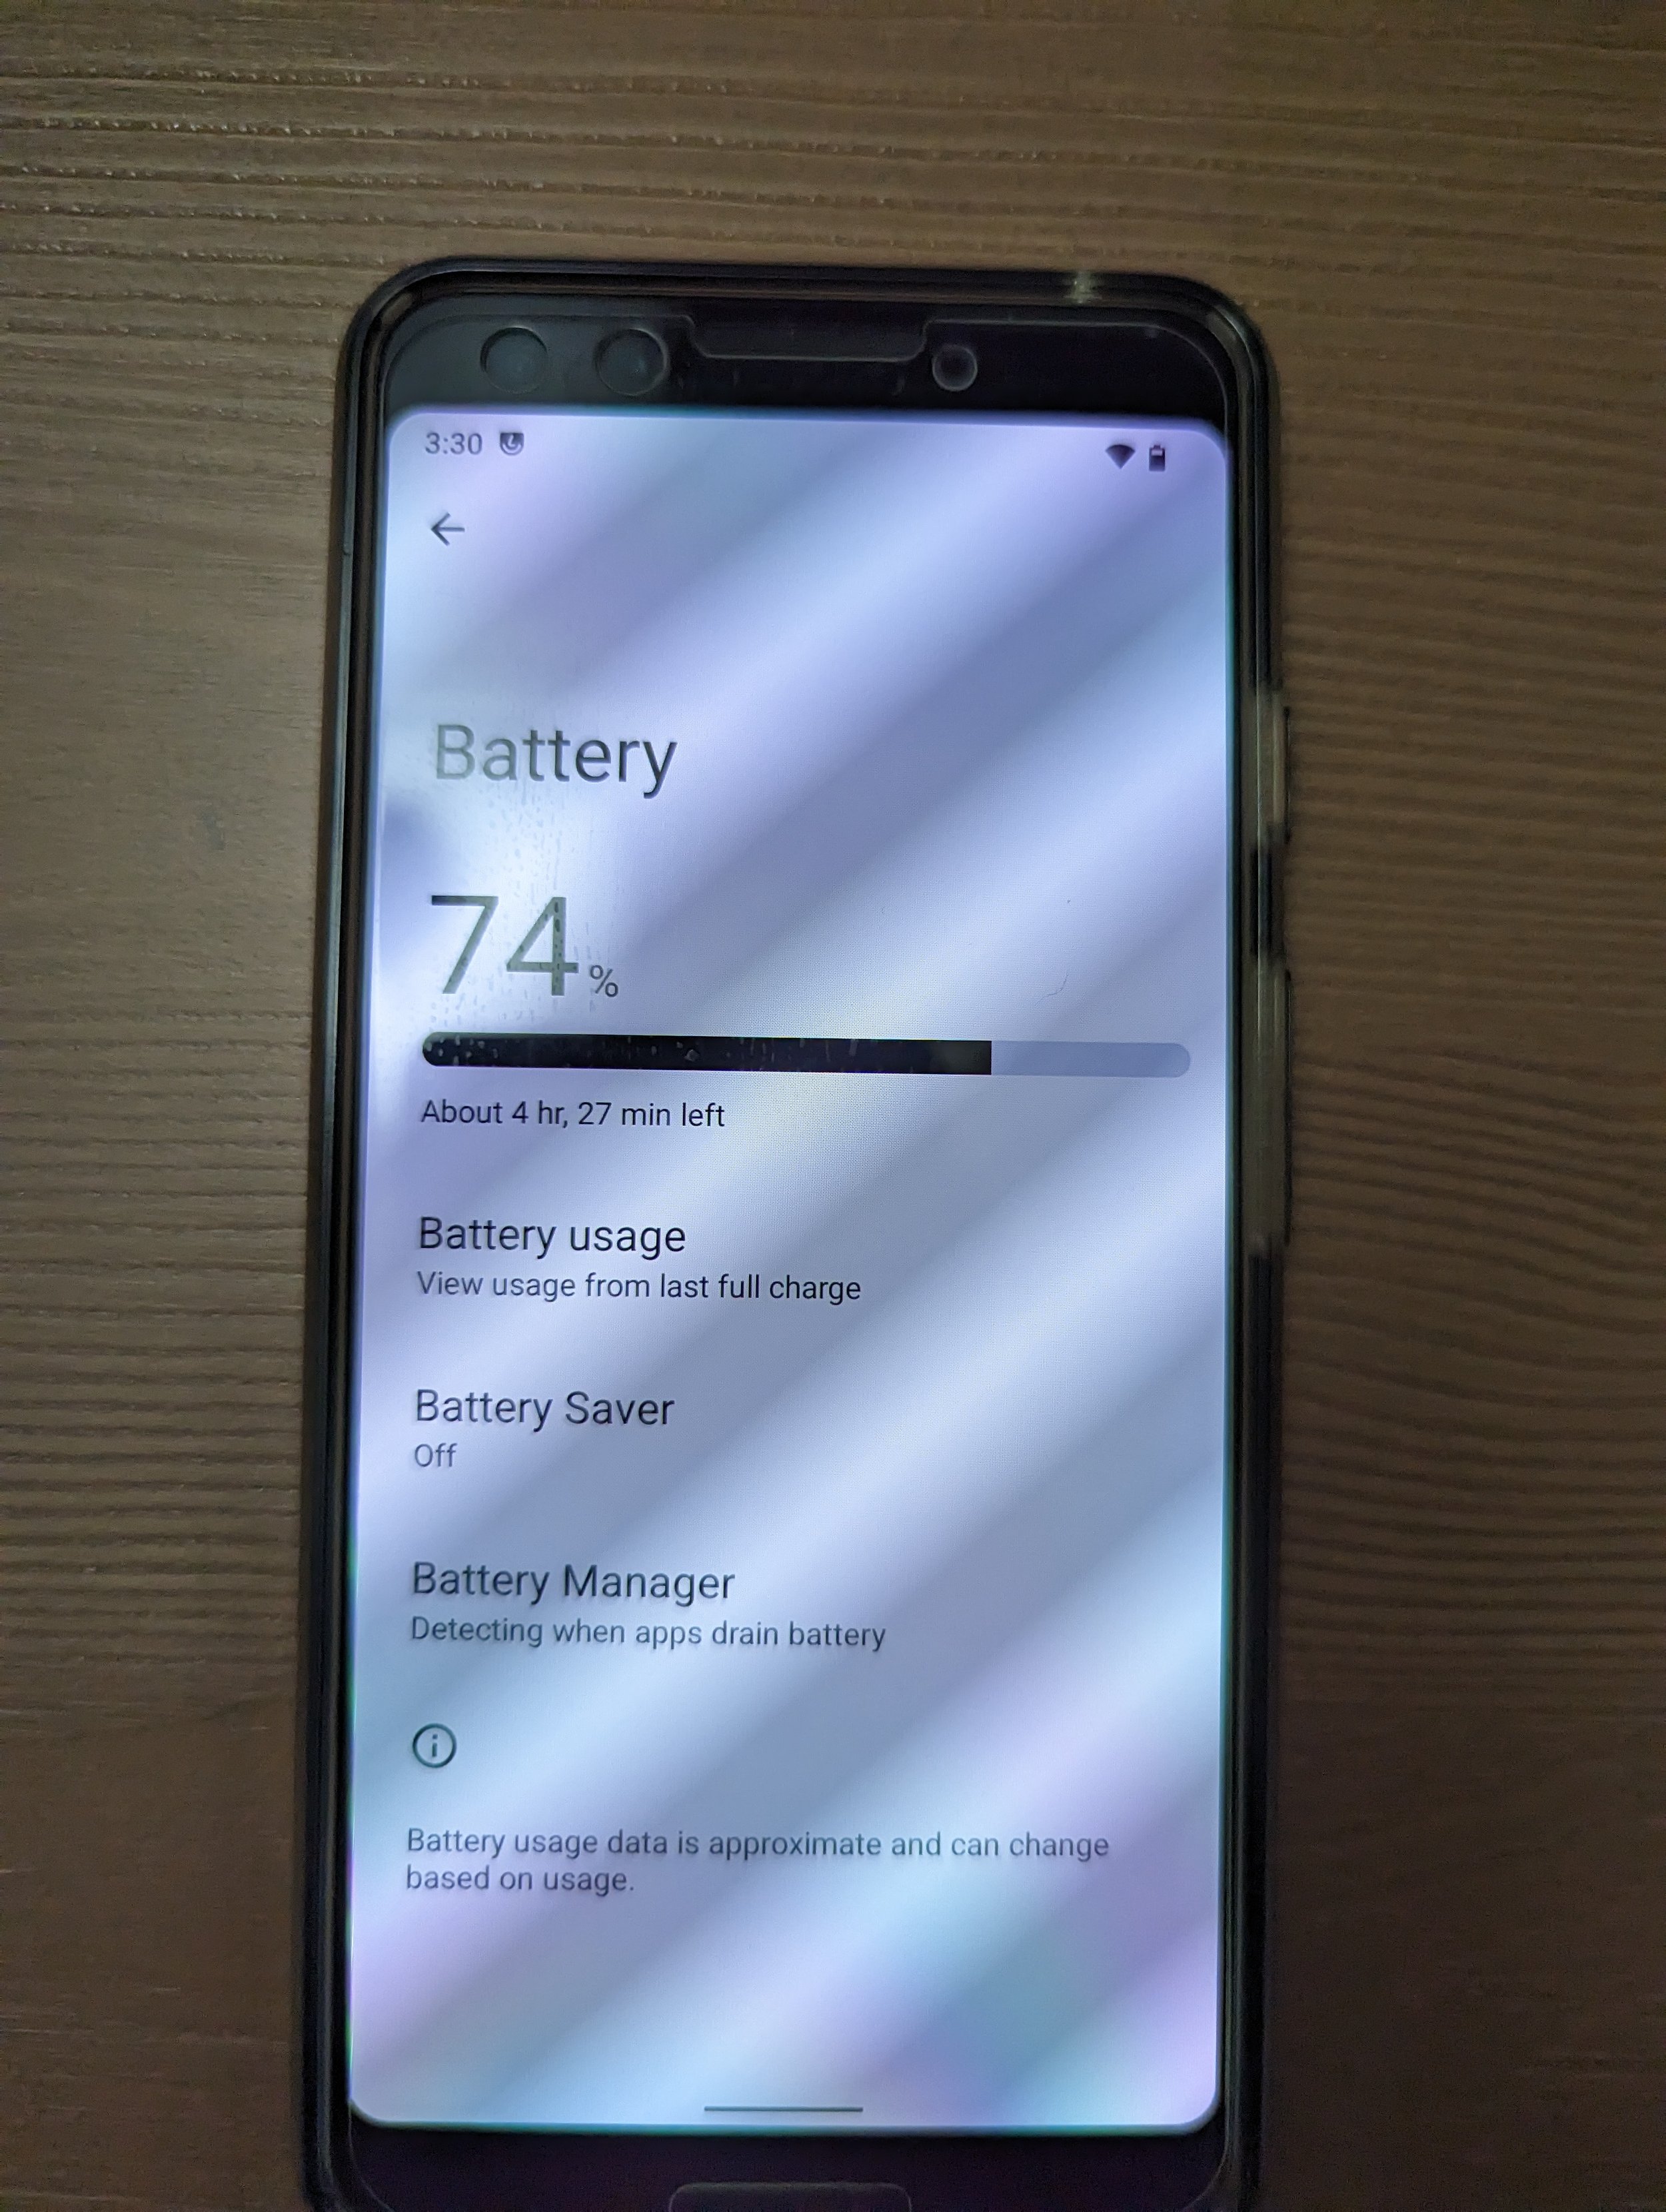
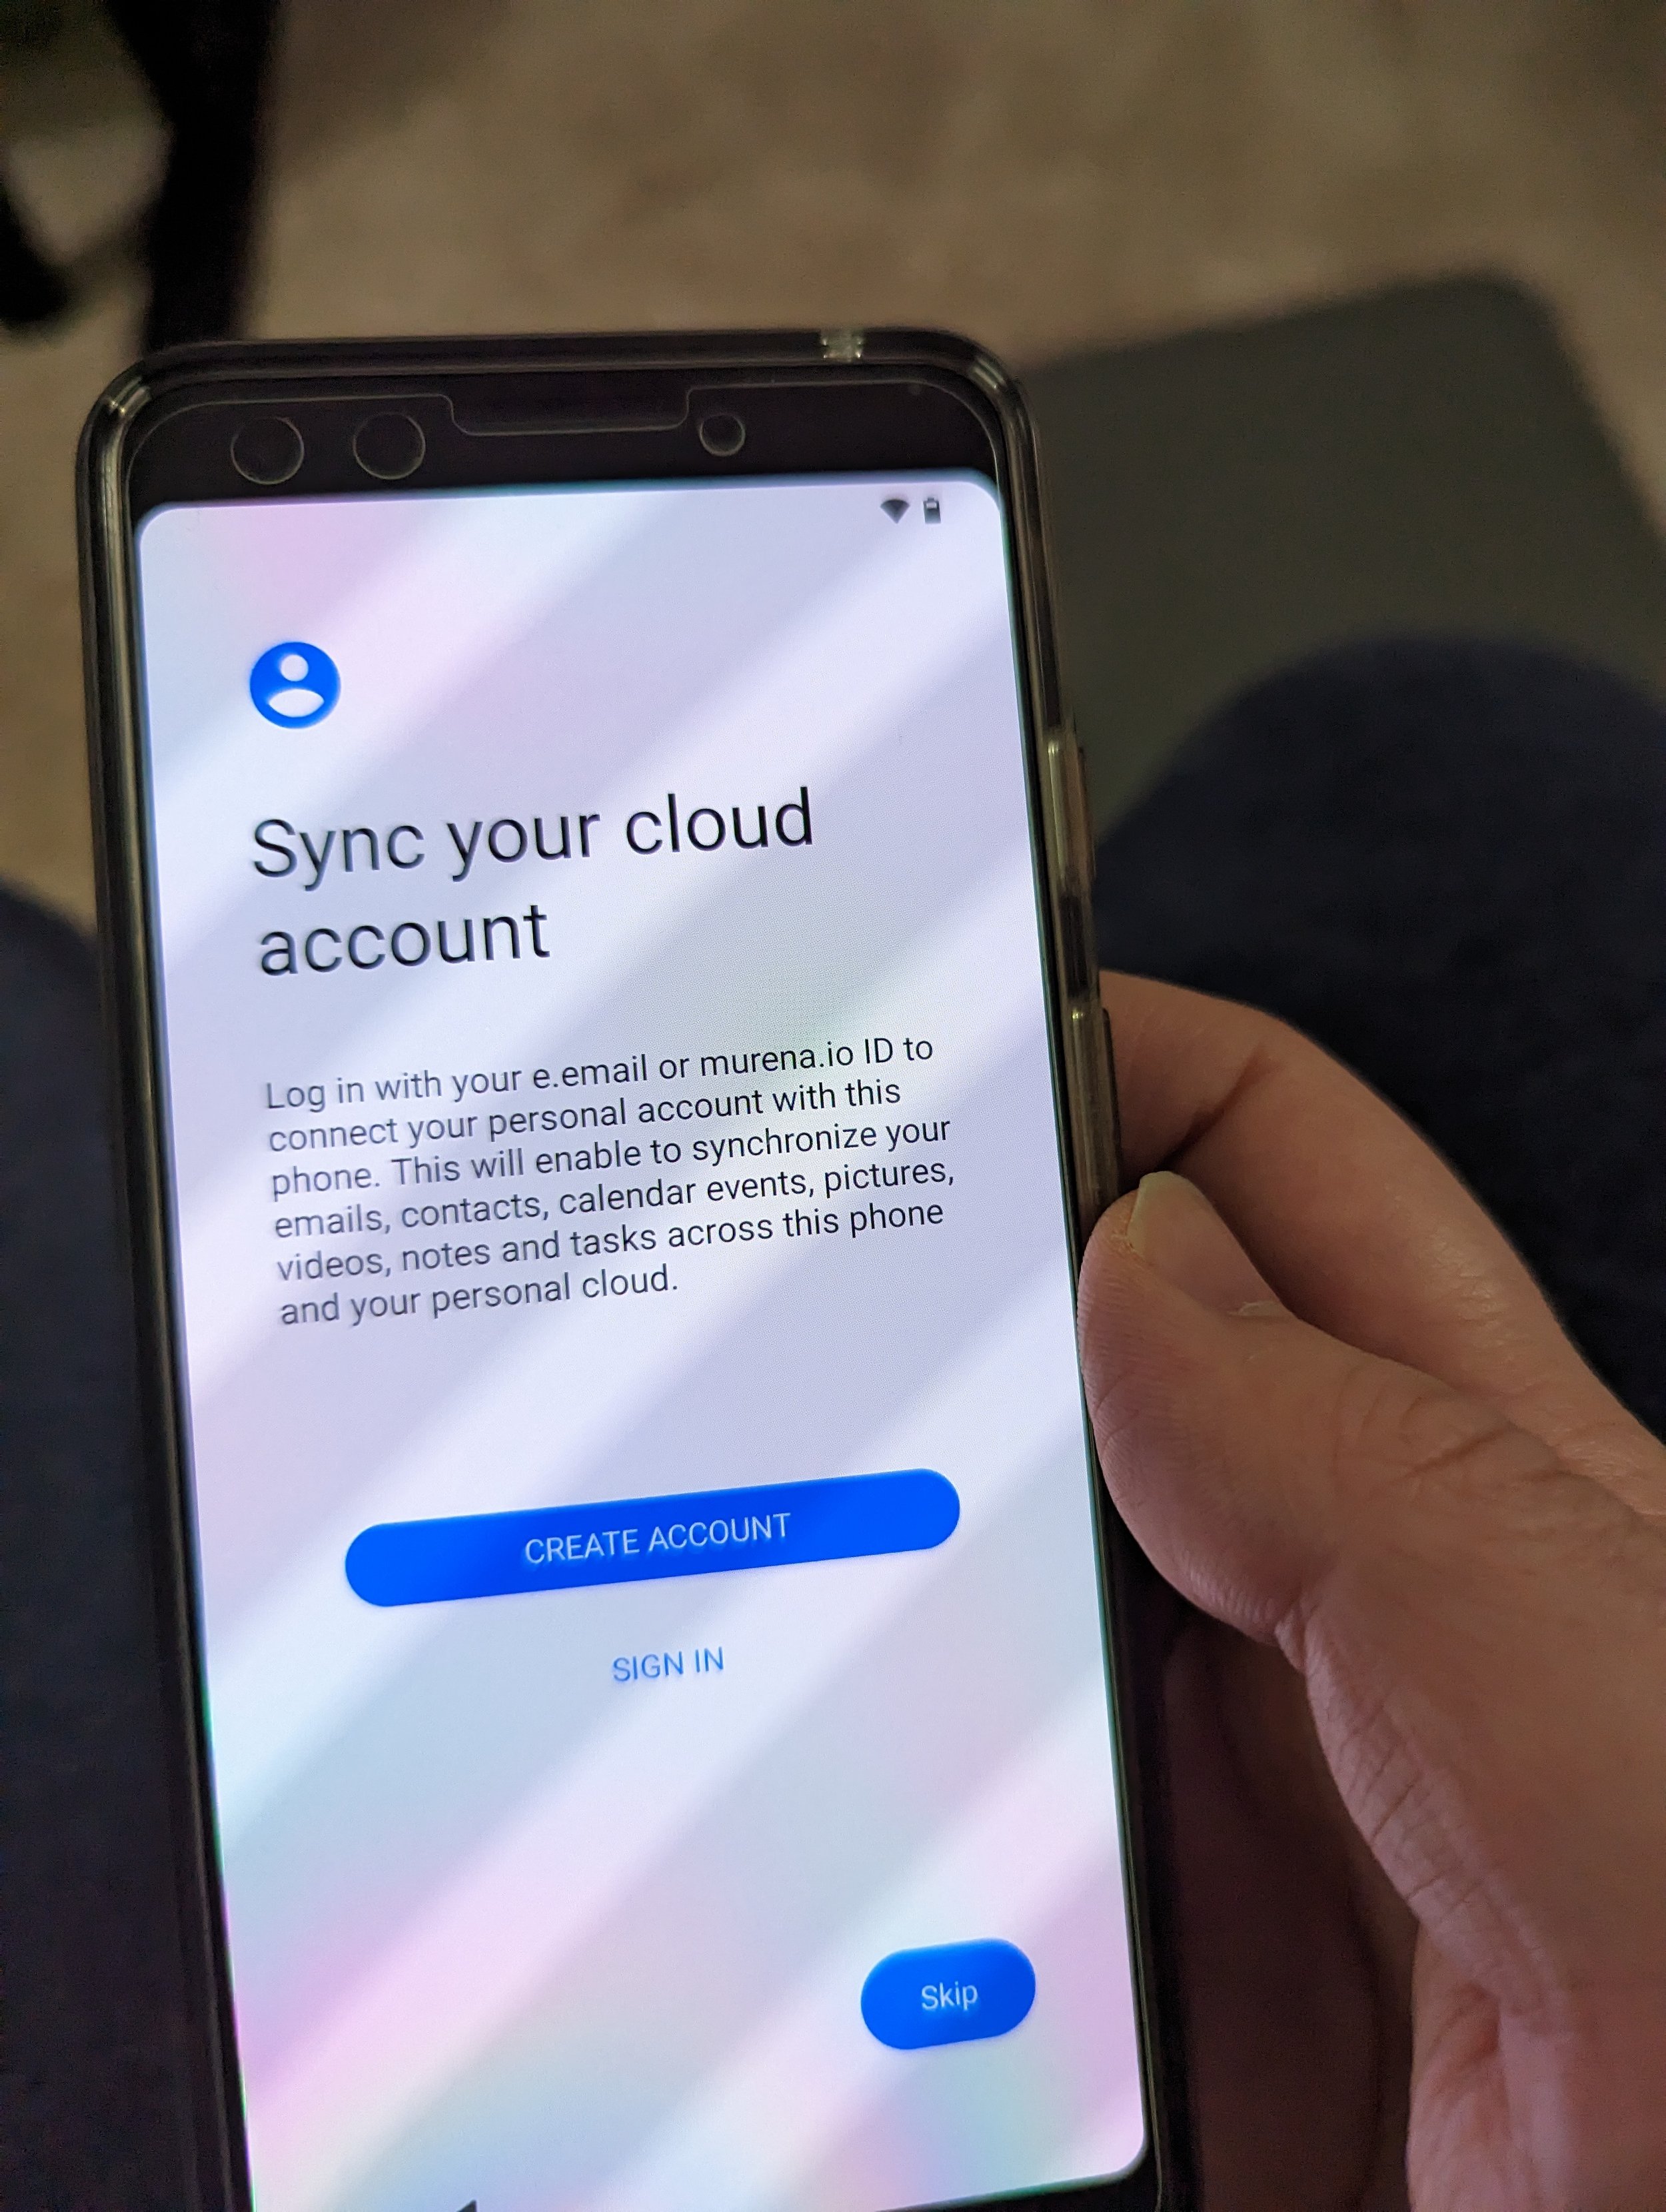
In the above little Carousel, you can flick through the different screens I’ve captured while messing with Android-based eOS on the Pixel 3. Note that the battery life on this device, being secondhand even when I received it years ago, has always been iffy. The stated expected battery life is still longer than it was with a stock Android 12 image from Google on there! Now, onto that Miyoo Mini…

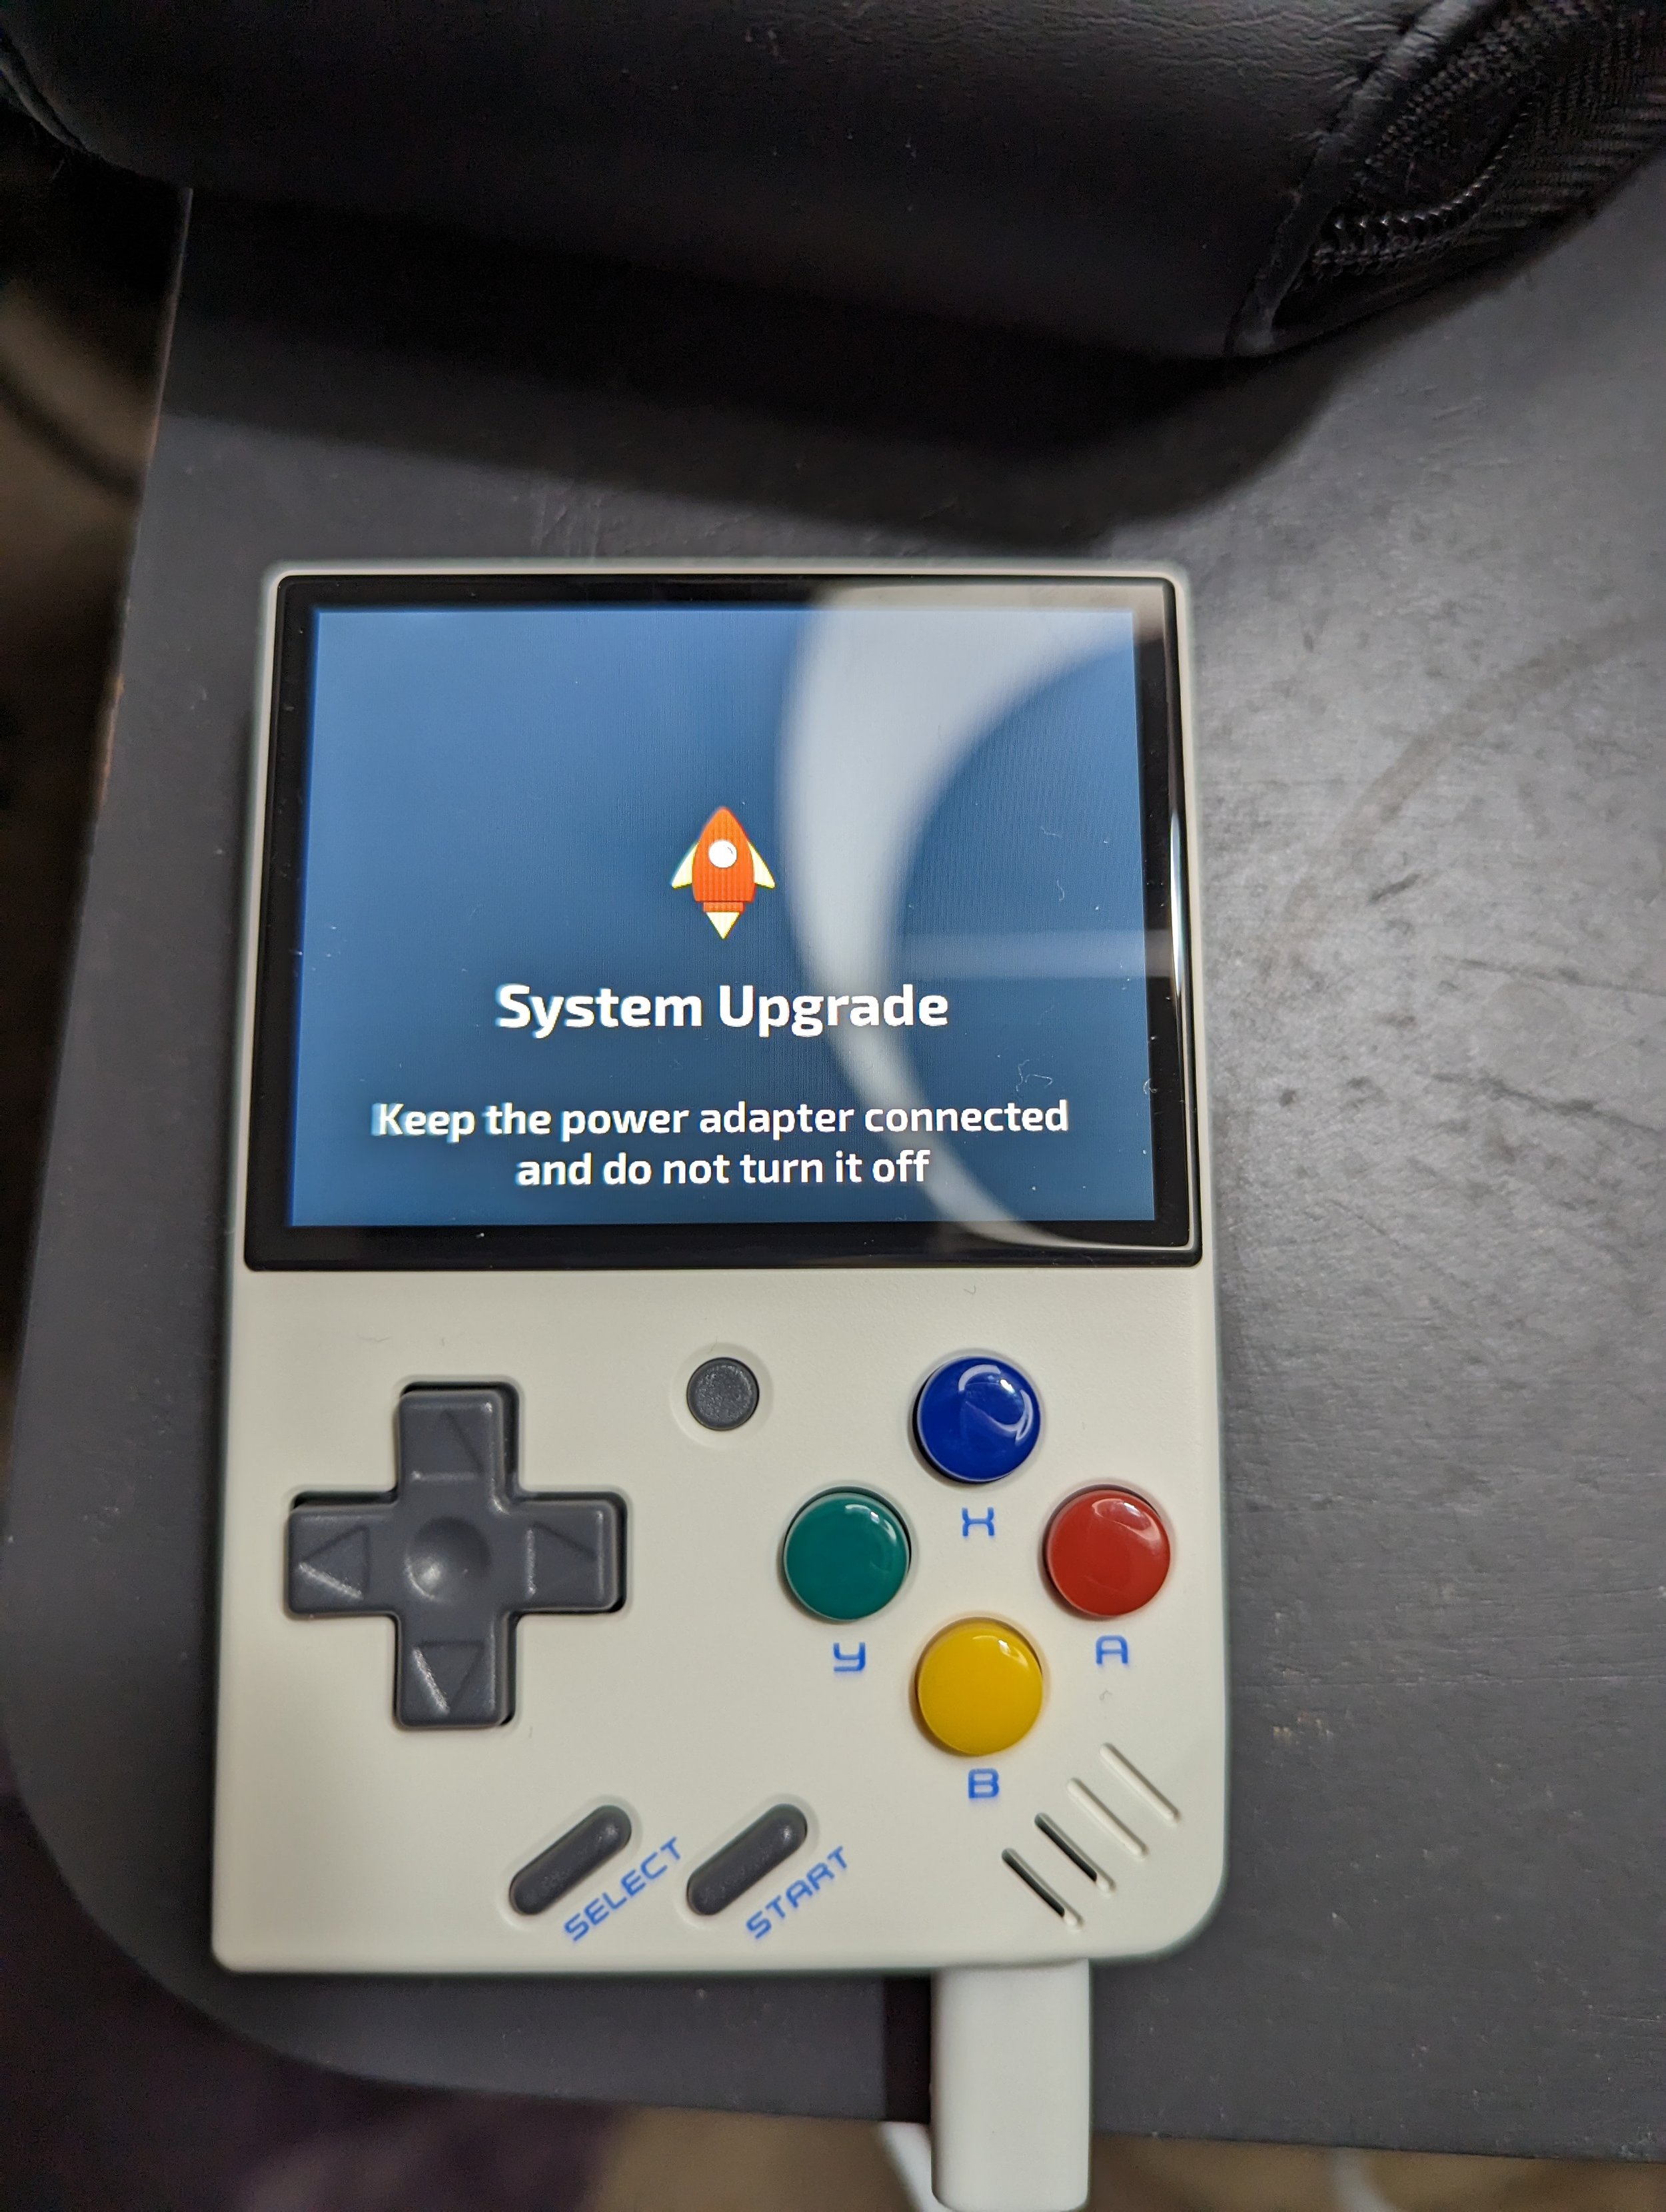
I went ahead and upgraded the previously out-of-date firmware on this Miyoo Mini to the April 2022 firmware noted here by the OnionOS install instructions.

After upgrading that, I thought I’d make an image of this MicroSD card and flash that image to a new SanDisk MicroSD card, as I’ve heard a lot of horror stories from the Miyoo reddit about people easily bricking their handhelds with the low quality MicroSD cards they come with. I used Gnome Disks on my Fedora install for this, as the KDE equivalent usually screws permissions somehow.

Then, after backing up an image of that MicroSD card, I flashed it to the 64GB new in box SanDisk MicroSD that I had.

Then, I went ahead and installed OnionOS on it by copying some files over and restarting the device with the MicroSD back in it. Love this little distro!

Love this little device. I think this will become my go-to pocketable game device when I don’t have the space to take out my Steam Deck. Have a great week, everyone!

Cooling the Steam Deck while Docked, tinkering with the Miyoo Mini etc

Greetings there once again, fine tinkery compatriots. This time I’ve burned some gift cards to try out some accessories for my Steam Deck and incoming Miyoo Mini.

I made a little public-facing Amazon list of nice-to-haves for the Steam Deck if someone is using it as a docked desktop machine, including a cooler that I’ve linked here. Going to take my Killswitch case off my Deck and attach that cooler now to see how it performs in a docked setup.

As you can see, it adds a bit of chonk to the back, but I can definitely still keep the deck sitting in a dock. At some point, I think I’ll put the handhelds I no longer use in a glass case a little nod to the history of handheld PC development over the years. From the VAIO UX380N, to the original GPD WM, to the Deck and beyond. Now, let’s run some benchmarks via PTS and see what the temperatures look like.

This cooler is fairly interesting! Looks to keep the temps slightly cooler when benching the system by taking my rail systems all throughout my Core Keeper server. Usually the Deck will easily be 75c+ across the board. Seems the cooler pulling more air out of the deck is also keeping the Deck’s fan RPMs low too.

I’ve also figured out how to get games on your MicroSD card recognized on the Odroid GO Ultra! Here’s the most recent Ubuntu EmulationStation image available for it. Here’s the tutorial on how to flash it. Also, here’s the Retro Game Corps video timestamp that I went to, to figure out what I needed to do in order to get the game roms to show up on the system. If only there was better upfront documentation or instructions on how to use this device…

Ah, never mind, looks like the current ES image still won’t read the rom directory structure on my unit, even though I’ve heard it’s working for others. Your mileage may vary there, so good luck!

I have a Miyoo Mini on order now, from the official KeepRetro storefront, having been scammed twice on AliExpress and no longer wishing to waste money on Chinese scam storefronts that are taken down the second they get your money. Once I get that, I’ll be checking firmware compatibility and then running through this guide to install OnionOS and check out how it runs!

Update, a few weeks later, the Miyoo Mini came in! Sadly, it is running some outdated firmware, so I’ll have to upgrade it to a version that is compatible with OnionOS soon, then I can tinker further. Once I find my 64gb Sandisk MicroSD card somewhere in my tech drawers I’ll give that shot.