The Depthboot Project

New blog post, but this might be a short one. No updates on the job front, but a friend has tipped me off to a project that may finally get a full Linux distro booting on my Thinkpad C13 Yoga Chromebook that I purchased back at the beginning of 2021.

Perhaps I haven’t done enough research into getting it to run, but I haven’t previously been able to get any full Linux distro booting as the main OS on this thing. Perhaps it’s because of the odd AMD Ryzen 5 3500C SoC processor, perhaps it’s due to some hackery that Google has done regarding the booting firmware for AMD processors on Chromebooks in general. Either way, I was unable to get anything booted other than ChromeOS or Linux via an LXC container previously.

Below, I’ll run through a recording of what you need to do, according to the Eupnea Project’s instructions here, to get a bootable install of Linux running from a flash drive on your target Chromebook of choice. The Depthboot Project is an effort from the Eupnea Project’s community to get proper bootable Linux distros installed on Chromebooks without modifying the system’s firmware or hardware. Their scripts build a full bootable install of one of the available distros, utilizing Depthboot and the ChromeOS kernel or Mainline kernel depending on your choices.

For my C13 Yoga Chromebook, I found that only the ChromeOS kernel boots properly on this machine...so far. We’ll explore more later in this post. There are some occasional graphical glitches, and suspend is non-functional, but everything else works perfectly with this installed!

Below I’ll add a screenshot of my currently-installed Fedora KDE w/ChromeOS-kernel image on the system. Now I’ll get that Cinnamon install running the more recent mainline kernel booted and do another recording of the terminal in there on how I install it to the disk.

I then went ahead and setup audio while booting to the Fedora-38-with-Cinnamon-and-Mainline USB that I had built. I also went ahead and ran the install-to-disk script that the Eupnea project had added to image the drive with the current install I was booting from…but it seems asciinema corrupted that recording. So here’s the audio setup recording.

After I had the Thinkpad C13’s audio working fine from that script, and ran the install to drive script, I tried restarting the system from the terminal, but it seemed to hang on the screen that says “system rebooting NOW!” for at least five minutes. I hard powered it off, removed the USB and powered it back on. Things look to be working better now.

Next, I went ahead and installed Steam, Discord, Protonup-QT, my Mullvad VPN etc and took a screenshot :)

While it seems suspend still isn’t working properly on this fresh DE and mainline Kernel in this install, the audio is working fine and I don’t see nearly as many graphical glitches as on the ChromeOS-kernel install. Thanks again, Jade, for recommending them!

ChimeraOS Testing on the Win600, The Job Hunt Continues

Hello again there! Here goes another blog post. Not much happened in April, so not much to say. I’m still on the hunt for an ethically-paying remote job due to the possible implications catching COVID or other blood-related infections could mess with my Hemochromatosis.

Anyway, if anyone is hiring Linux Support Engineers or Customer Support people remotely, I’m available!

In other news, I was sent an Anbernic Win600 lower-end handheld by a generous friend recently. They wish to keep anonymous, so I’ll respect their wishes. This little guy has an AMD Athlon 3050e Silver in it. I went ahead and upgraded the RAM From 8GB at 2666mhz to 16gb at 3200mhz though. As I don’t have any 2242-sized M.2 drives, nor the funds currently to grab one, I’ll keep this little guy at its stock 256gb storage.

It originally came with Windows 10, which was a terrible experience. The system wouldn’t power on until it was fully charged, about 2.9 hours on the cable it came with, and then it took 10 minutes to “power through” the Windows boot-up.

There’s my little Crucial RAM upgrade there. Note that you should always unplug batteries when working on electronics. Also, that fan is practically always-on…going to need to see if I can get a better thermal pad for this 6W APU.

After plugging in a flash drive, I went into the boot menu on the Anbernic Win600 to see if I could load my Ventoy USB. If you try to change boot selection without anything else plugged in, it seems you’ll have a bad time. I ended up trying three different USB-C hubs before ending up on one from Cable Matters that worked. After plugging in a keyboard and mouse (no HDMI output in boot menu or installation) I successfully went into Ventoy and chose my ChimeraOS installer, as this experience will be a hell of a lot better than Windows. You can check out their website here.

After getting the image to boot, with a dock plugging the device into a keyboard and mouse as well as Ethernet and power, it went ahead and booted then ran through the automated installer.

I’m comfortable leaving that QR code here, as I ended up refreshing it, and then logging in via the Steam app. This is what the welcome screen for ChimeraOS looks like! Once you’re booted up and signed in, all the controls work perfectly fine! The only somewhat not-intuitive aspect of this is that the Windows button on the right acts as the Steam button and the Home button on the left acts as the *** triple dot button you’d usually find on the Steam Deck for Quick Settings.

In my testing with this little guy, it can’t really handle too many large 3D games, but I played the following games perfectly fine when locked anywhere between 30fps and 60fps on this amazing screen:

  • Vampire Survivors

  • Factorio

  • Core Keeper

  • Monster Crown

  • Graveyard Keeper

  • Cave Story

  • Hades

  • Cult of the Lamb

More Progress on Switchbuntu, Job Hunt and Living Room Steam Machine

Hello all! I recently went to SCaLE 20x in Pasadena, California. It’s a wonderful mostly-community-led and -oriented event in Southern California. Here’s a fun pic of me helping out at the Lutris booth!

I also met some super cool people at the Ubuntu booth! Aaron Prisk and Monica were so cool to talk to. I ended up setting up my Nintendo Switch with Ubuntu on it as a side-showcase at their booth. I’ll definitely be helping out again with the Lutris booth next year and bringing even more cool projects! I met quite a few people at that event and I’ll also be following up with the companies I’ve talked to, to see if I can finally get another remote tech job!

Side note; The Division 2 has some cool events going on right now. With GE-Proton7-49 and above, you’ll be able to play it just fine on both Steam Deck, and any Linux installs you have! This won’t run on the Ubuntu 18.04 Nintendo Switch, but on the other hardware I’m using daily, it runs fine!

I’ve added the above image, accompanied by a terminal session recording, to my Nintendo Switch Ubuntu project page here if you’re interested in learning more about how that’s going. Seems something may have been taken away in recent Steam updates, as I can’t get the application opened via the Switchroot wiki instructions.

Some last things before I end this blog post here for now!

Ubuntu on my Switch, Pastel Miyoo Mini, and the Job Hunt continues...

Greetings, fellow geeks. I’ve recently received an RCMLoader/jig combo kit for my OG Nintendo Switch. I’ll be walking through the process I went through to get Ubuntu 18.04 (the only one NVIDIA supports here) running on my Nintendo Switch on my project page over here if you’re interested.

I’ve also recently received limited edition decals and buttons from SakuraRetroModding to Kirby-ify my Miyoo Mini, so I’ve gone ahead and done that and loaded more PICO-8 cartridges on there.

Here’s a little teaser image of what I’ve been documenting over on my Nintendo Switch Linux project page. Looks like the community contributors have come an awfully far way now! There are some libraries from 20.04 or newer releases that would really help where I’m trying to get with this effort, but I suppose compiling and installing things on the older Ubuntu 18.04 release works just as well. Ubuntu 18.04 seems to be the focus of that Switchroot project due to NVIDIA having drivers for that specific release, but not for newer ones that use a similar ARM/NVIDIA setup as the Switch.

Despite the decal being slightly askew, which I can fix later, here’s an image of my Miyoo mini I’ve recently dazzled up a bit! I acquired a limited run of pastel buttons from SakuraRetroModding on Etsy for this guy, updated OnionOS and added some Kirby games to finish the feel. I’ve mainly been playing through Kirby: Nightmare in Dreamland, Megaman Battle Network Blue Moon, Cave Story (Dokutsu Monogatari) and Advance Wars on here. I was happy to learn that most of these ROMs are available if you search the lovely Archive(dot)Org website! Gosh I love the game archiving community.

Here you’ll see that I’ve added a few more PICO-8 carts to this OnionOS install. Turns out there was a newer iteration of PCraft for PICO-8 consoles (or fake8 on OnionOS) that you could actually save your game in and fight a boss in.

That’s about all I have for this last bit of February! My job hunt is ongoing and I’m open to any and all remote opportunities for Linux-friendly companies! I have built up more of a focus in customer support and hardware support in that industry as of late, and am definitely open to anyone wanting to talk or interview!

Here are a few notable things I’ve found in the past two weeks:

eOS on my Pixels and OnionOS on the Miyoo Mini

Greetings again, fellow Linux lovers and open-sorcerors!

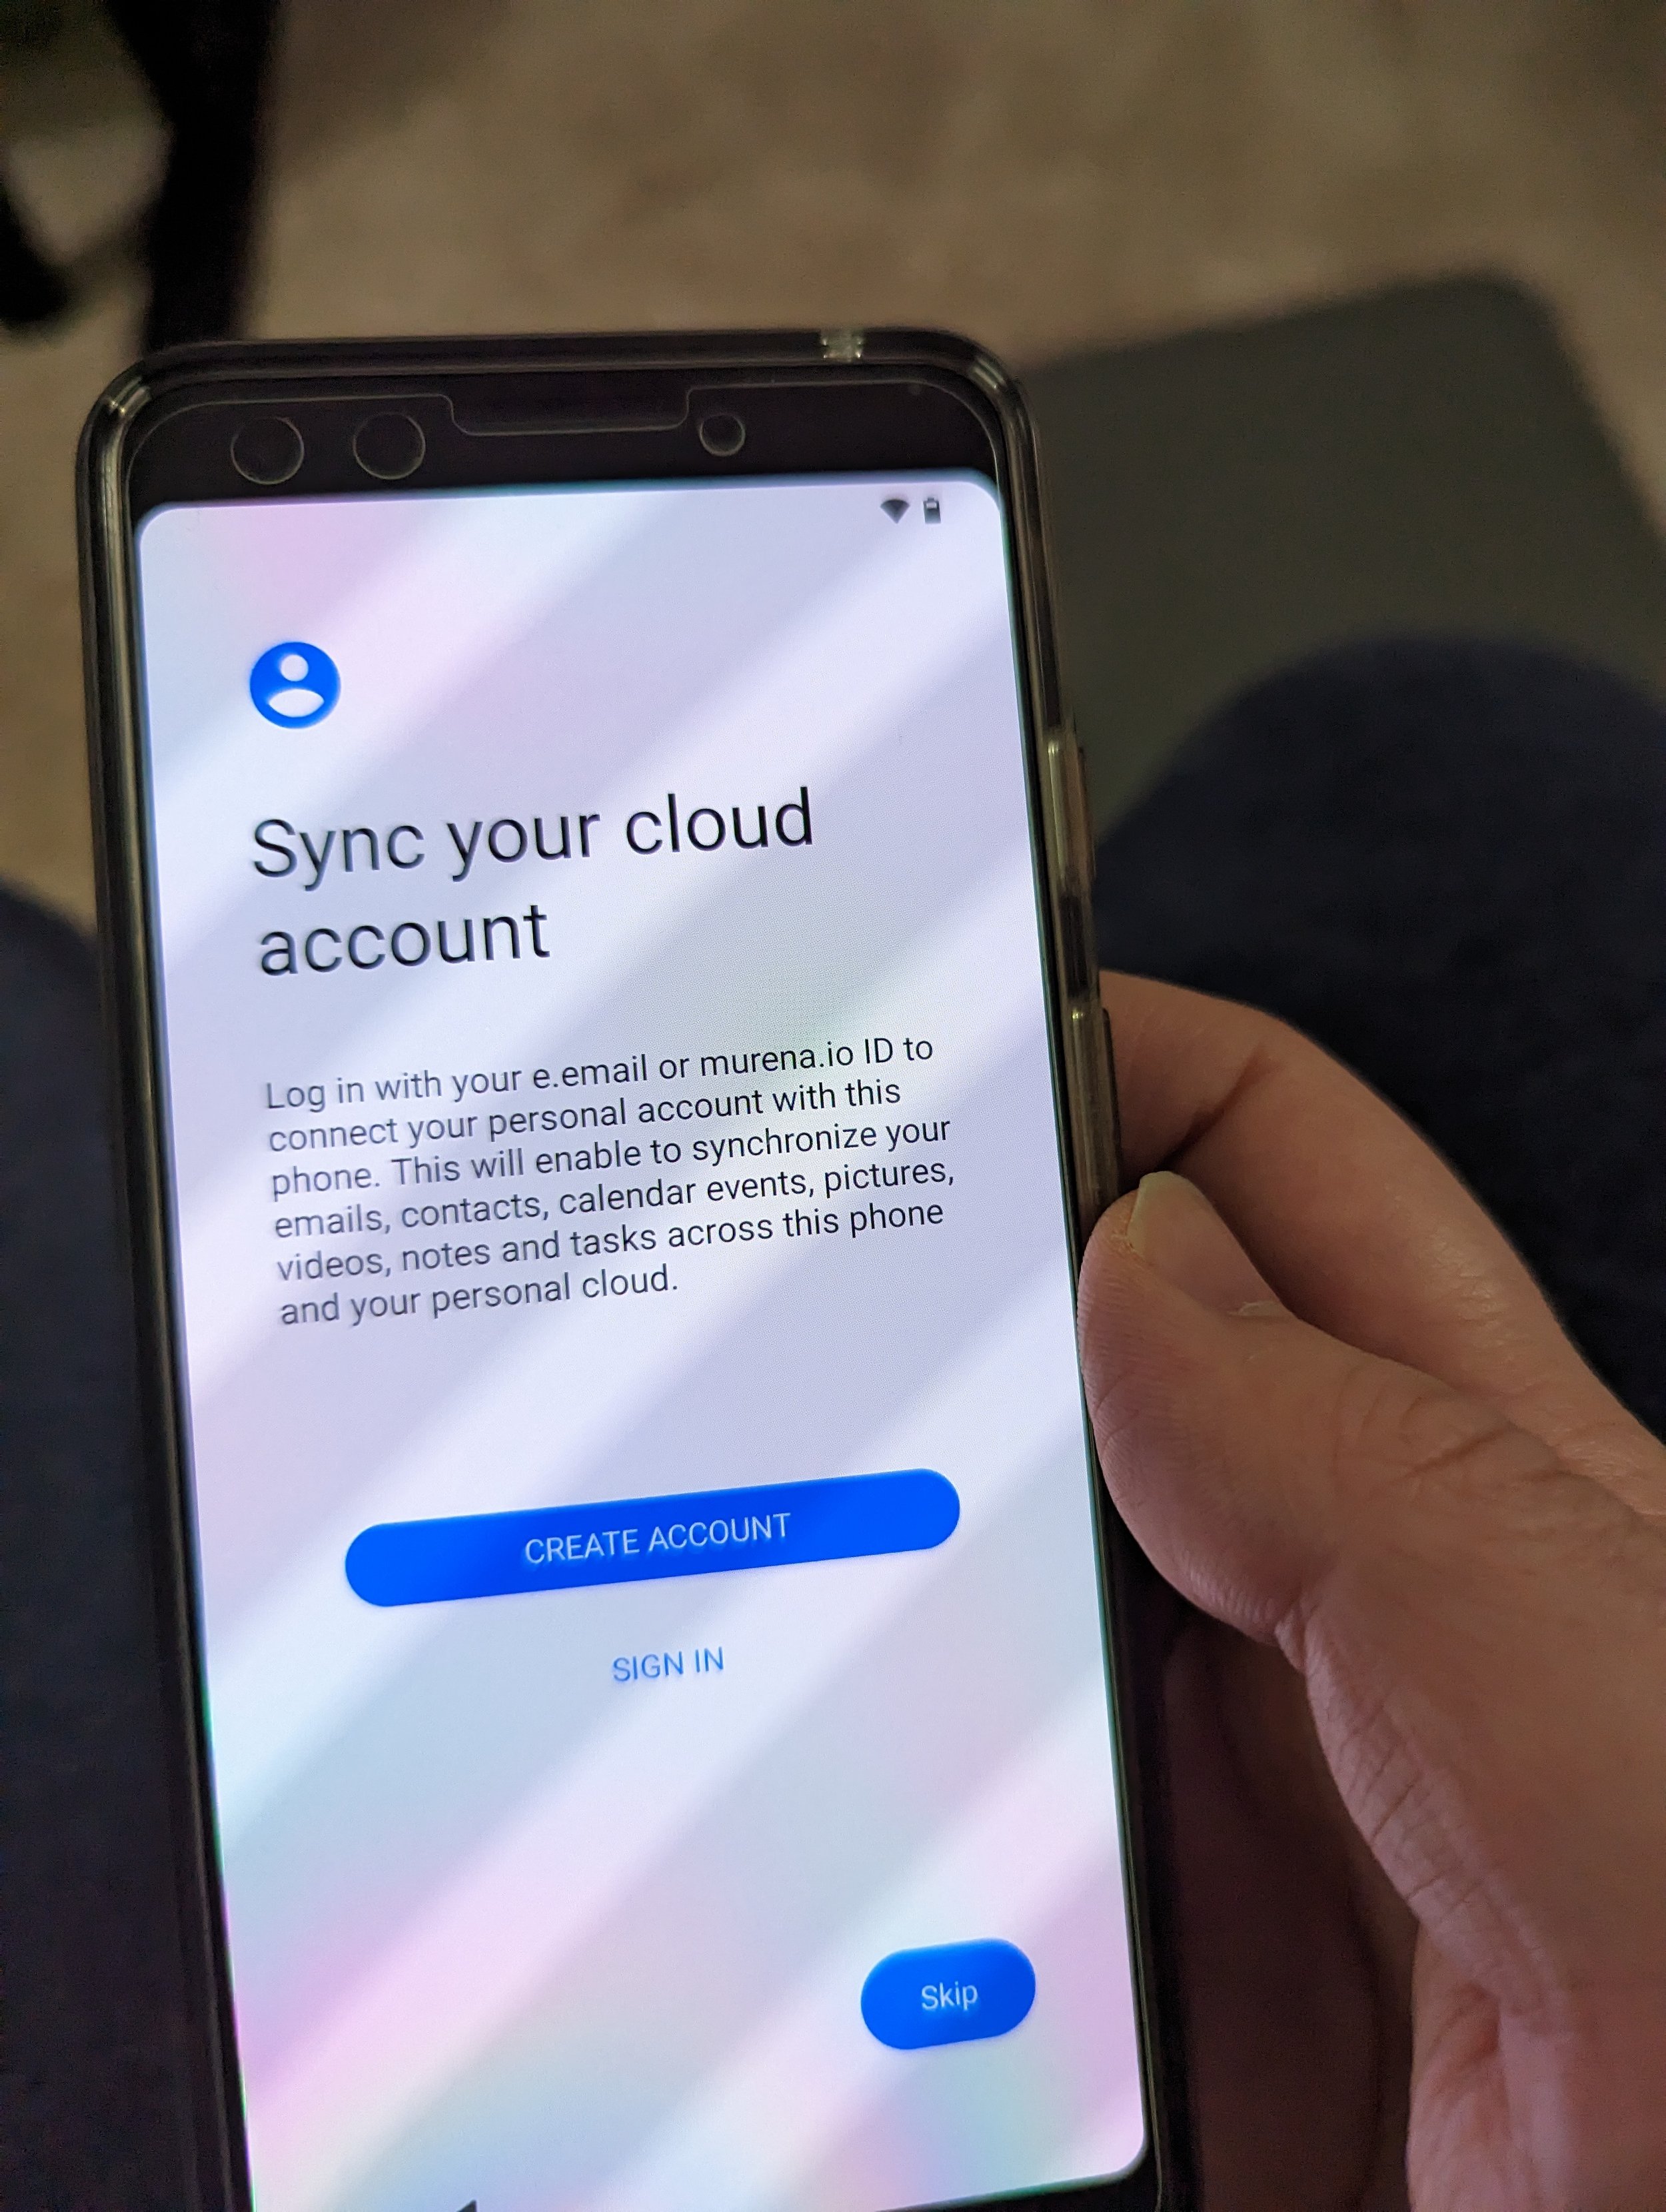
Digging around in my storage, I found that I still have my original Pixel 2 XL and a secondhand Pixel 3 I must’ve got from a friend. I only know this due to tracking the devices in my Google account. Let’s go ahead and wipe them to throw eOS from the E foundation on there!

I’ll add a video below that Nick from The Linux Experiment youtube channel created last year on the state of eOS.

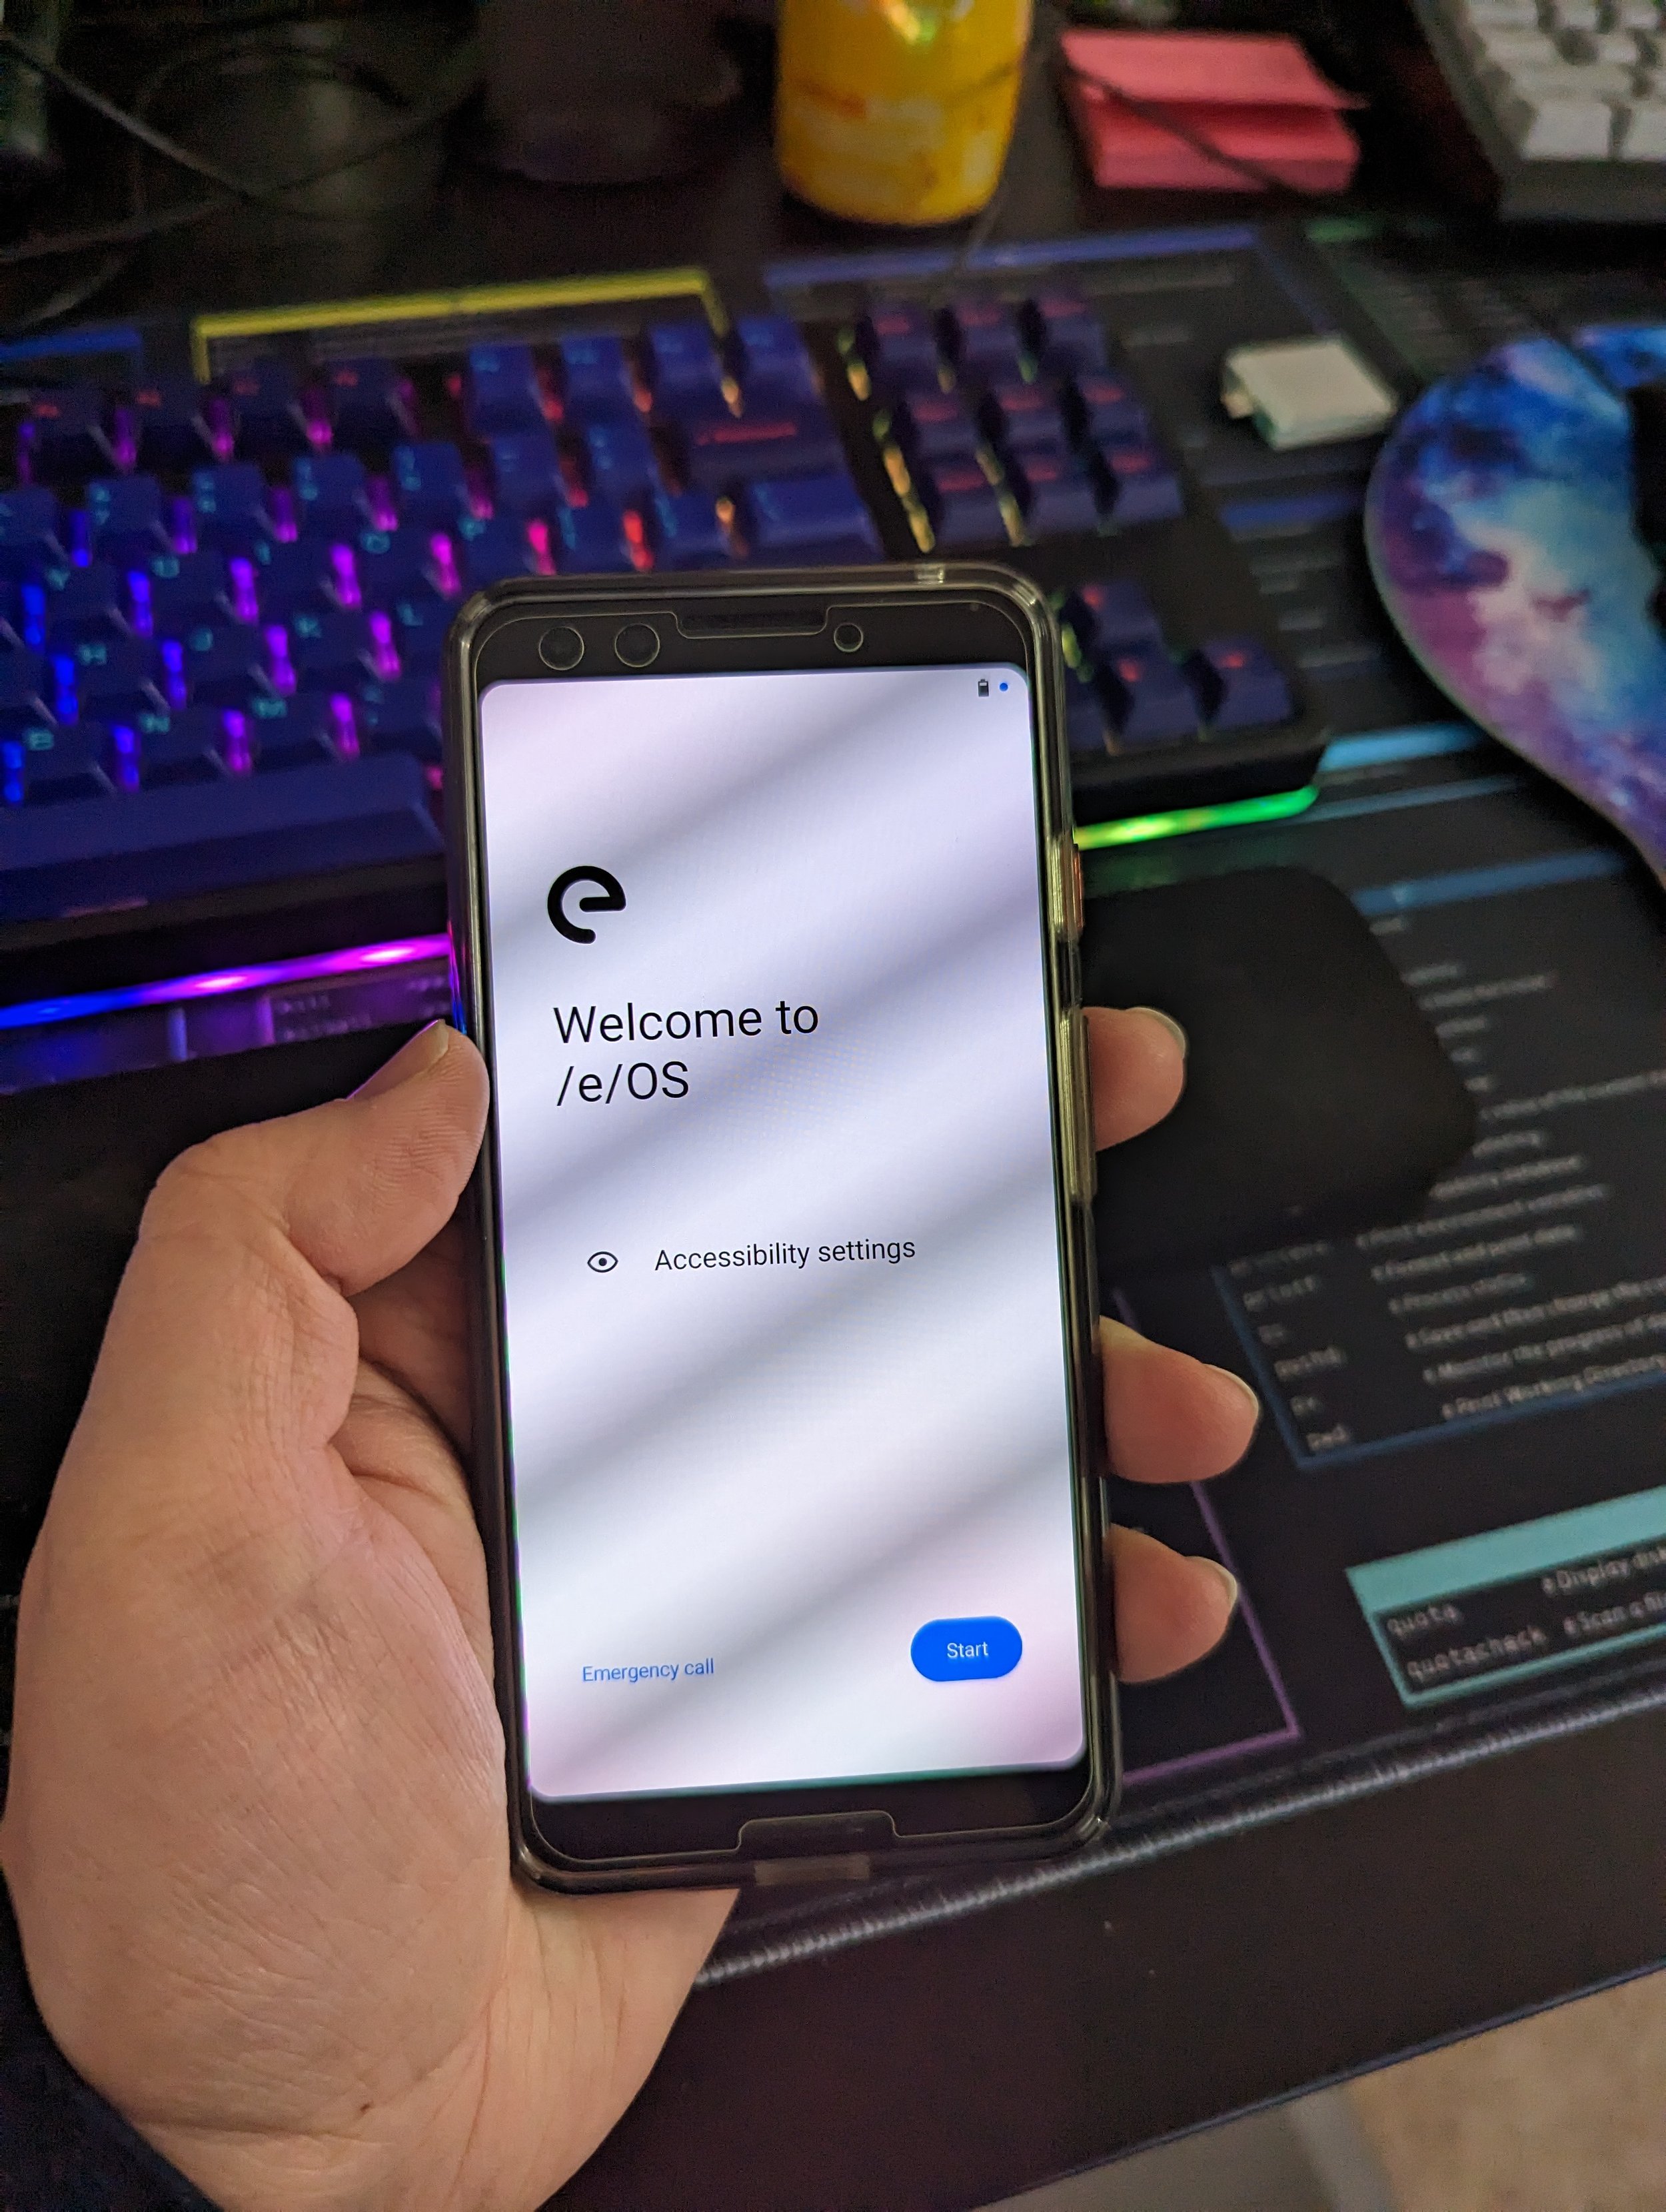
The thought came to me; why not run the most recent builds of eOS on my previous Pixel devices? Perhaps future owners could enjoy these with a privacy-friendly and open-source replacement to Google’s “pixel” vision of Android on there. For now, I’ve just installed it following their documentation here on my Pixel 3. Note that I ran Fedora 37 when following those instructions, and had to make sure I had the android-tools package installed. Note to grab the “Android S” image for your Pixel 3 if your phone has been updated to Android 12. If not, the R images will work fine, but it’s recommended to upgrade to Android 12 before moving forward, as I believe eOS may use that slightly newer kernel.

Looking at the above image, it seems my Pixel 6’s camera decided to fuzz out the background so it could focus on the Pixel 3 running eOS. Either way, this is cool to see! As part of the instructions, you use a few handy dandy terminal commands to temporarily get it booting into a different recovery as you flash eOS which was a fun little adventure. I haven’t done more than poked around the install thus far, but it seems quite lightweight! Let me know, once I wipe her down with some alcohol if anyone would be interested in buying a device with eOS from the E Foundation preinstalled.

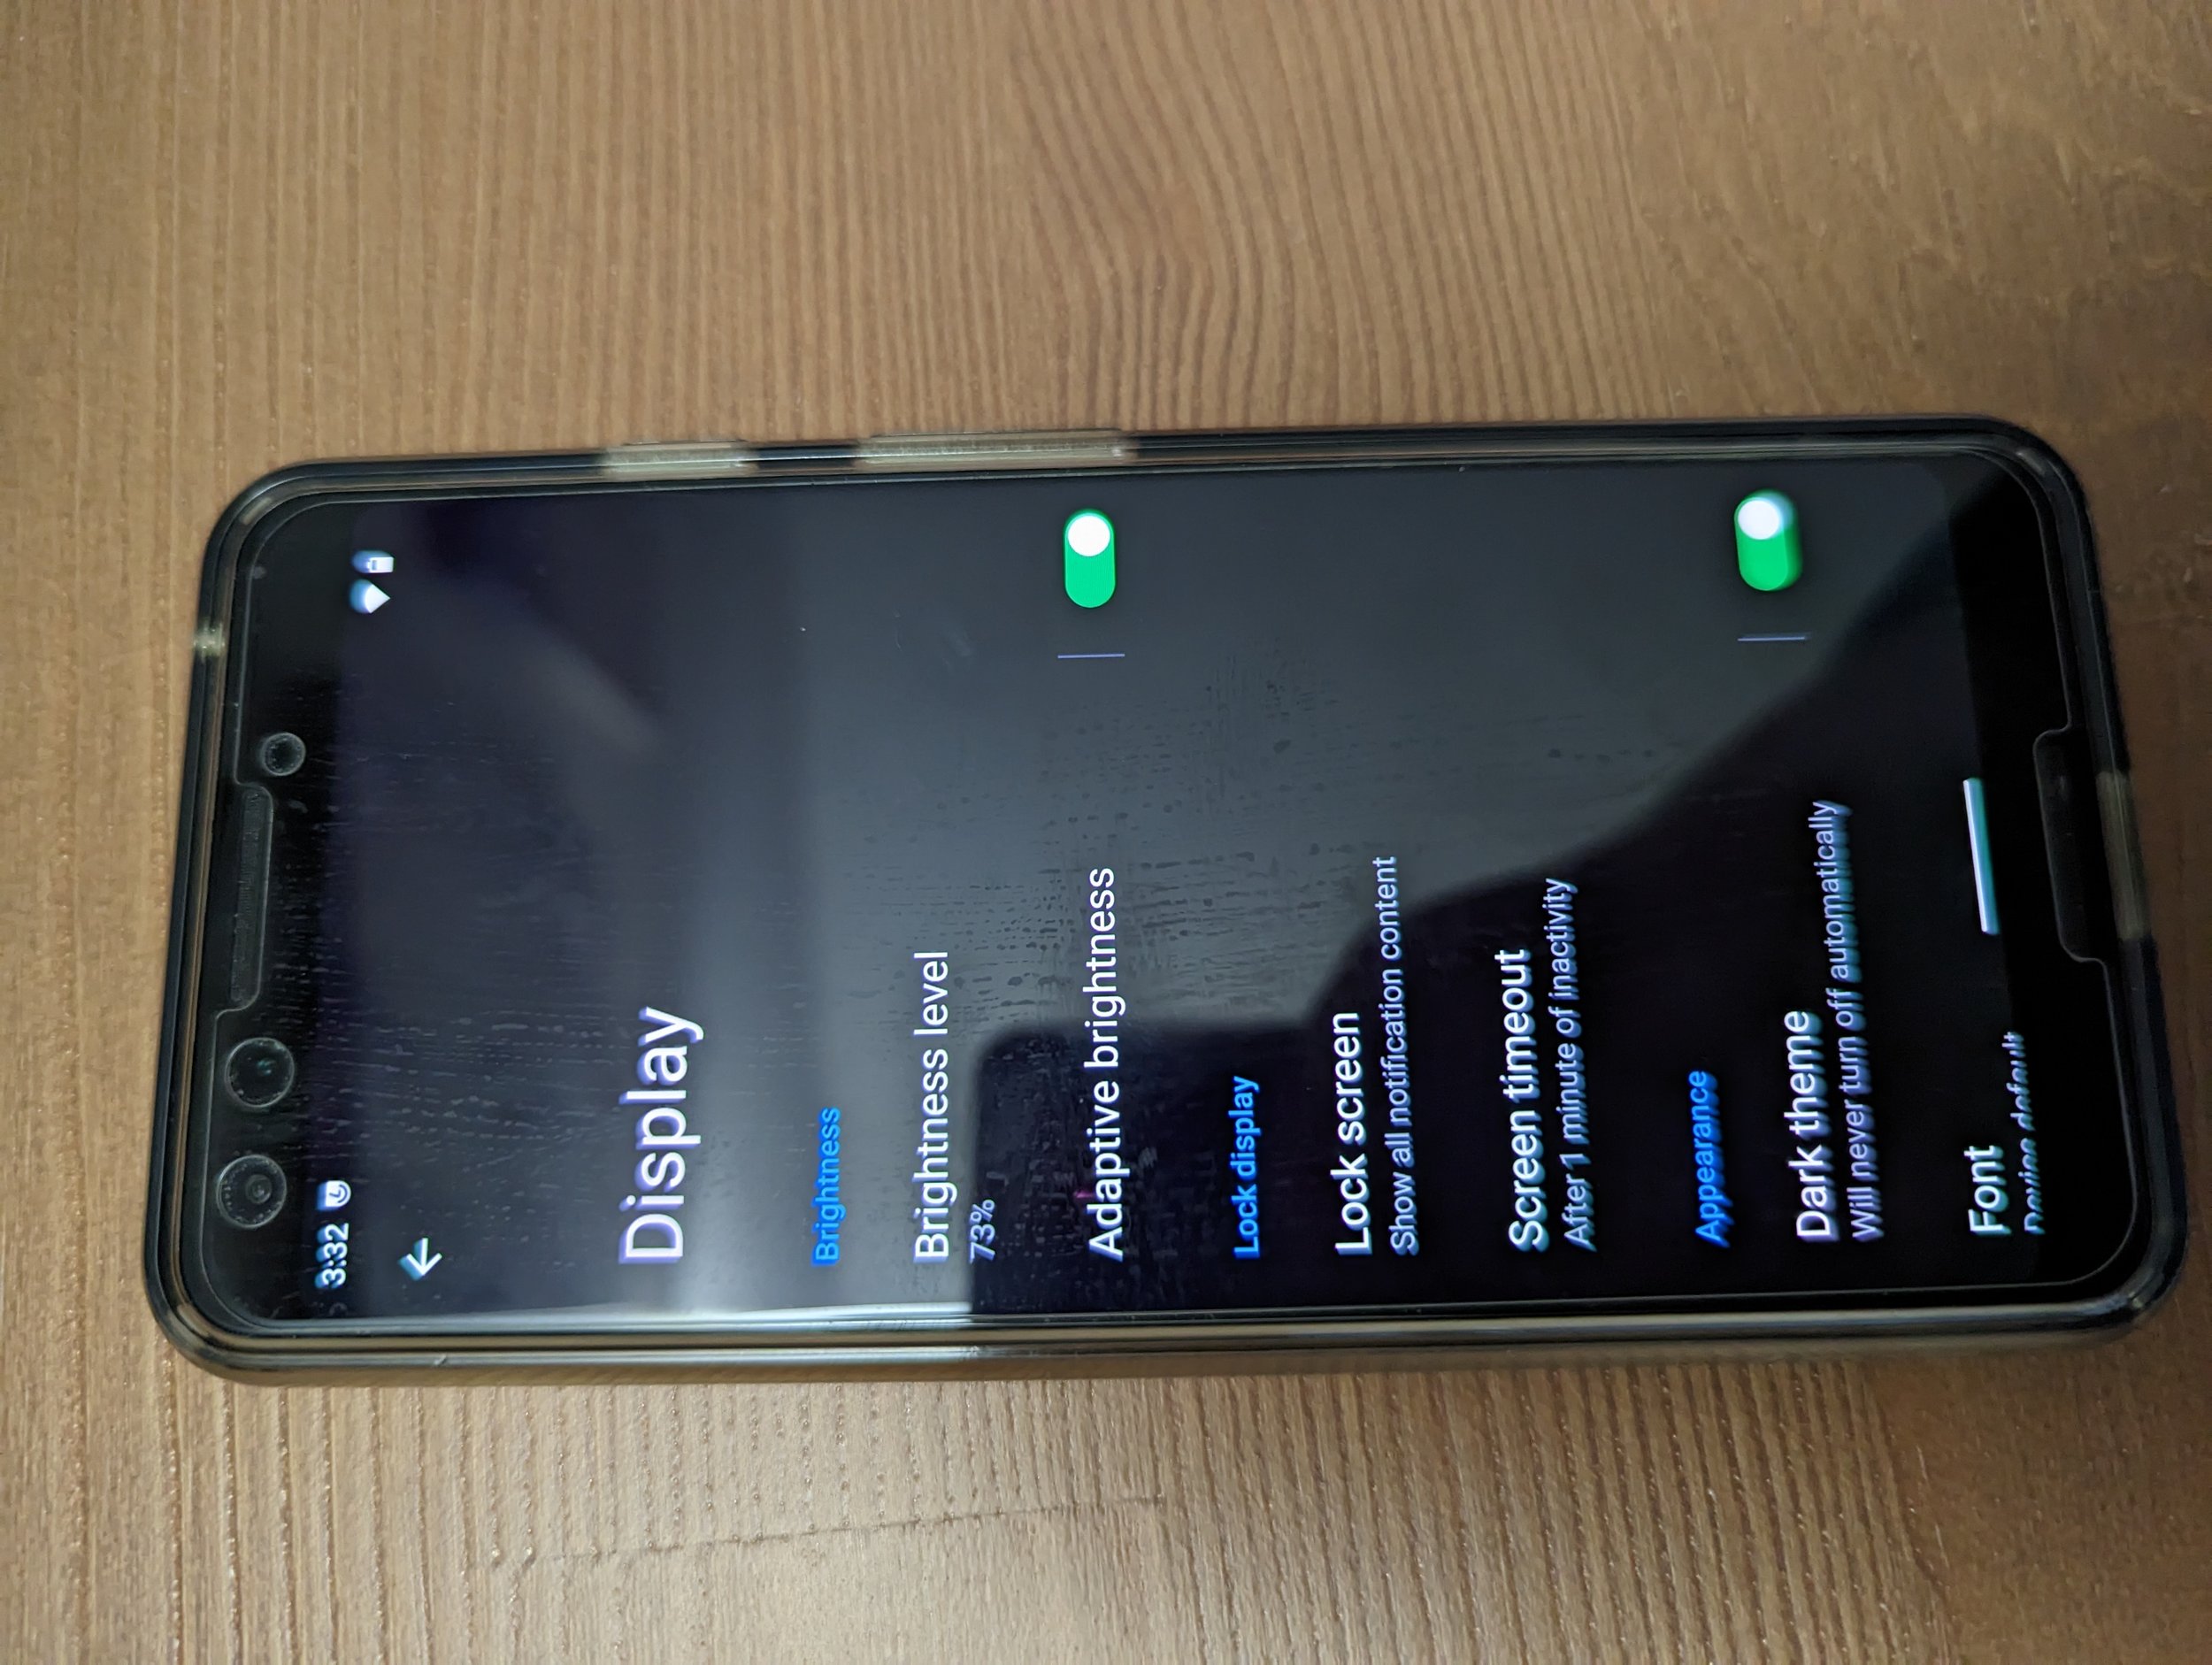
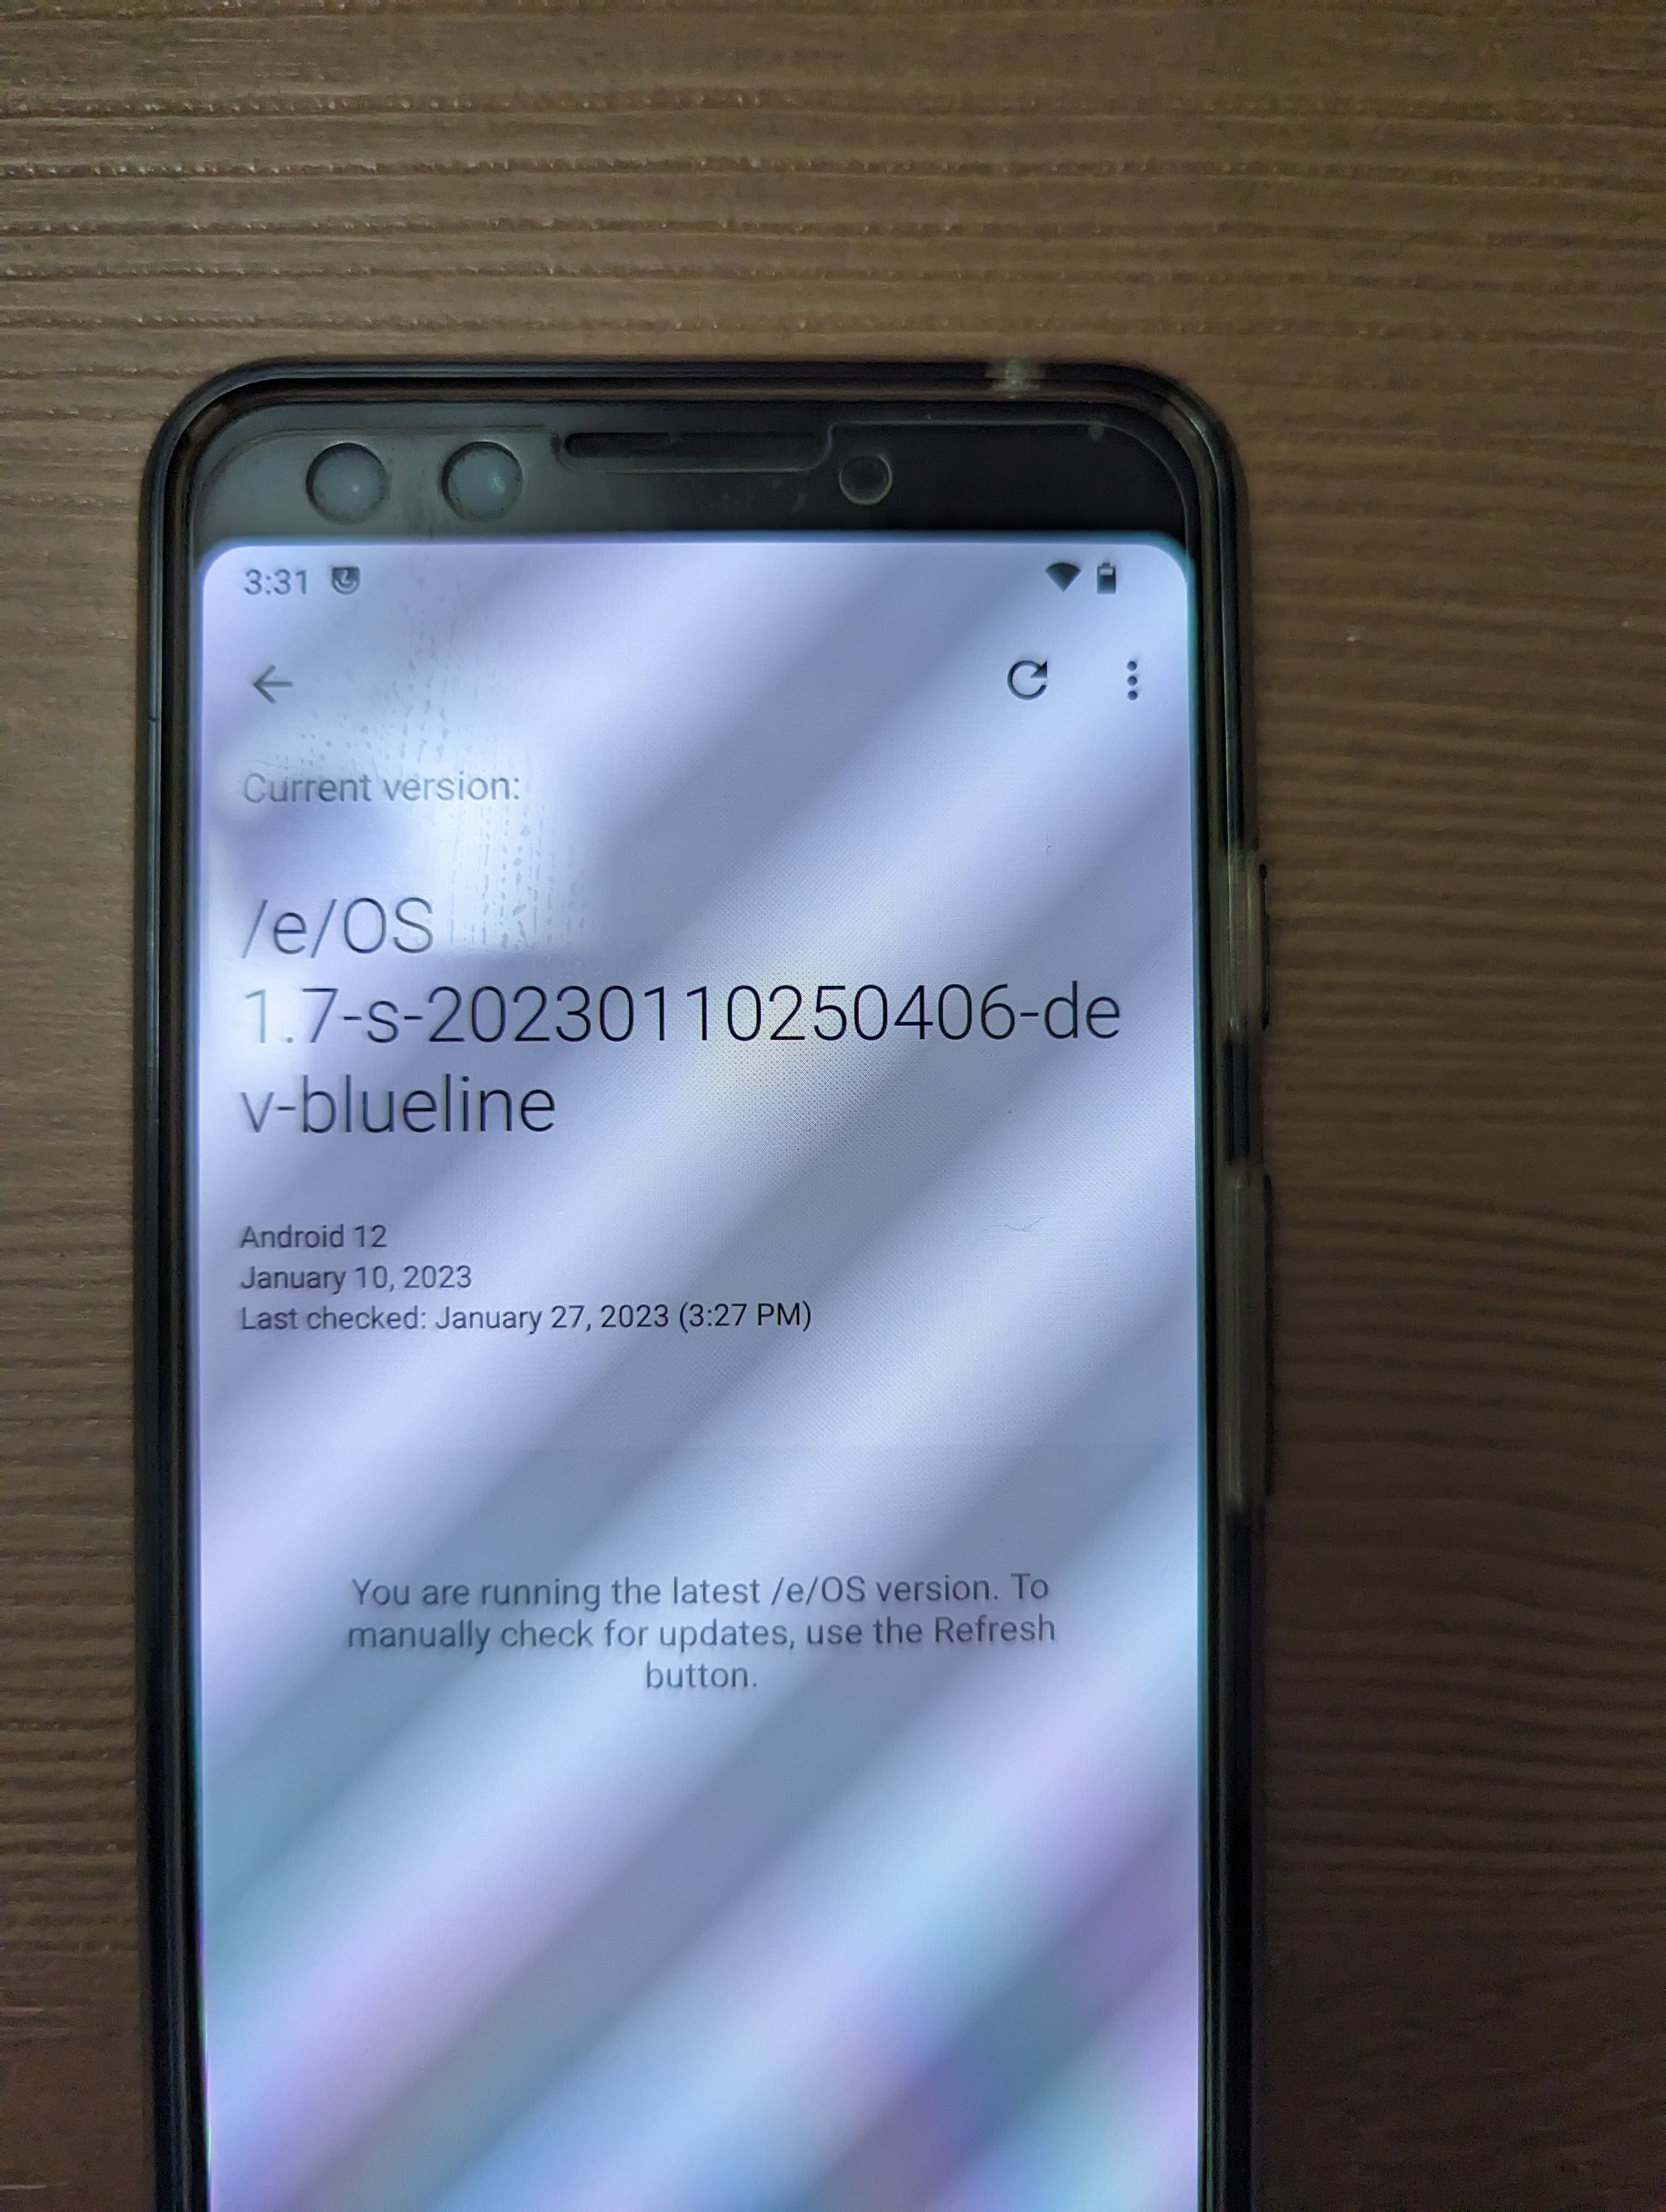
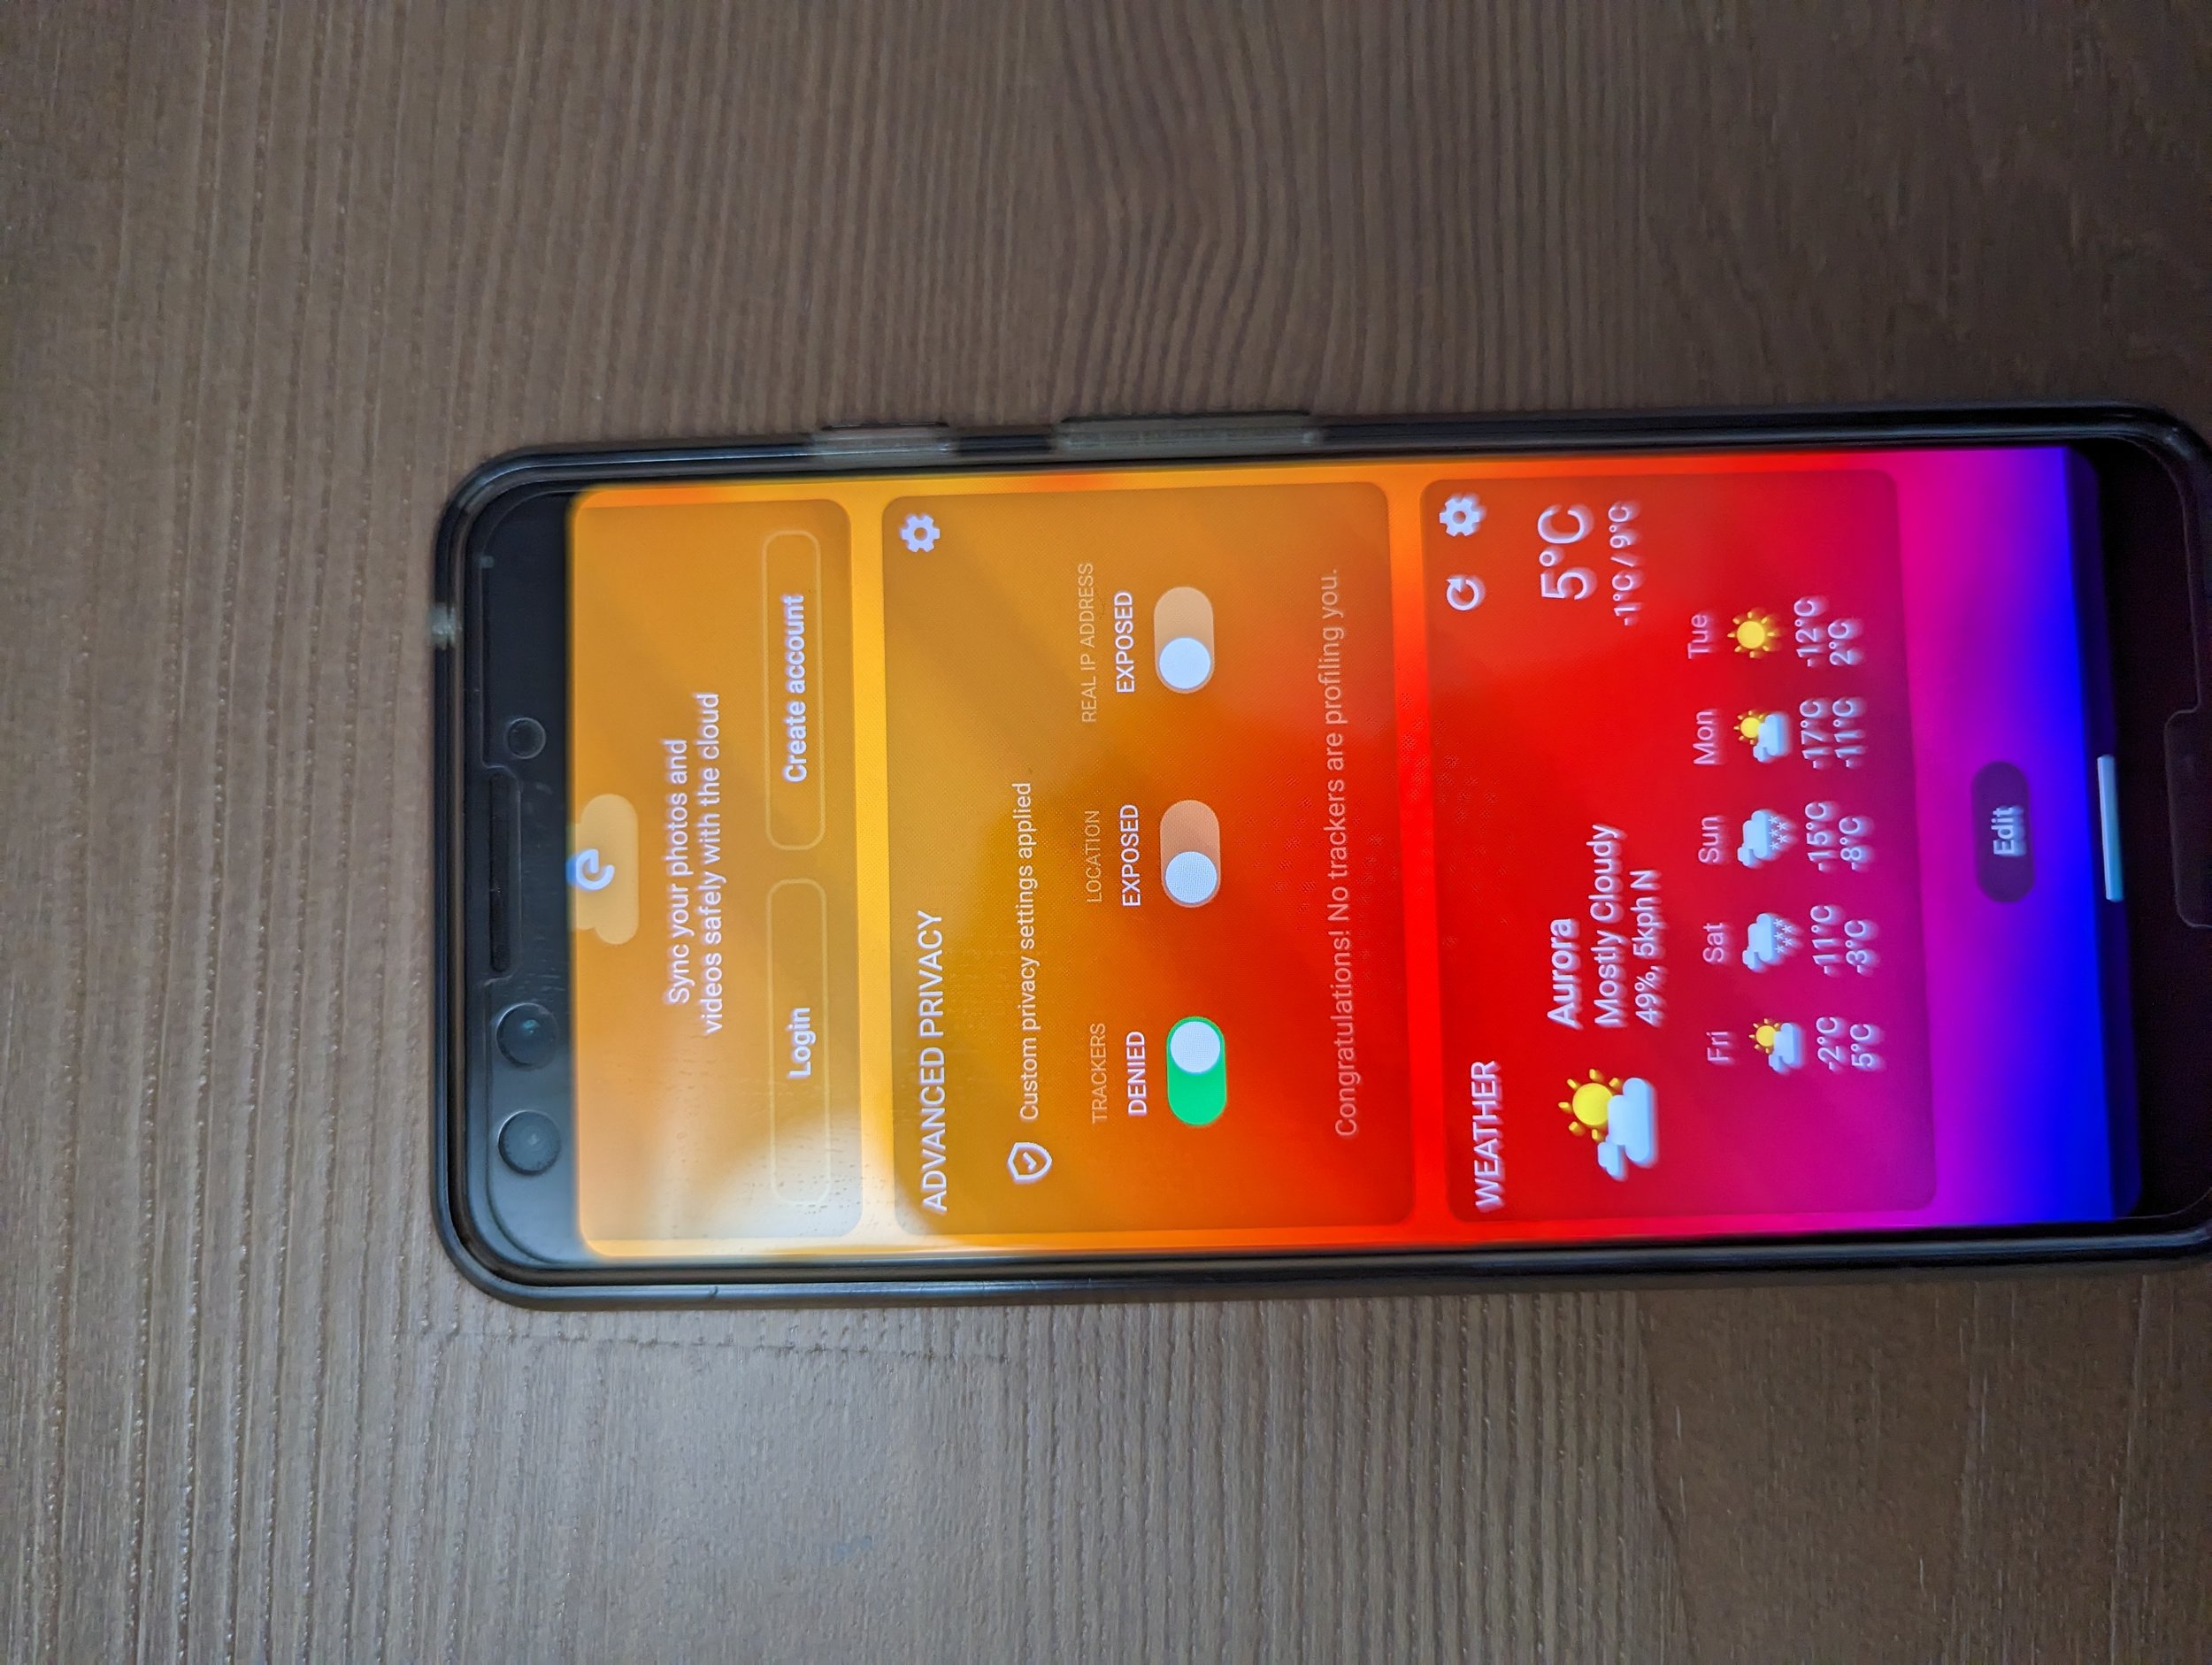
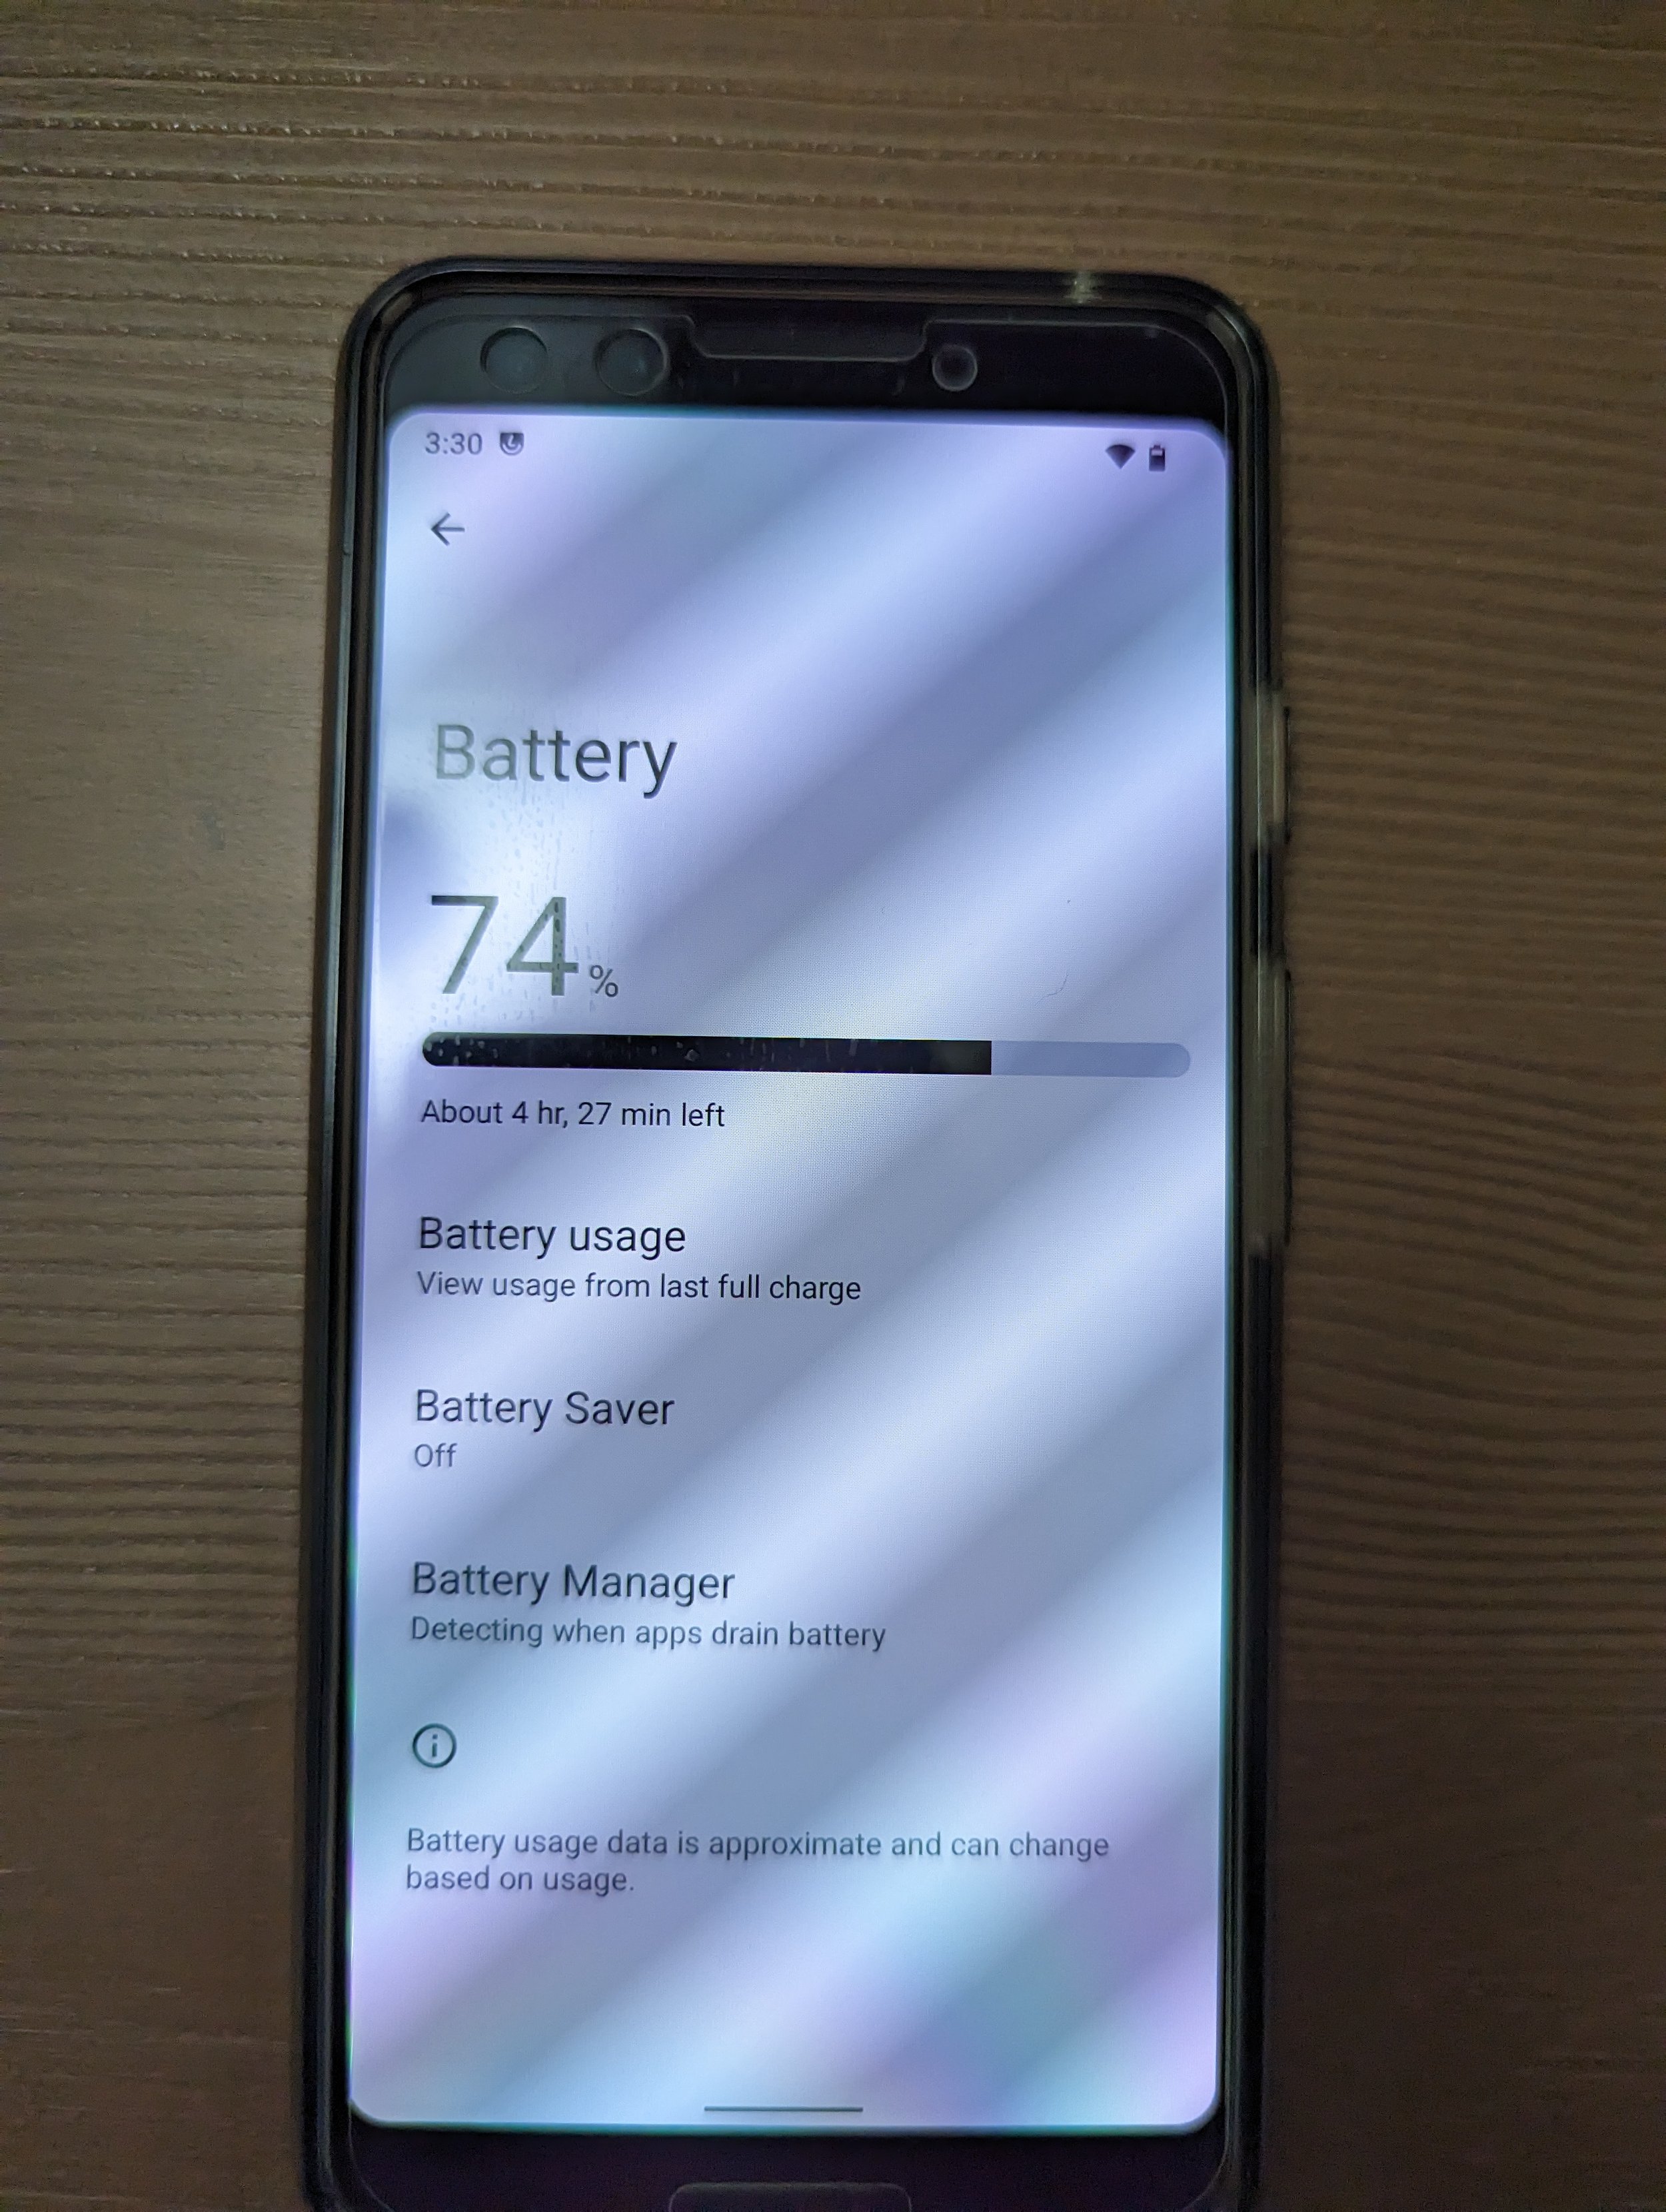
In the above little Carousel, you can flick through the different screens I’ve captured while messing with Android-based eOS on the Pixel 3. Note that the battery life on this device, being secondhand even when I received it years ago, has always been iffy. The stated expected battery life is still longer than it was with a stock Android 12 image from Google on there! Now, onto that Miyoo Mini…

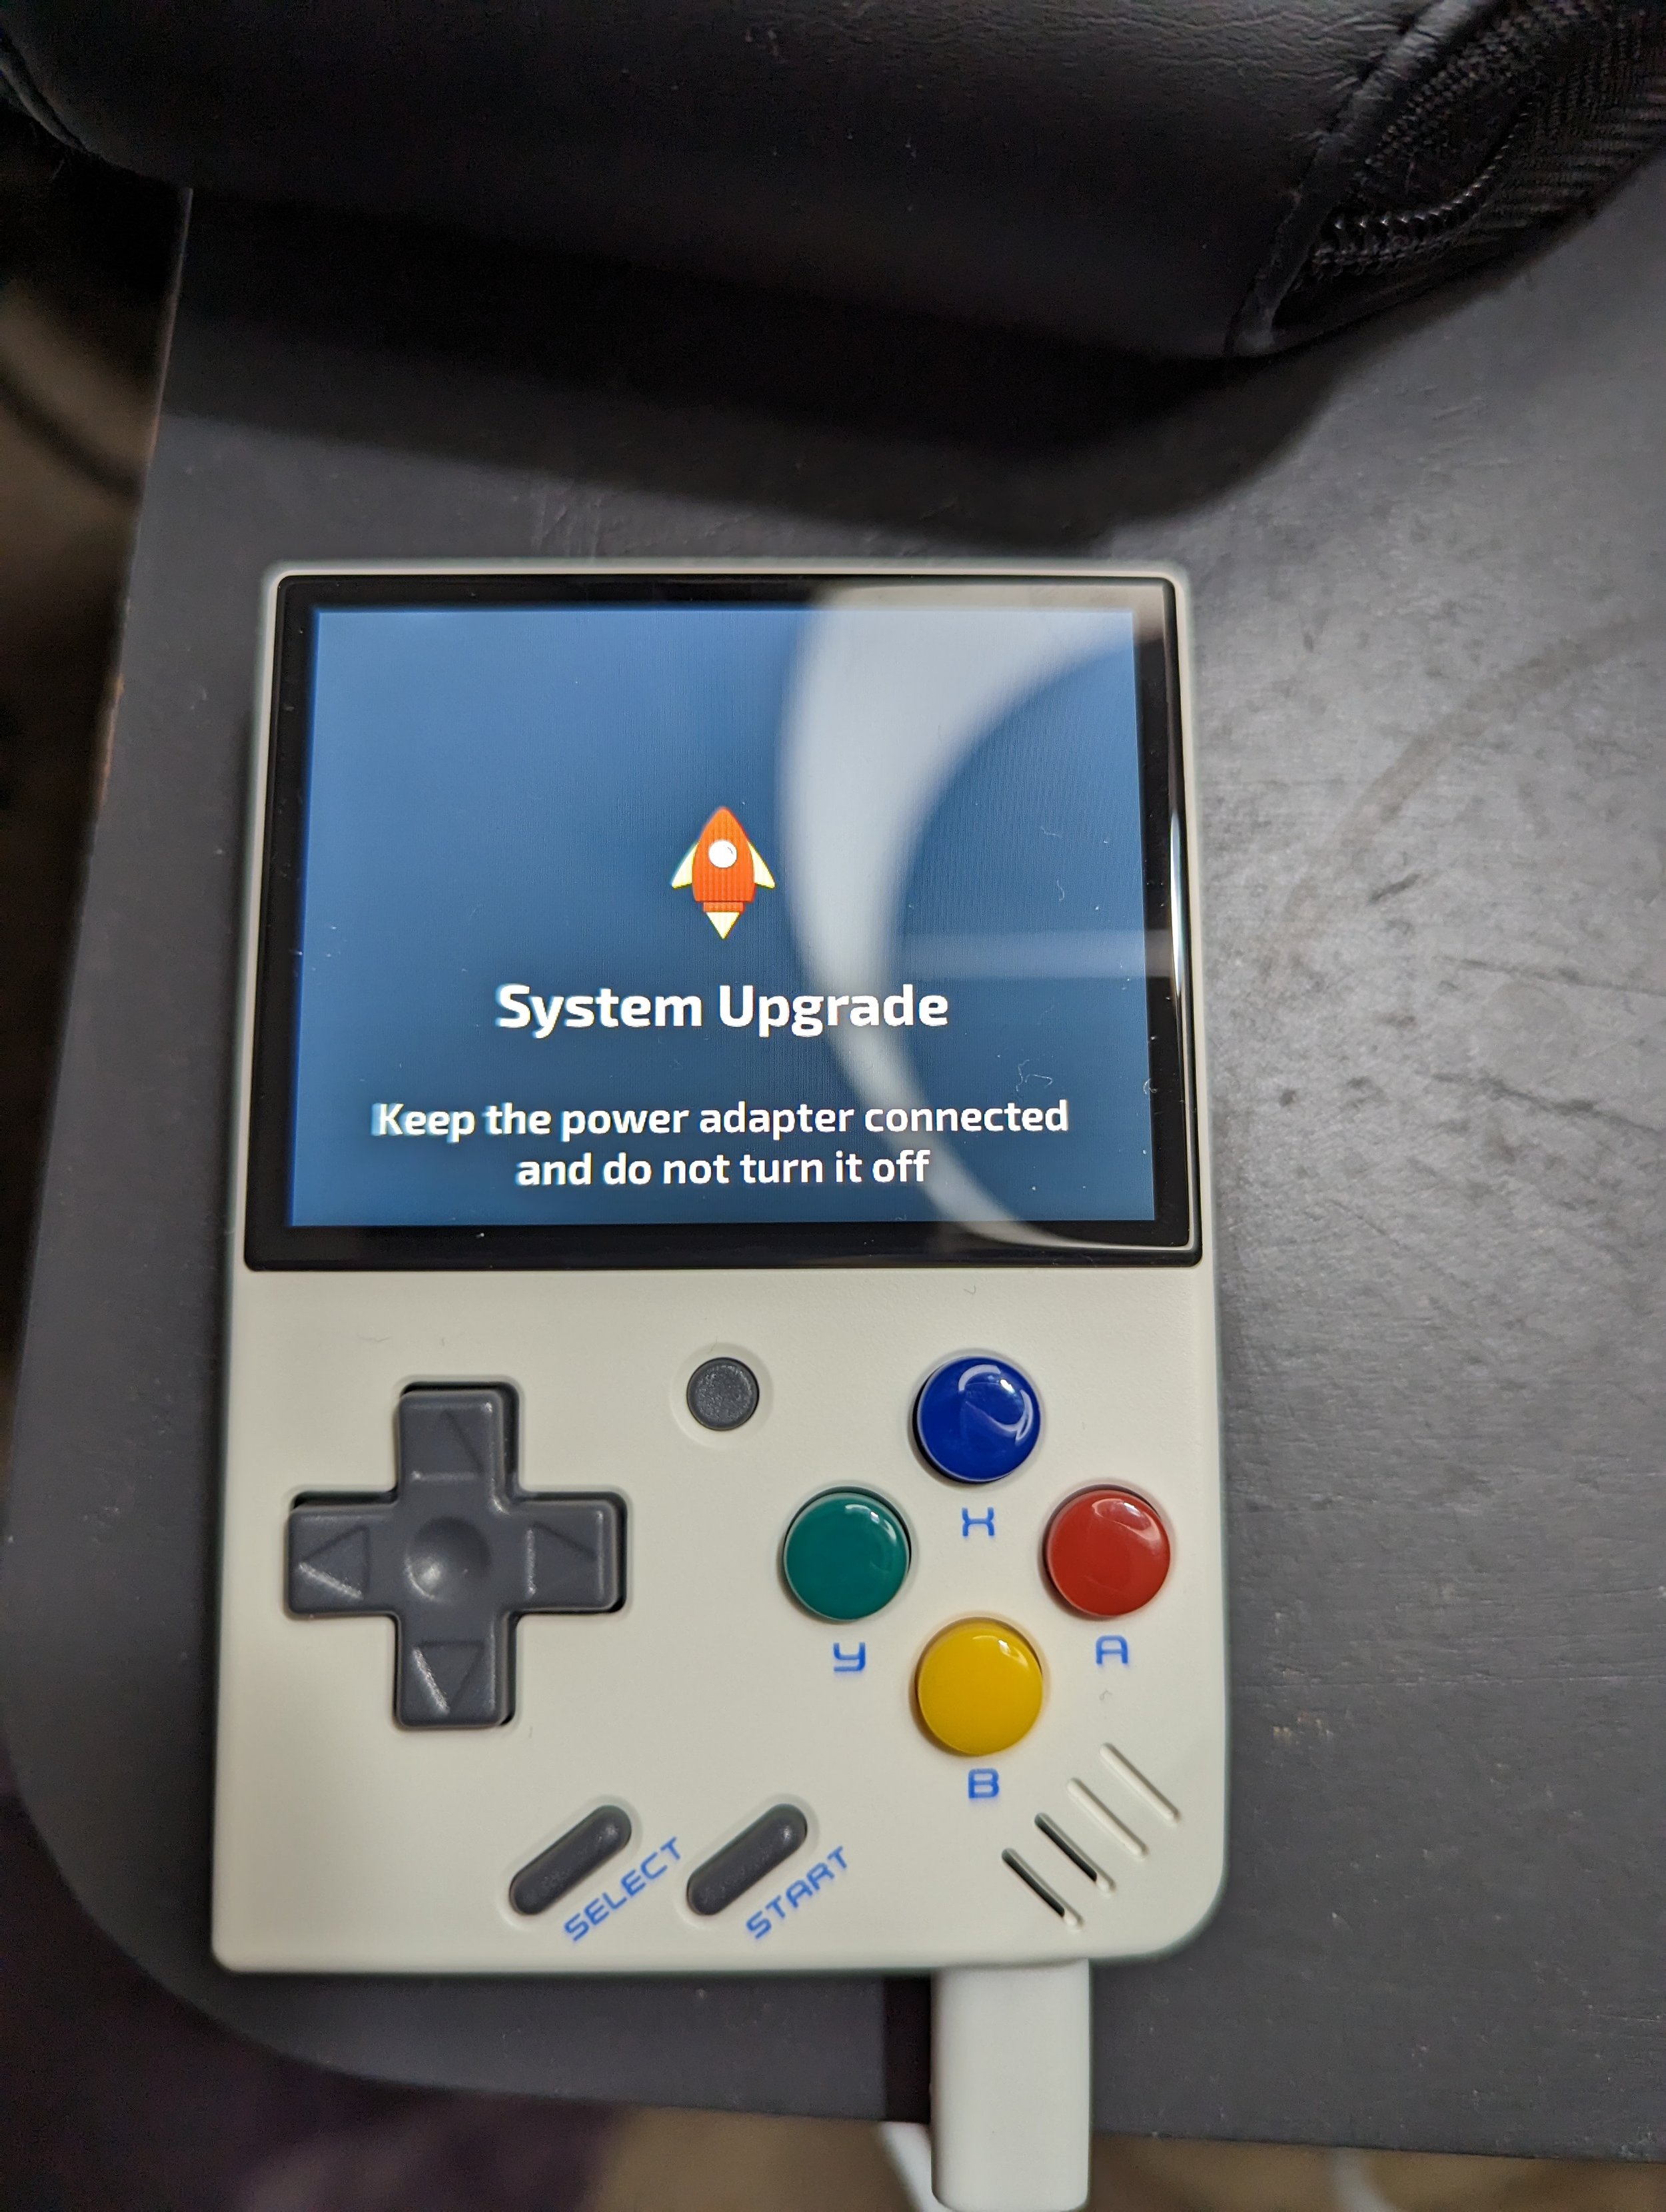
I went ahead and upgraded the previously out-of-date firmware on this Miyoo Mini to the April 2022 firmware noted here by the OnionOS install instructions.

After upgrading that, I thought I’d make an image of this MicroSD card and flash that image to a new SanDisk MicroSD card, as I’ve heard a lot of horror stories from the Miyoo reddit about people easily bricking their handhelds with the low quality MicroSD cards they come with. I used Gnome Disks on my Fedora install for this, as the KDE equivalent usually screws permissions somehow.

Then, after backing up an image of that MicroSD card, I flashed it to the 64GB new in box SanDisk MicroSD that I had.

Then, I went ahead and installed OnionOS on it by copying some files over and restarting the device with the MicroSD back in it. Love this little distro!

Love this little device. I think this will become my go-to pocketable game device when I don’t have the space to take out my Steam Deck. Have a great week, everyone!