Fedora 39 Linux on the Lenovo C13 Yoga Chromebook

Greetings!

Previously, I tried a project called depthboot- which has since become defunct- to get my Chromebook I grabbed for work back in 2021 running Linux. Depthboot was interesting as it enabled you to custom-build images of various Linux distros to run on a Chromebook without any real tinkering with the coreboot BIOS needed.

There seemed to have been a falling-out amongst various developers in that project, and my focus went elsewhere. Fast forward to the end of this year, and I found the amazing group of individuals behind the Chrultrabook project!

My first step was to head over to their incredibly-well-documented guide here on how to free your Chromebook from Google’s clutches.

I unscrewed the back panel of my C13 Yoga to carefully disconnect the battery and repaste the now-two-year-old CPU to give it a cool new lease on life. I ended up becoming so engrossed in getting this to work that I didn’t end up taking many pictures- sorry for that!

The full story of my adventure is here on this Chrultrabook forum post as I figured out how to get the battery unplugged properly, run through the steps to enable developer mode, and then use the supplied script from MrChromebox to flash the “UEFI Full ROM” replacement Coreboot firmware to my C13 Yoga. It was running Google’s stock coreboot fork that only allowed for ChromeOS/ChromiumOS signed images at the time, and this would be quite more freeing.

Per the recording above, I’m now on Fedora 39 with the Cinnamon DE. I used the easy Fedora Media Writer from my desktop on Nobara to create a bog-standard F39 Cinnamon installer. After creating that installer, I waited for the system to start up, and then hit Esc at the coreboot boot screen to boot from the USB and continue the installation like you would on any other machine. Soon, I’ll try testing out Ubuntu on there too, and possibly use it to get an older Pixel phone of mine running GrapheneOS.

Fable III on Steam Deck, and the Framework 13 AMD board

Greetings, all! It’s been a while. Recently, I’ve done some tweaking and tinkering to get the good old Fable 3 game from the early 2000s running fine on the Steam Deck. I’ve also gone ahead and upgraded my OG Framework 13 to the recent AMD 7840U board.

I don’t have too many photos of the motherboard replacement process for the FW13 board replacement, but needless to say, it took only about 4-5 minutes and the tool that they shipped with the laptop was all I used. What a wonderful experience!

Ended up having to get new DDR5 RAM for the Ryzen 7 7840U board, as it doesn’t take DDR4. Now, the only issue after updating the BIOS to 3.03 is that only one of my sticks is being seen. Am currently testing things and sorting that out with Framework’s support staff. Also need to replace this warranty-replacement screen, as it’s pretty bad. That will all get sorted in due time, though! Onwards to the other projects I’ve been working on.

With GloriousEggroll’s recent GE-Proton8-24 release, he’s made a few protontricks edits. While I’m not much of a coder myself, he figured out how to streamline the changes I and a few others made in the Steam Discussions tab for Fable 3. I went ahead and reinstalled the game using his recent Proton GE release to see if the game would start up.

Looks like, as per previous attempts, it gets stuck here even with the protontricks enabled.

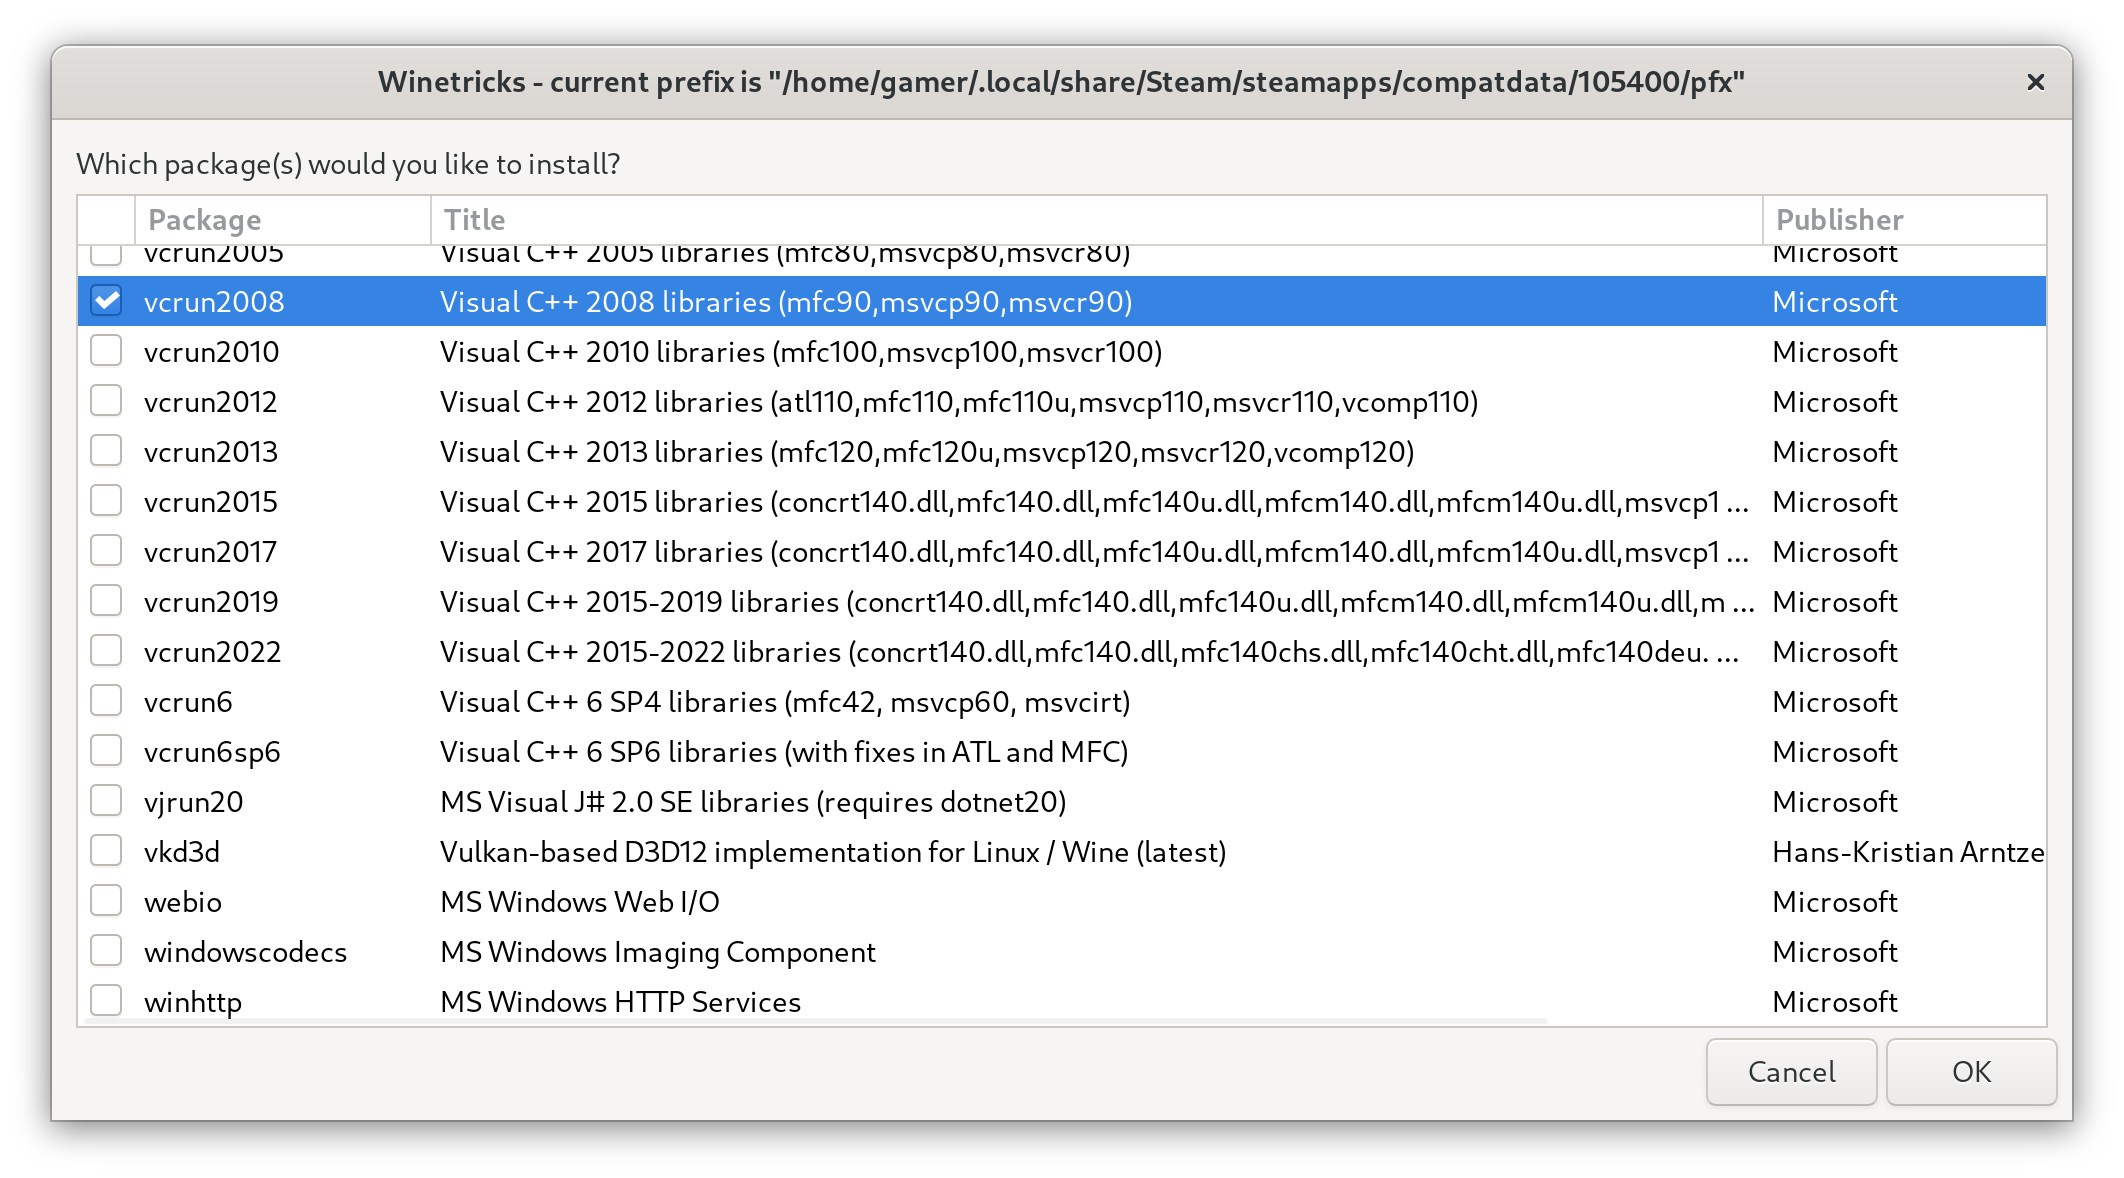
I forgot if that protontricks change grabbed certain DLLs that were required, according to the community, to get this to work. I went ahead and opened up the protontricks application to grab those, but it looks like it still sticks at the install script part. I might need to replace that basic xlive.dll with one mentioned in an article, so let’s go try that.

Next, I went ahead and downloaded this file linked here as a Games For Windows Live DLL replacement that doesn’t seem to get added into the game directory by default when using GE-Proton nor Valve’s official Proton releases for some reason. I downloaded the zip file, extracted it in my Downloads folder and then moved the file to this directory where the local Fable 3 files are: /home/gamer/.local/share/Steam/steamapps/common/Fable 3. Please note that it will be /home/deck/ for those of you currently on a Steam Deck. Note that I’m doing this on my Steam Machine ChimeraOS box in the living room, as this is the only machine I don’t have Fable 3 currently installed on.

BAM it works! Looks like you mainly need to replace that xlive.dll file to redirect the game to a local activation server or something and it’ll work fine! I’m not entirely sure if you need to do the protontricks thing, I think it’s mainly the xlive.dll holding us back.

Also, I’d like to note that this game saves game data to this directory on the Steam Deck, once you’ve opened it and started the game for the first time:

/home/deck/.local/share/Steam/steamapps/compatdata/105400/pfx/drive_c/users/steamuser/Saved Games/Lionhead Studios/Fable 3

I went ahead and started a new game. Having messed up my syncthing configuration, it appears the 10 hours or so that I previously put into the campaign had disappeared. This game is so old and defunct that it doesn’t support Steam Cloud Saves, so you’ll have to come up with your own save-syncing solution. As sad as it is, I did it to myself, so I only have myself to blame. Onwards to a new campaign! Definitely going to sync this with the Framework as well, so I can play it on that too.

In other news, here are some articles and videos I’ve watched recently that I found interesting:

Q3 2023 Update

Greetings, all! Outside of hiking and the job hunt, there’s not much to update on here for now, but I am still alive and active!

The original plan was to sell a bunch of self-refurbished and wiped machines on a store here. Turns out I didn’t have enough traffic for that, due to not sticking to a posting schedule, so I went ahead and listed the original Corsair One Pro on a family member’s eBay.

As my Dell G5 5505 is casually experiencing cpu errors in the journal and dmesg logs on a bi-daily basis, I’ve gone ahead and completely wiped both drives in it. If my tinkery friend ends up not wanting it, I’ll probably gut what parts I can reuse out of it and dispose of the hull at an ewaste facility in Denver.

Next, I took the rear panel off the T440p that I’ve used for a good few years. More on my known computer timeline on my current hardware page here. I went ahead and cleaned the little fan, as well as repasted the i7-4710mq I believe it is. Looks like the SSD I had originally added to this customized beast back in the day is still rocking and working fine. Go sandisk!

One downside with the original plastering of stickers this had on the rear of the LCD panel is that isopropyl alcohol + a razor blade seem to cause damage to the rubberized coating that was on here. Now I’m waiting on a decal to cover up this coating and better protect the rear. Once the rest of the chassis for this guy is cleaned up, I’ll do a test install of Ubuntu and a test install of Windows 10 before re-wiping the drive and posting it up on eBay as well.

The next machine after these two that I’m going to work on selling is the old Oryx Pro oryp4 model that I have. It was refurbished by System76 officially in 2022 for me, though I believe it was originally released in 2018- here’s the web archive link for that page.

In the spirit of the original release for that machine, I’ll likely end up listing it with either No OS or Pop!_OS 22.04 preinstalled.
On another note, here are some cool videos and blog posts that I’ve been into recently:

Steam Machine after-build Update

Hi there again! Following up with the prior blog post here. I have a few fixes for my Steam Machine build that I may have experienced some anomalies with after initially building it and installing ChimeraOS that I’ll address here. Also, the Steam Deck might get Nix package support soon, so I’ll give some thoughts on that here.

Regarding that Steam Machine that I mentioned finally building in my last update here, I've made a few fixes that seemed to be necessary.  
After the initial install, it seemed the system was experiencing some lag.

I went ahead ahead and updated the ASRock Fatality AB350 board from P6.60 to P7.00, then finished by updating to the recent P7.40 release found here. I utilized ASRock’s quick flash utility, which doesn’t require an OS to flash the BIOS, which was nice.

After updating the BIOS, and then redoing the Battle.net install utilizing Proton instead of running it through Lutris, since the steam shortcut can no longer be made utilizing that method in ChimeraOS, Diablo IV is now showing up in the Steam Big Picture mode.

In other news, I’ve been following along with a recent Nix comment made here. This gives me hope that we’ll be seeing a dedicated “/nix” directory added by default to SteamOS soon by the developers.

My Steam Deck "deckscript" has been sitting idle for a little while, due to constant changes in SteamOS from Valve wiping out any installed pacman packages. I've expanded more info on how I plan to migrate the bash script to one that mainly installs nix packages and flatpaks, plus grabbing enhancements, in the pull request here.


Here's a short little recording below, of what happened when I tried to set up the Nix package manager on the Deck via the terminal.
I'll be able to make more progress on this once that new SteamOS release comes out and gives us a predefined `/nix` directory in the future.

I’ll also be working on migrating my Fedora post-install script and the same with my Pop!_OS script over to Ansible roles or playbooks in the future, as I’m getting back on the train that was slowly learning about that. I’m mainly learning about it at night, so it may be a little while. Pull request for that is linked here.

I’ve also gone ahead and set up Syncthing between my ChimeraOS Steam Machine (that I renamed to Illyria) as well as my desktop and gabegear-named Steam Deck. This helps me sync Yuzu save data and keys, as well as aids me in creating a serverless cloud-sync between devices for Steam games that don’t support cloud saves. More info on getting setup is available at their site here.

Finishing the Steam Machine

Heyo! I finally got all the parts together, this past weekend, to finish my older-hardware living room build for TV gaming. Click here for a full breakdown of all the parts.

Humble beginnings. This process took probably around three months to get all the parts somewhat-affordably used or free from friends.

…I might eventually end up getting custom-sleeved cables though, as this spaghetti monster of power cables is quite difficult to keep neat in this tiny case, for airflow reasons. Sadly, the CPU is currently hovering around 60-80c depending on the game that’s being played, due to its Noctua cooler being right under the PSU fan.

After building it, while quite inebriated late at night, I was honestly surprised to see everything fire up without blowing up hahaha. I’m using the vizio soundbar + subwoofer for sound through the TV and have the TV connected to it via HDMI to the AMD card. The internet is over ethernet, as I don’t want to futz with wifi attenuation issues due to the solid wall between the router and it.

I burned ChimeraOS to a USB, chose it as the boot device, and let the automated installer do its thing. On first boot-up, I signed into Steam and started installing games! My favorite part is the webUI that you can use for easily installing other games via flatpak/GOG or retro roms. I’ll add some photos of that below.